


How to Make a DIY Built-in Closet, Step by Step

This year, I embarked on a mission to optimize every room in my house with custom built-in closets. The journey began with crafting a sturdy base using two-by-sixes and a thin plywood sheet.
From there, I incorporated three-by-four-inch plywood to construct the dresser's framework and shelves. If you're looking to enhance your closet space and organization, follow along as I guide you step by step through the process.
Tools and materials
- Two-by-sixes
- Thin sheet of plywood
- Three-by-four-inch plywood sheets
- Drawer slides
- Wood glue
- Nails
- One by three MDF boards
- Screws
- Caulk
- Paint
- Hardware of your choice
- One-inch dowels
- Measuring tape
- Circular saw
- Drill
- Pocket hole jig
- Sandpaper
- Paintbrushes
Steps
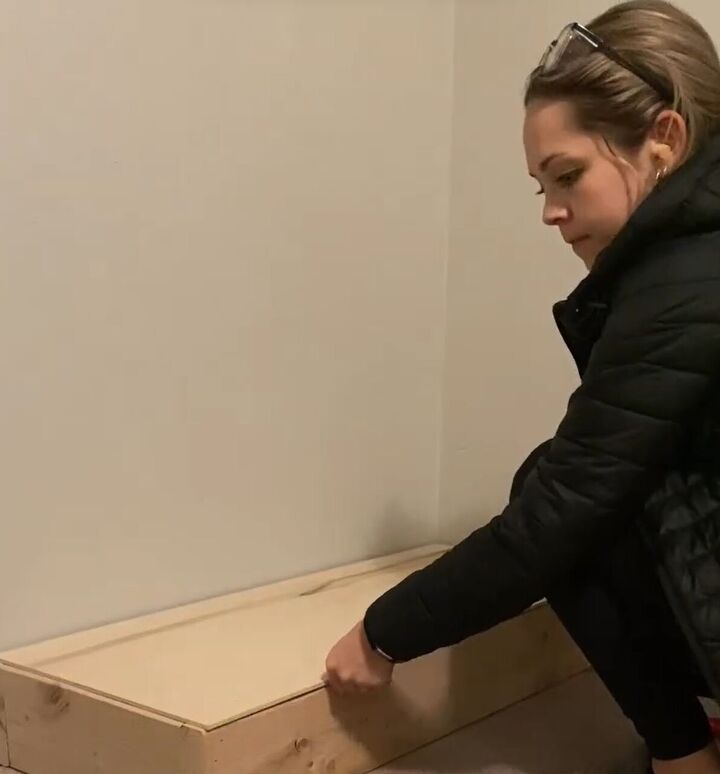
Step 1: Building the Base
To create a solid foundation, cut two-by-sixes to the desired length of your built-in unit. Attach them together using wood glue and nails. Place a thin sheet of plywood on top and secure it to the base frame with nails, creating a smooth surface for the rest of the construction.
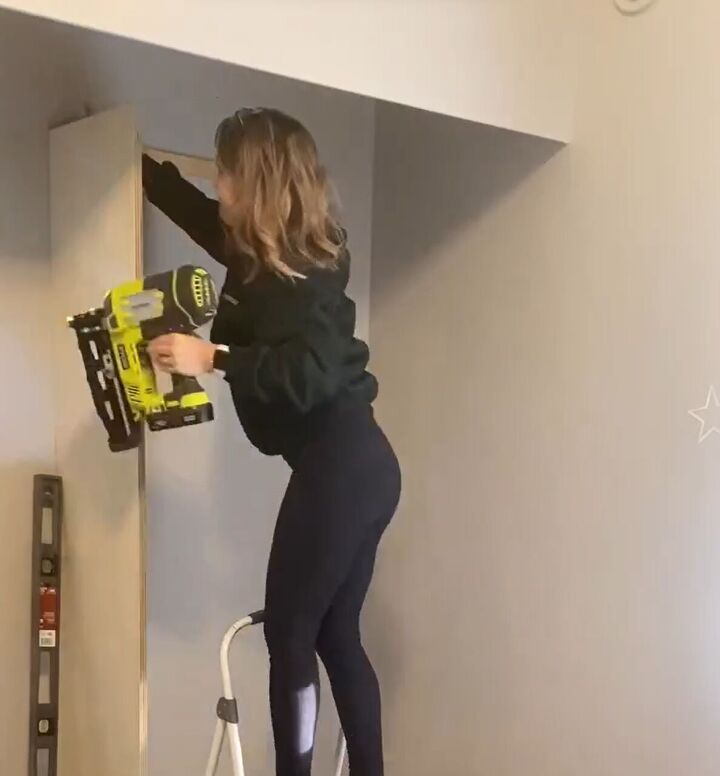
Step 2: Constructing the Dresser and Shelves
Cut three-by-four-inch plywood sheets to the appropriate dimensions for the dresser and shelves. Assemble the dresser's framework by attaching the plywood pieces together using wood glue and screws. Repeat the process for the shelves, ensuring they're level and secure on the base.
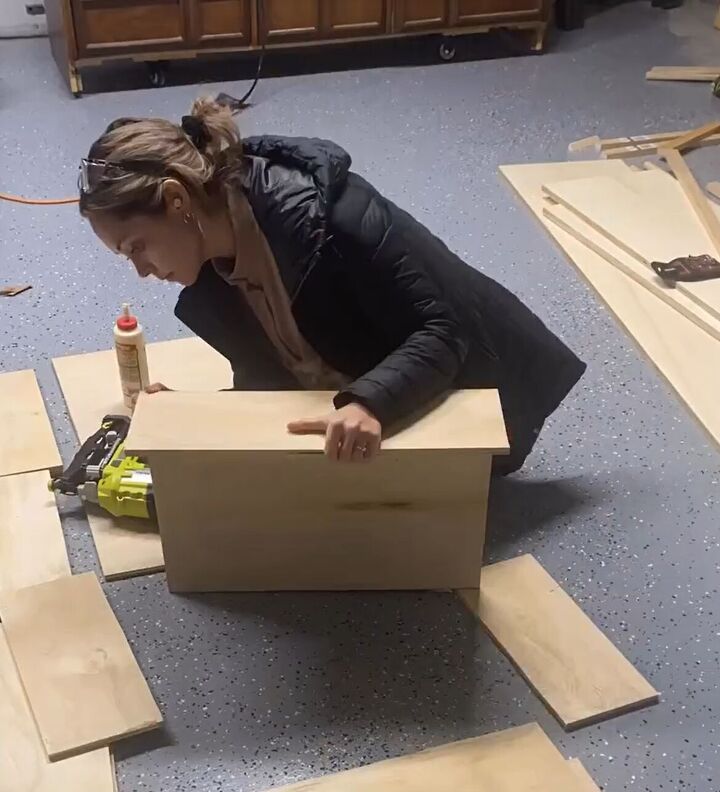
Step 3: Crafting the Drawers
Measure the dimensions of the dresser's cavities and construct drawers using three-by-four-inch plywood. Apply wood glue along the edges and nail the pieces together. Attach drawer slides to the sides of the drawers and secure them within the dresser's structure.
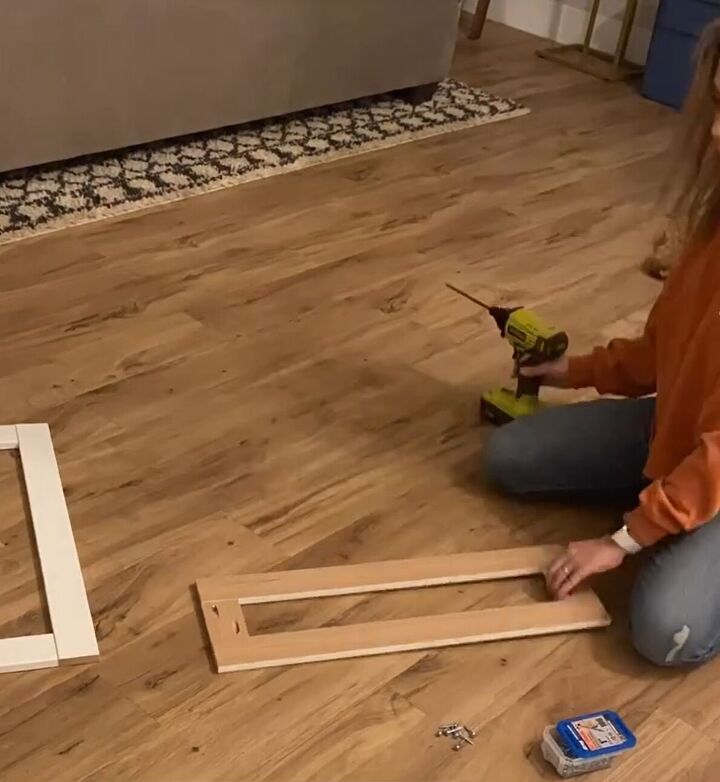
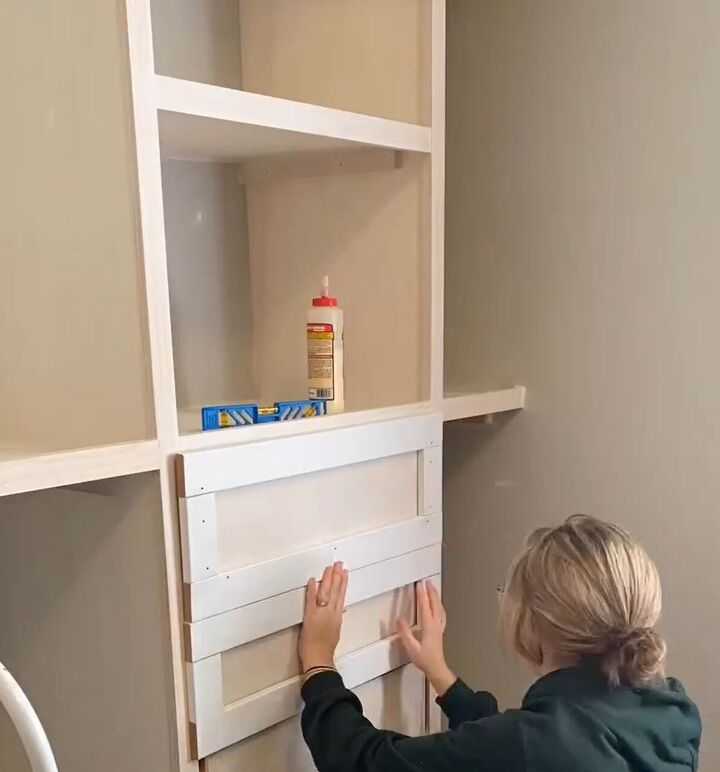
Step 4: Adding Drawer Frames
Drill pocket holes into one-by-three MDF boards to create drawer frames. Assemble the frames by screwing the boards together. Attach the frames to the front of each drawer, ensuring they're aligned and straight. Use nails to reinforce their position.
Step 5: Finishing Touches
Fill any gaps or imperfections with caulk and allow it to dry. Sand the entire built-in unit to create a smooth surface for painting. Apply a fresh coat of paint in your chosen color, allowing sufficient drying time between coats.
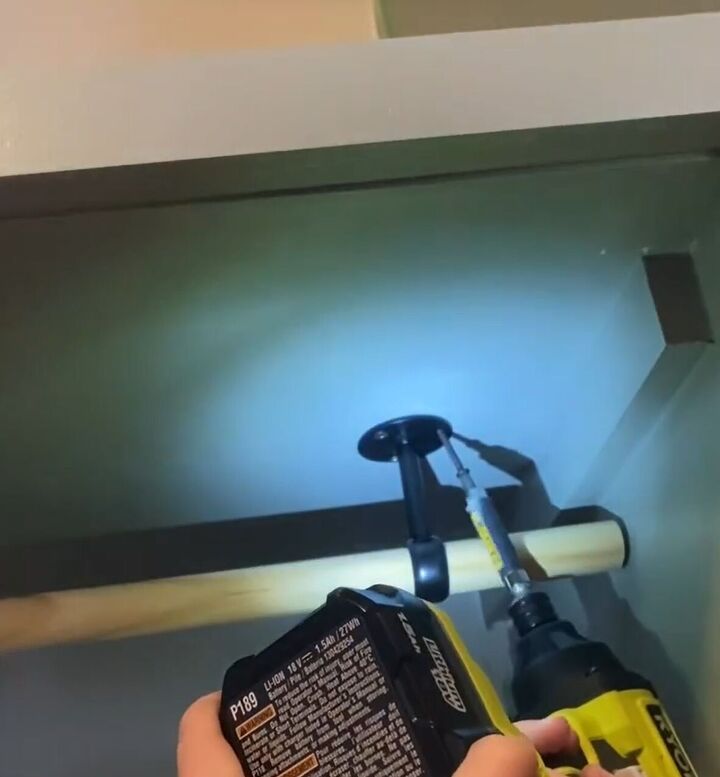
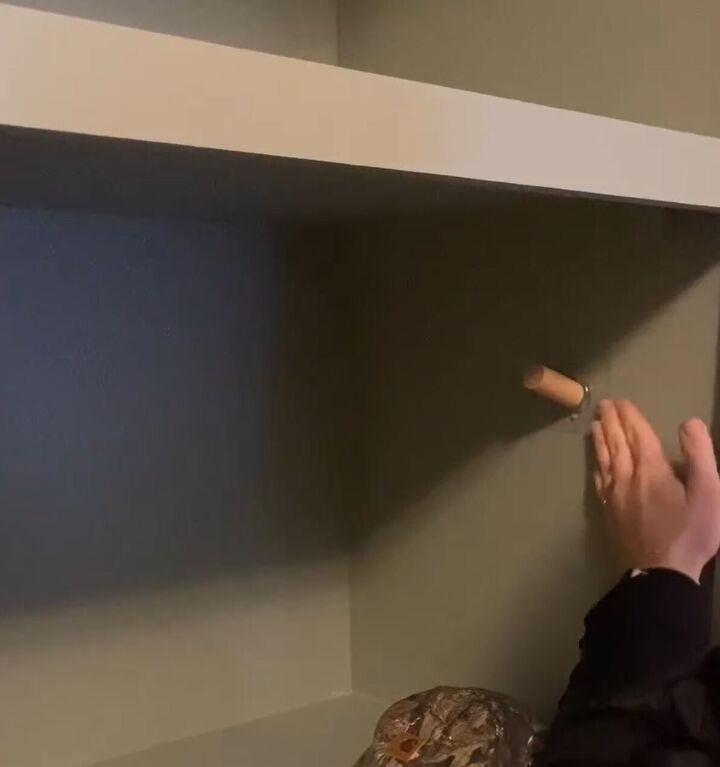
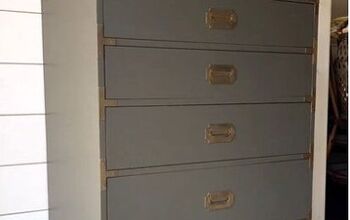
Step 6: Installing Hardware and Dowels
Attach the hardware of your choice to the dresser's drawers and doors. For additional storage, insert one-inch dowels along the sides of the unit to hang items like scarves, belts, or ties.
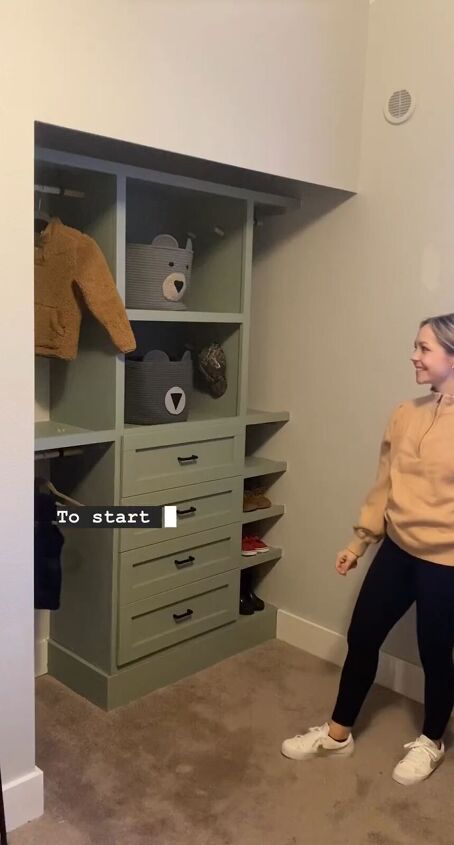
Step 7: Revel in the Transformation
With all the finishing touches in place, stand back and admire your newly transformed closet space. The custom built-ins provide not only added storage but also a sense of organization and style.
Before:

After:
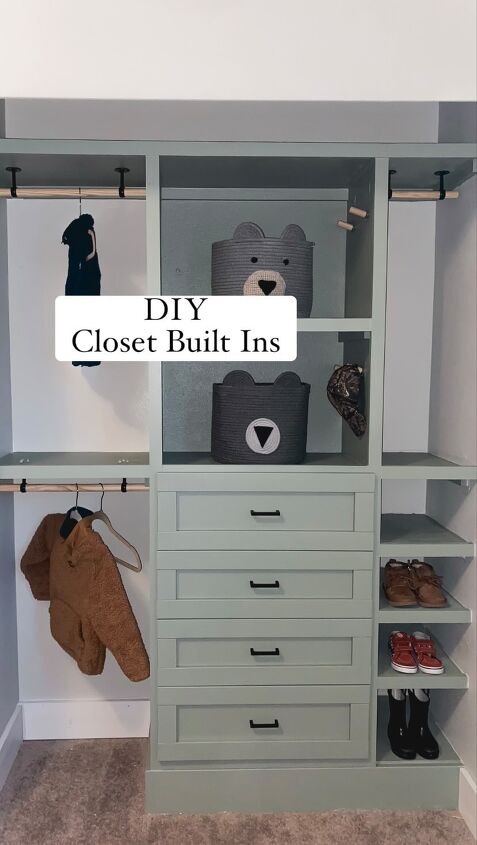
DIY built-in closet
By following these step-by-step instructions, you can achieve a remarkable transformation of your closets using custom built-ins. From constructing the base to adding hardware and finishing touches, the process yields a closet space that is both functional and aesthetically pleasing.
Enjoy your newfound organization and storage possibilities!
Remember, each closet's dimensions may differ, so be sure to measure accurately and adjust the instructions accordingly. With a bit of patience and creativity, you can maximize your closet's potential and make the most out of your living space.
Follow @gatheratthebooths on Instagram for more DIY ideas.


Frequently asked questions
Have a question about this project?