


How To Fold Easter Bunny Ear Napkins
Learn how to fold bunny ear napkins in just three easy steps to make this year’s Easter brunch extra special.

*This post contains affiliate links. When you make a purchase using these links, I earn a small commission (at no extra cost to you!) To learn more, you may read my Disclosure Policy. Thank you for supporting my blog!
How To Fold Easter Bunny Ear Napkins
You may know by now how much I love to share tips and budget-friendly ideas that you can use to style your table for special occasions. And it doesn’t get much easier than this DIY craft.
Easter is almost here! So today, I’m going to show you how to fold some cute bunny ear napkins to make your Easter brunch extra special.

These bunny ear napkins are such a fun way to add a personal touch to your Easter brunch. They’re sure to bring a smile to a lot of faces.
Supplies
- Square Napkins. I like these fringed ones. (I think it makes the bunny ears look more fluffy.) You can use any square napkin you like.
- Twine
- Eggs. I used these plastic ones.
- Moss
How To Make Easter Bunny Ear Napkins
1 . Fold The Napkin Into A Triangle

First, lay your napkin on a flat surface in the shape of a diamond. The corners of the napkin should be at the top, bottom, and sides like this.

Then, grab the bottom point of the napkin and fold it to the top point to make a triangle.
2 . Roll The Napkin Into “Ears”
Now you are ready to roll the napkin. First, flip the napkin so the point of the triangle faces your body.

Next, start at the point of the triangle and begin to roll the napkin tightly.

Work away from your body until it is fully rolled.

When you are done, the napkin should look like this.
3 . Tie The Napkin With Twine
Now it’s on to the last step. You’re almost done! See? I told you this was an easy DIY craft!

To make the ears, bend the napkin roll to form a u-shape. Make sure it’s even on both sides. (You don’t want lopsided bunny ears.)

Next, cut a piece of twine and use it to tie the napkin together to form your bunny.

Isn’t it adorable?

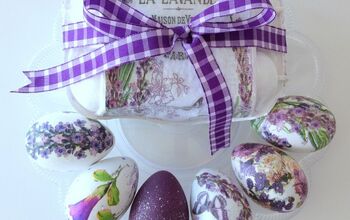
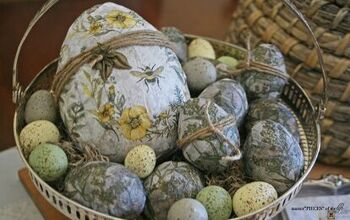
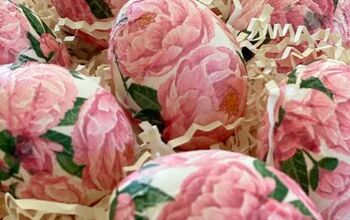
To finish the bunny ear napkins, nestle an egg in the center between the two ears. I used some plastic eggs from the craft store.

The eggs are inexpensive, and because they are hollow, I was able to easily “crack” them open to add a bit of moss for just a touch of spring color.

I used these same eggs to decorate last year’s Easter table. Combined with the bunny napkins, I think they add the perfect touch to this year’s Easter table, too. Don’t you?
What To Serve For Easter Brunch
Now that you have some ideas to style your table, it’s time to think about the menu! If you’re looking for some easy brunch recipes to try, here are a few of our family’s favorites.
Old Fashioned Easter Ham Balls

Bacon And Egg Potato Bake

Easter Bunny Cinnamon Rolls

How To Fold Easter Bunny Ear Napkins
I hope you enjoyed this quick tutorial on how to fold bunny ear napkins for Easter. Easy crafts are my favorite, and this DIY fits the bill. It’s perfect for any skill level. It would even be a fun project to do with small kids.
In all, I love how the bunnies turned out. And the best part? From the start of the project to its finish, I made four napkins in less than 15 minutes.
That’s a wrap on the first of my many spring DIYs, so stay tuned for more projects and decor to come in the next few weeks.
For more holiday ideas, follow along on Pinterest, and check out all of the latest things I’m loving for spring. And don’t forget to join me on Facebook and Instagram for all of the latest happenings at MWLS.
Wishing you a blessed and happy Easter!

Did you enjoy this post? PIN it for later!
You may also like: Affordable Kitchen Table Makeover With Oops PaintSet A Beautiful And Charming Easter Brunch TableLight and Airy Spring Home Tour


Comments
Join the conversation
-
This is such a cute idea! I will have to use it. My grandsons will love it. Thanks for sharing it.


Frequently asked questions
Have a question about this project?