


How to Keep a Paintbrush From Drying Out: 5 Important Hacks

As a DIYer, one of the first things I learned to do was paint and also how to keep a paintbrush from drying out. I paint a lot and there’s no way I want to clean my brushes out every night. Here’s what I do to keep a paintbrush from drying out between coats.

Tools and materials
- Paintbrush
- Ziploc bags
- Wet paper towel
- Aluminum foil
- Painter's tape
- Sharpie
- Fridge
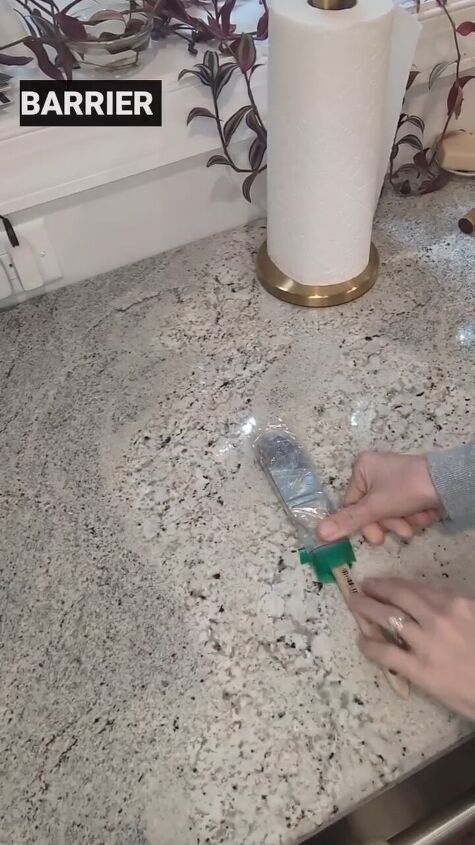
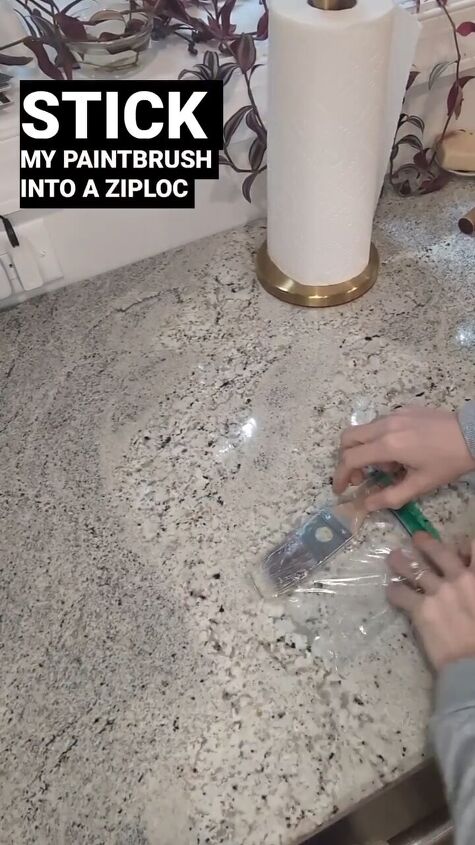
1. Immediate use (a few hours):
If you plan to return to your painting within a few hours, simply place your paintbrush into a Ziploc bag. This creates a sufficient barrier to keep the paint fresh until your return.
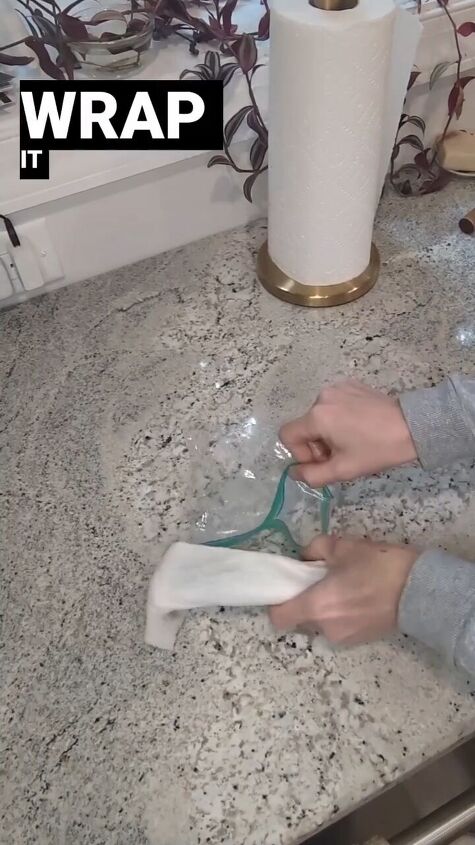
2. Short-term storage (a day or two)
If you anticipate being away for a slightly longer period, wrap the paintbrush in a wet paper towel before placing it into the Ziploc bag. The moisture from the paper towel helps keep the brush in good condition and prevents the paint from drying out.
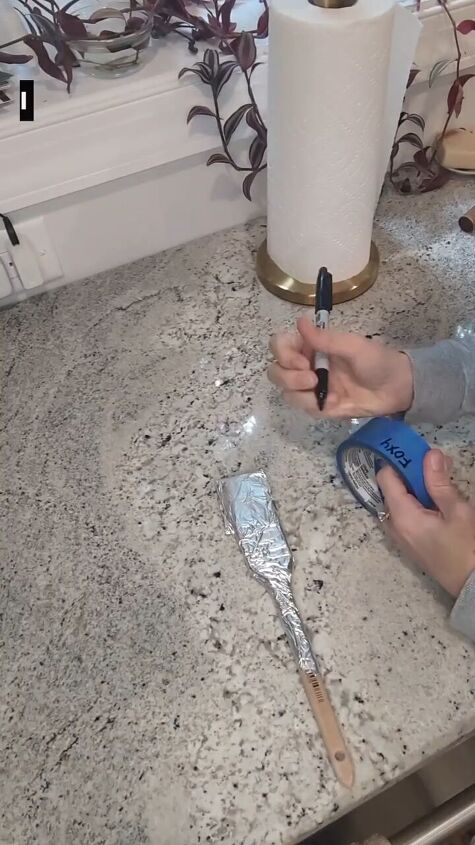
3. Preferred method (for longer durations)
For extended periods of storage, utilize aluminum foil. Wrap the paintbrush tightly in aluminum foil to create an airtight seal, ensuring maximum freshness for the paint.
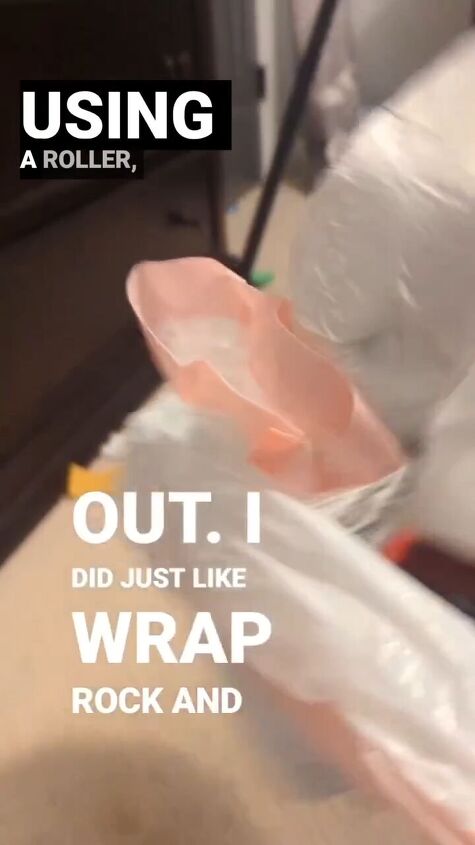
4. Storage for rollers
If you're using a roller, a convenient method is to place it in a trash bag. This helps retain moisture and keeps the roller in good condition until you resume painting.
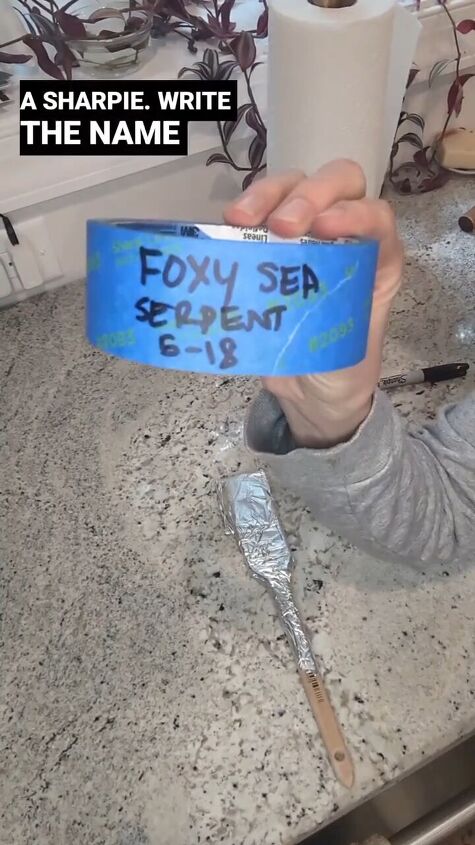
5. Labeling and refrigeration
Upon wrapping your paintbrush or roller, use painter's tape and a Sharpie to label the bag or foil with the name of the paint and the date it was wrapped. This helps you keep track of your supplies and their freshness.

Store the labeled packages in the fridge. The cool temperature of the fridge helps prolong the life of the paint and keeps it fresh for longer periods.
How to keep a paintbrush from drying out
By following these steps and utilizing the appropriate tools and materials, I will always have a wet paintbrush or roller.
These hacks help me know for sure that the paint will be fresh for my next painting session and that the painting tools will be in good shape. Let me know what you think in the comments.
Follow @home.by.hand on Instagram for more DIY ideas.
Comments
Join the conversation
-
I just put the brush or the roller in the pan or can, cover with plastic bag & a wet towel
-
I just put brushes in Ziploc bags. Rollers in in a plastic grocery bag. Also good to dispose roller covers that can't be cleaned and reused.


Frequently asked questions
Have a question about this project?