


Giving an Old Rusty Smoker New Life

by
Andrea M
5 Materials
1 Day
Easy
Years ago a buddy gave my husband a rusty wobbly smoker. Although it worked just fine, I thought it would be nice to make it look new for him.
We started at 9am and finished at 6pm with some other projects in between.
We started at 9am and finished at 6pm with some other projects in between.
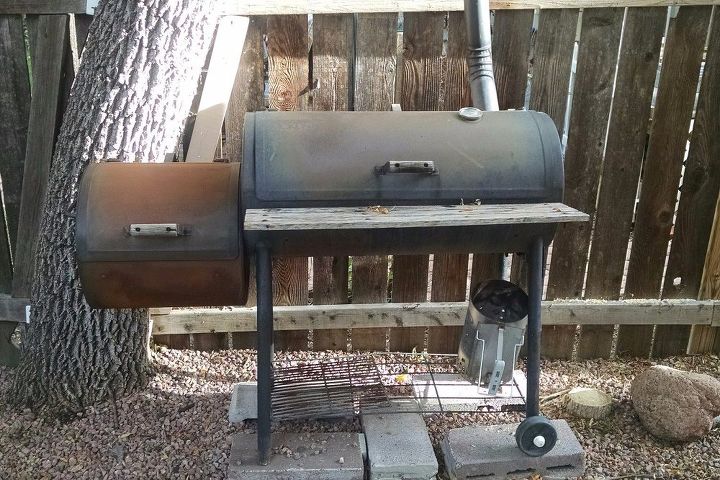
First step was to remove the vent flaps handles and old rotten wood shelf.
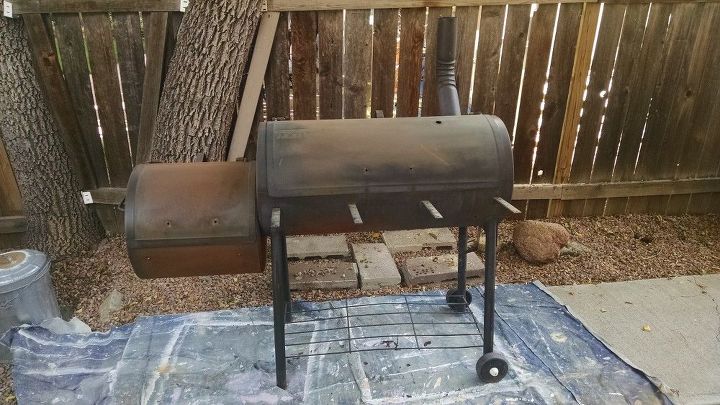
Then we moved it onto a paint tarp and sanded. This took a little over an hour and resulted in lots of sneezing!
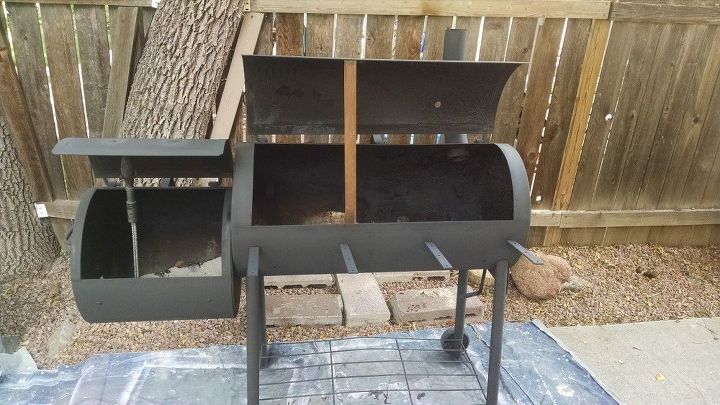
Using some sticks we propped the doors open enough to paint every outside part at once.
Back, sprayed.
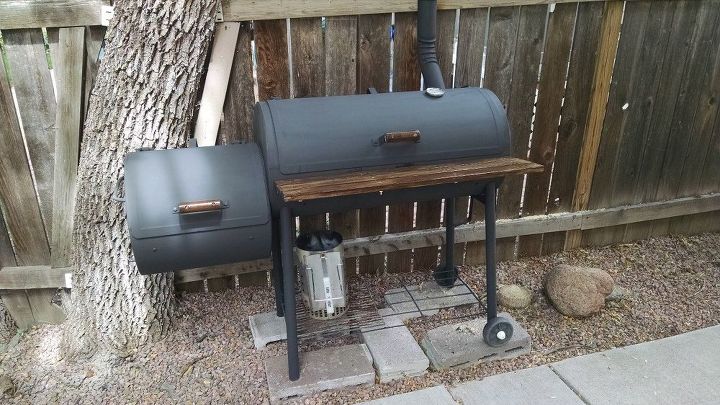
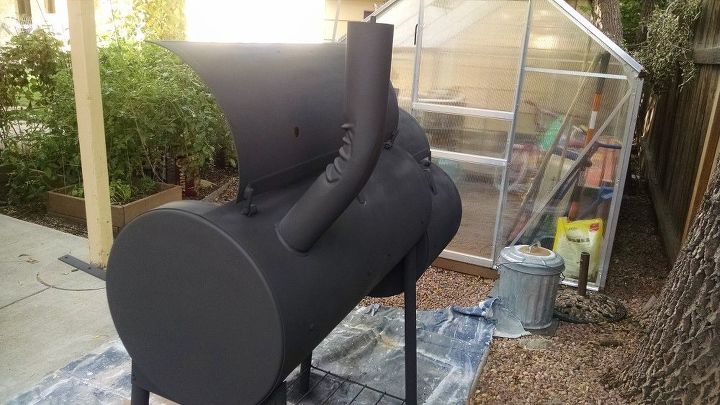
Final step was to reattach the vents and handles and spay the bolts black to blend in and we used brass screws in all the wood pieces (less to rust). We also counter sunk the screws in the shelf for a more leval surface. And then all leg bolts and bracing was tightened (no more wobble).

Not wanting too waste the heat... Fall of the bone ribs were made. These were amazing! (Savory Spice, Carolina Rib Rub is great).
Comments
Join the conversation
2 of 22 comments
-
Good job. My husband and I used the same paint on a pot belly stove and it still looks good. That was 40 years ago.
-
Excellentpost. I was checking continuously this blog and I'm inspired! Very useful information specially the ultimatepart :I take care of such info much. I used to be looking for this certaininformation for a long time. Thanks and good luck. http://www.sweethomesgroup.com/ http://www.antigua.ae/ http://befalcon.com


Frequently asked questions
Have a question about this project?