


DIY Nautical Peg Board

by
DIY Passion
$12
3 Hours
Medium
Hi All :) This post is part of our DIY September's theme is Peg Board. I was stumped at first. This is what I had to work with. (Read: Not much!)
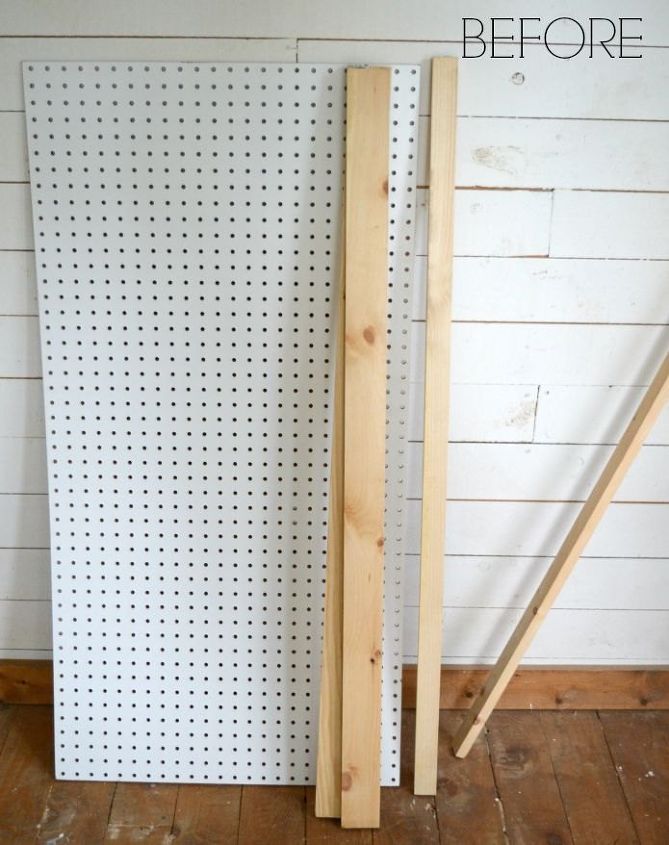
We have been doing a lot of work on our basement rec room - and one little corner is going to be an office space. Then it dawned on me that a peg board would be the best organizing solution for that little nook. So I set to framing out my 4x2 peg board with pre-sanded lumber.
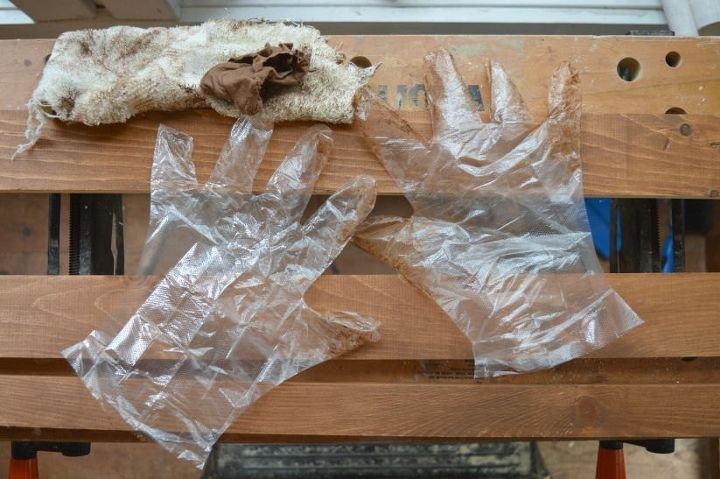
I actually used this wipe-on stain product. I'd never used it before. I was a bit skeptical - but it worked like a dream and even came with those super stylish gloves. (LOL)
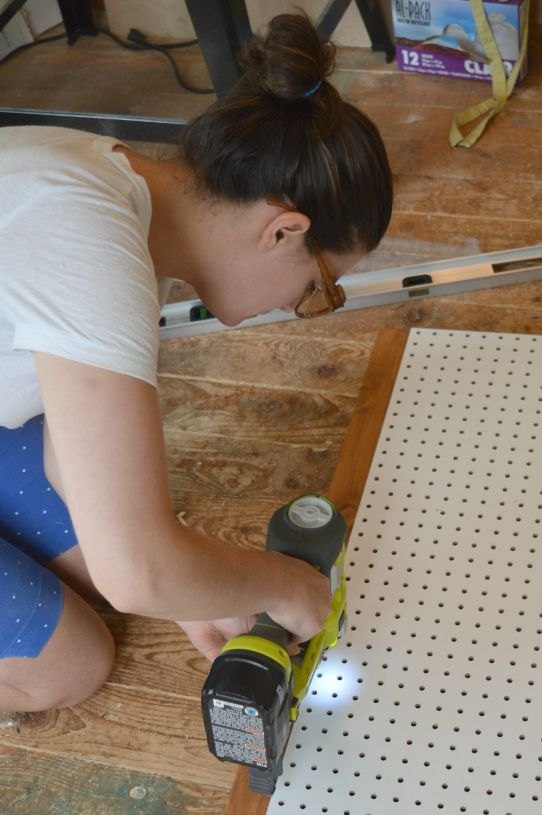
Then, some simple measuring and brad nailing and I had a frame. But then what? Our theme in the rec room is Industrial-Nautical and Dan made it very clear that he didn't want anything too girly.
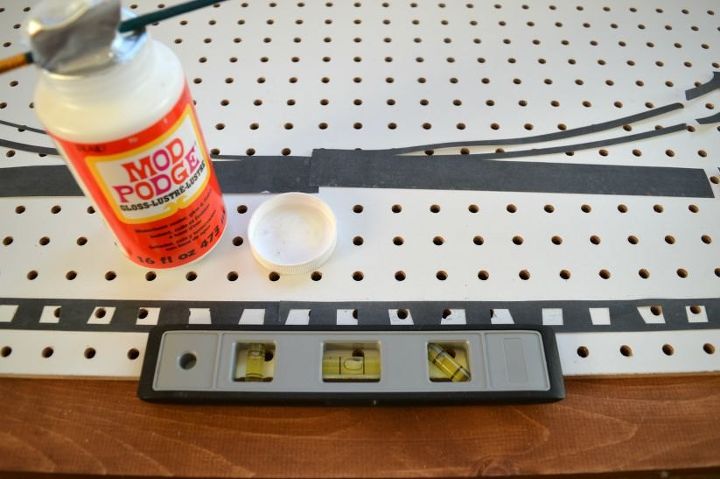
So I took to my Silhouette Cameo and came up with what I *think* is a pretty good interpretation of Industrial-Nautical :) I simply made the design 45" long and 11" high and created it in pieces. Then using a level, a ruler, ModPodge and a little paint brush - I attached it to my framed peg board.
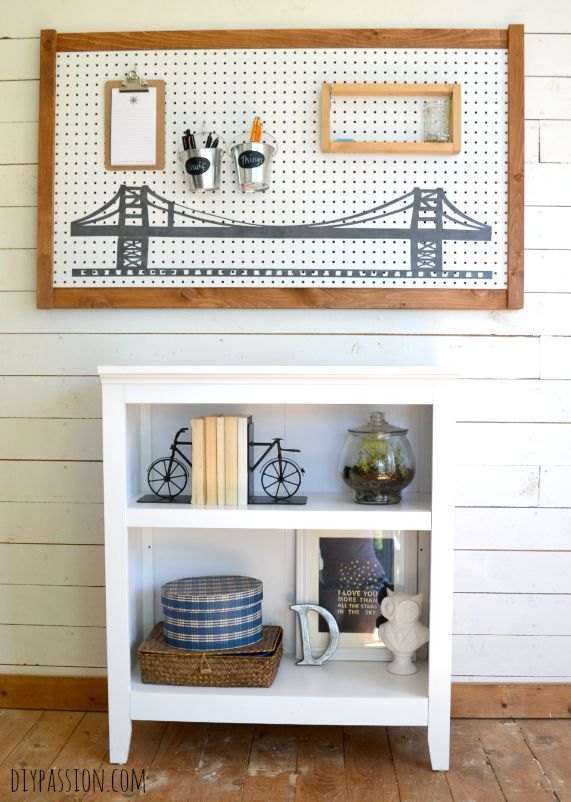
And there you have it! A nautical peg board... that's not your 'typical' nautical style :)
Want more details about this and other DIY projects? Check out my blog post!
Comments
Join the conversation
2 comments
-
Looks perfect!
-
Love the stylish gloves! The pegboard is good too. lol


Frequently asked questions
Have a question about this project?