


Cork Pumpkins

by
B
Easy
Making Fall cork pumpkins- so easy Preview
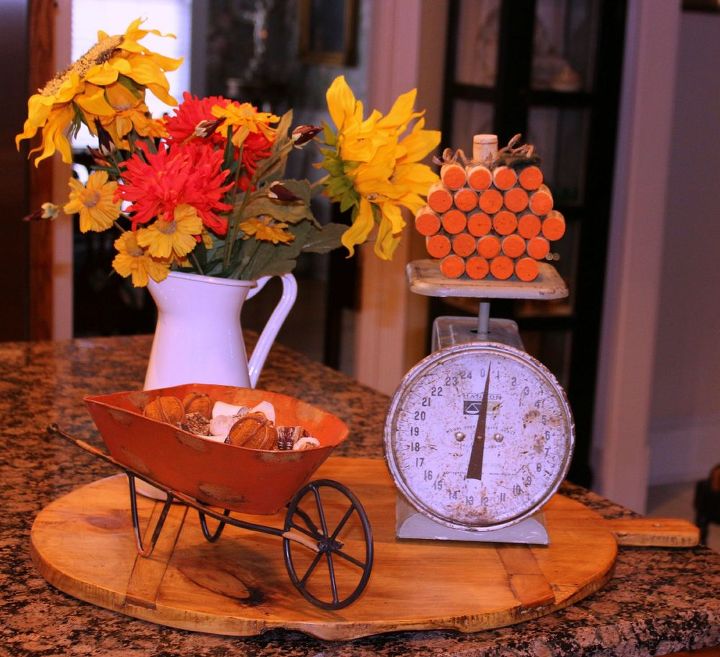
I have been on a mission to use leftover corks for projects. I found the idea of Fall cork pumpkins on Pinterest.
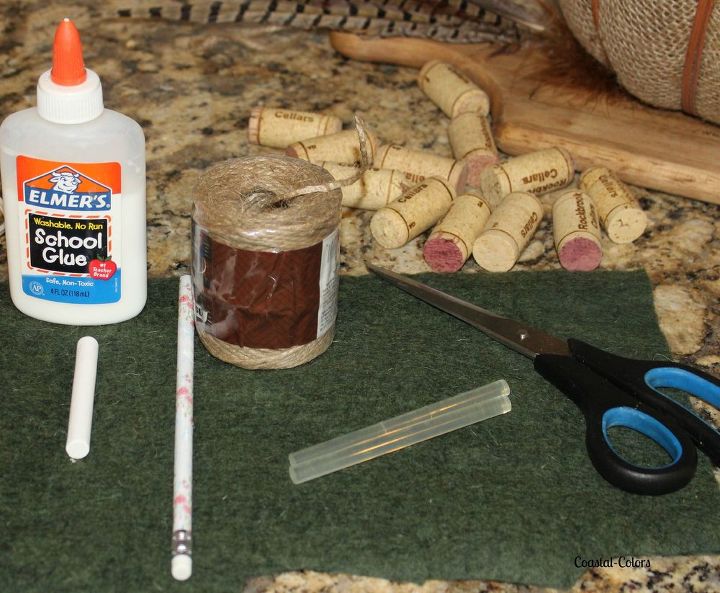
Supplies
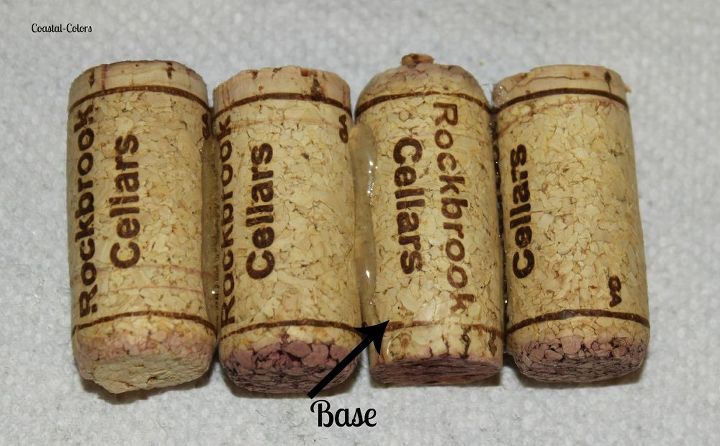
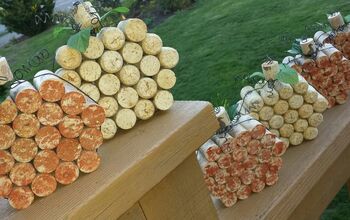
For smaller pumpkins I use four corks for the base. I stacked the corks four on the bottom, five on the next row, then six on the next row, five on the next row and the last row has four. I used hot glue to attach them together.
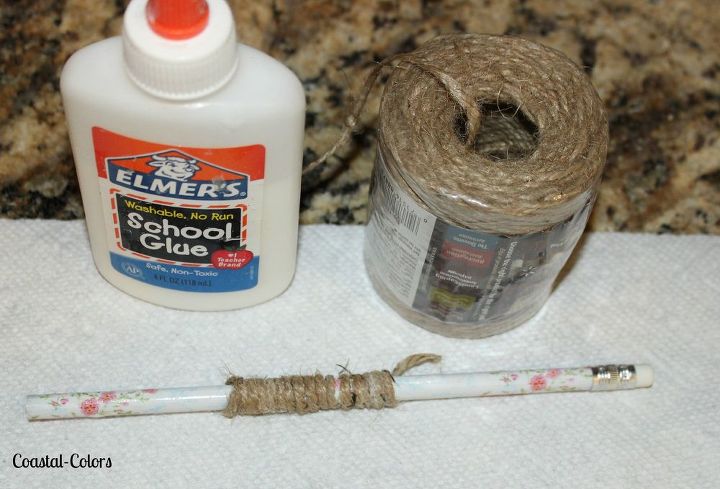
I coated school glue on sisal twine and wrapped it around a pencil to make a coil for the stem. It dries quickly and can be stretched to the desired tension you prefer.
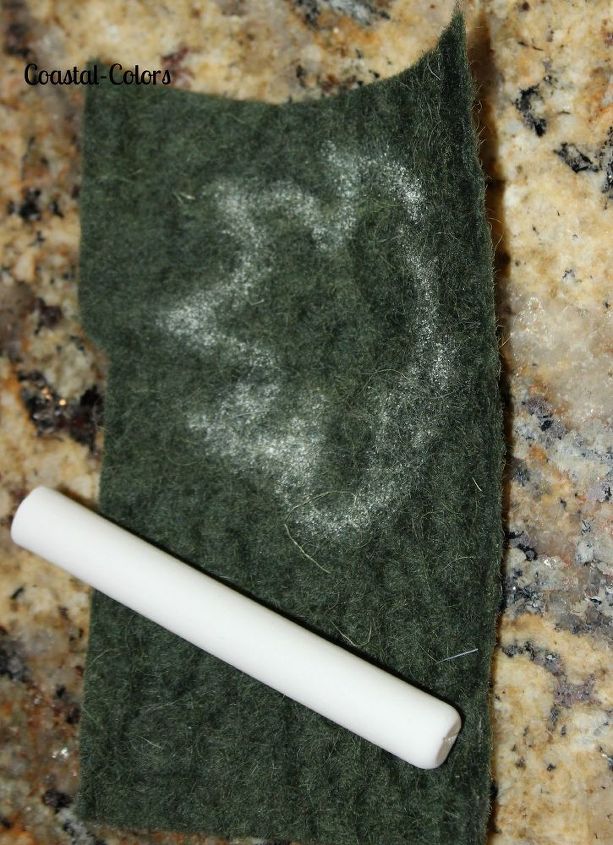
I sketched out a leaf pattern on boiled wool and cut it out for the pumpkin top.
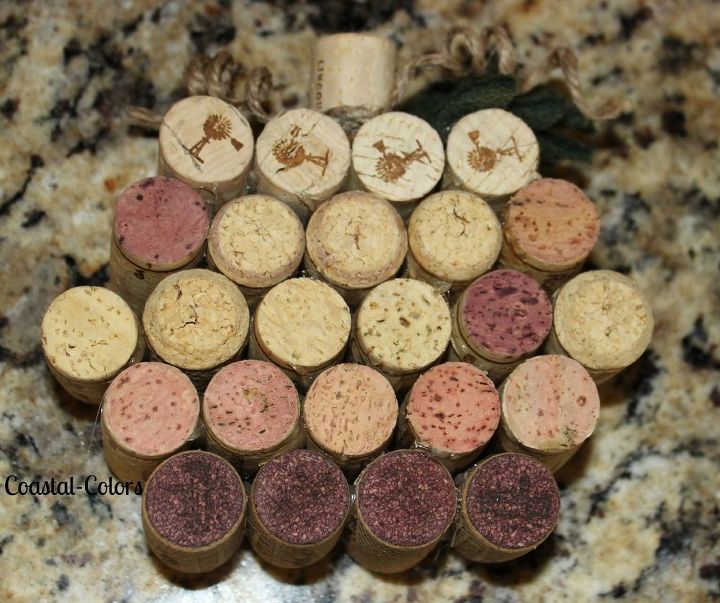
The pumpkin after stacking, hot gluing and adding the stem and leaves.
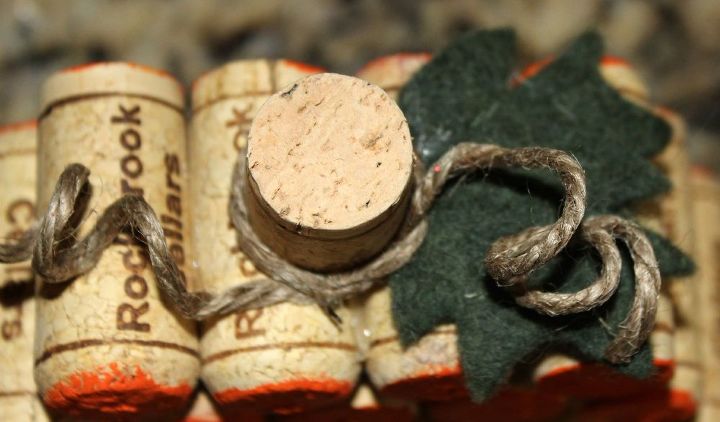
To make a stem, I cut a cork in half and hot glued it to the top of the pumpkin.
You can paint the cork ends with acrylic paint or leave them natural.
Comments
Join the conversation
4 of 18 comments
-
Thanks for the inspiration! Splotchy painted some with orange paint & gold glitter sprayed on after - and some left natural. They were fun!
-
Both sets are awesome! I like how they are more "Autumn" and not strictly Halloween ... will most definitely be making up some. Thanks for sharing!


Frequently asked questions
Have a question about this project?