


Preparation for a New Garden Shed

by
Sandra Black
We had Demolished our old wooden garden shed and wanted to erect a new metal one but before we could start that job we had to do all the preparation.
Starting with Creating a new concrete base.
But even that needed preparation.
First all of the wood etc. from the old shed had to be cleared away and the measurements made for the base.
Starting with Creating a new concrete base.
But even that needed preparation.
First all of the wood etc. from the old shed had to be cleared away and the measurements made for the base.
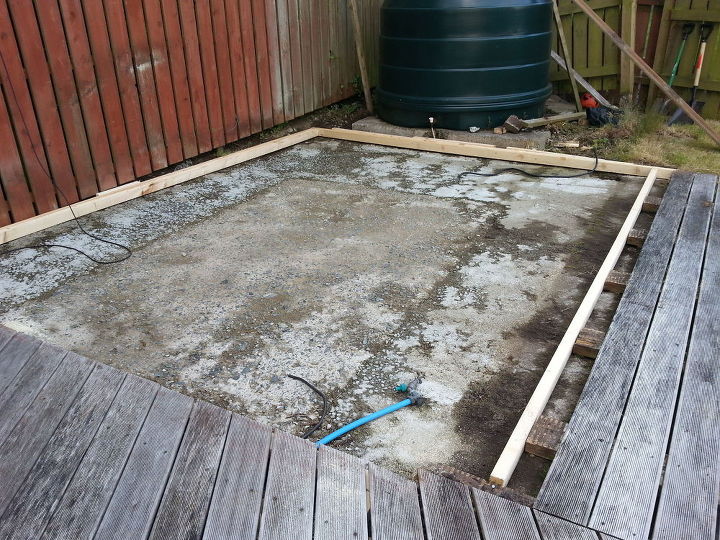
Wood had to be bought, cut and put together to make a frame to pour the concrete into. My husband wanted to make sure that the base was the right size & shape for this larger shed.
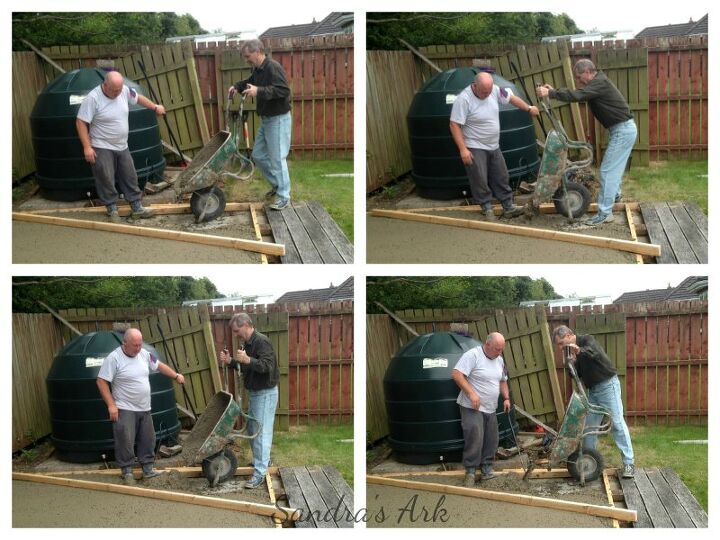
Then it was ready to pour the concrete but he got someone to help with that part.
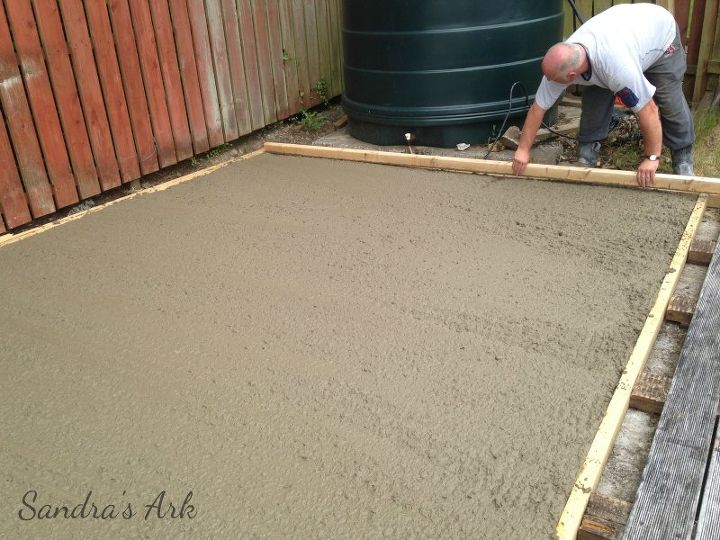
The levelling and smoothing out was very important
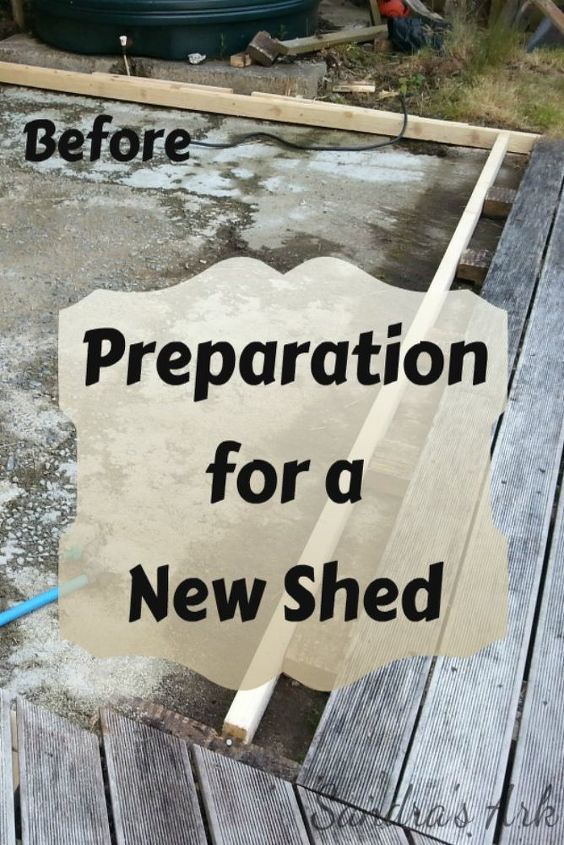
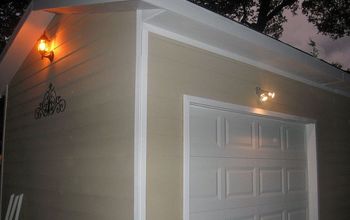
Before and After was so very different
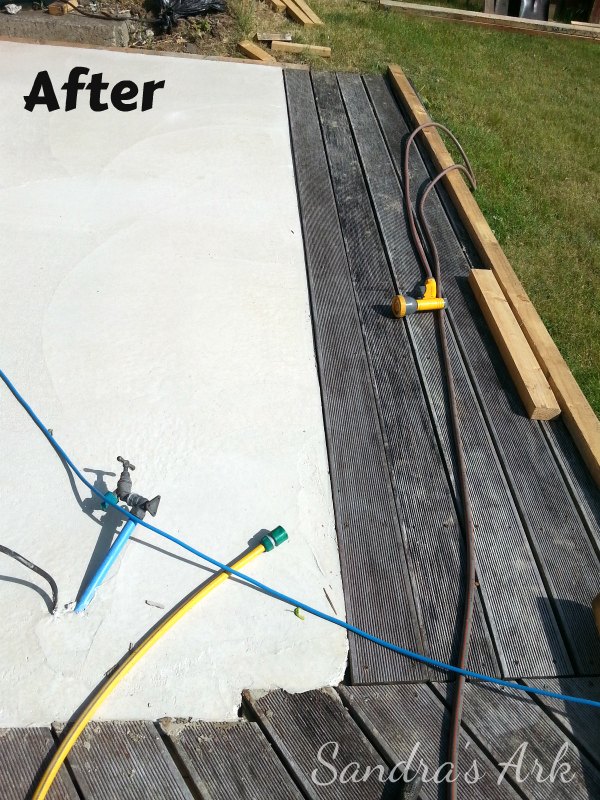
Yes we had electric and water connected in the old shed and so care had to be taken with these when laying the concrete base.
Want more details about this and other DIY projects? Check out my blog post!
Comments
Join the conversation
3 comments
-
How exciting!
-
Perfect timing on posting this - we're getting ready to put up a new shed just for our garden implements/tools and the grand kids' smaller outdoor toys. We are still talking about location and what we'll be using for a base. We got a good deal on a Rubbermaid type shed. I would have preferred wood, but need to save pennies where I can. I'm headed over to your blog now, but was curious as to why you chose metal for the new shed.


Frequently asked questions
Have a question about this project?