


DIY Large Outdoor Dining Table - Seats 10-12
Medium
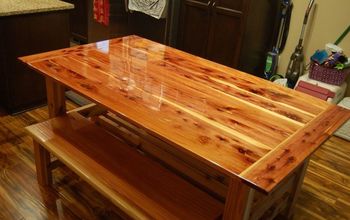
I have been wanting a large outdoor dining table FOREVER! So, to celebrate turning the BIG four-zero, I decided to build myself one. :-) Happy Birthday to me!! I finished it just in time to have my family over to celebrate my jump into middle-age. Except for my daughter’s birthday celebrations, we usually just have a family dinner to celebrate mine or my husbands b-days, which usually means we have 11 or 12 family members over for dinner (including us). So, I HAD to have a table that would fit said 11 or 12 people of course, so build one I did, and I must say I am absolutely LOVING it!
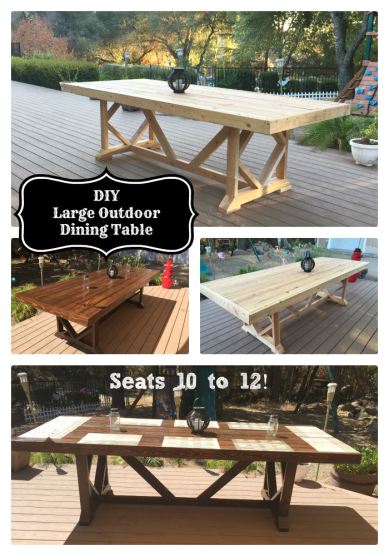
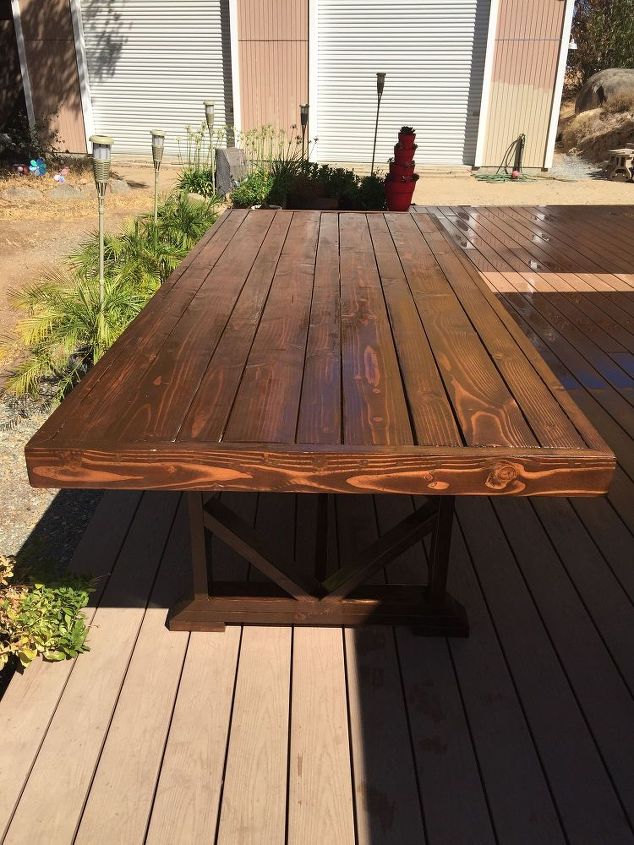
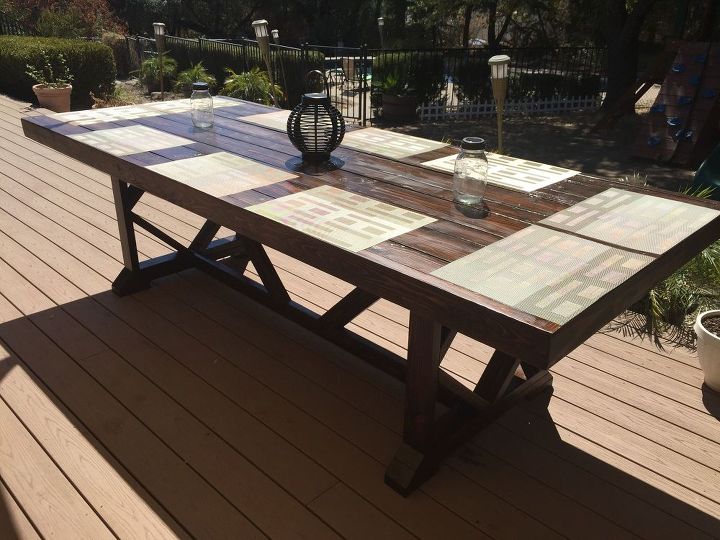
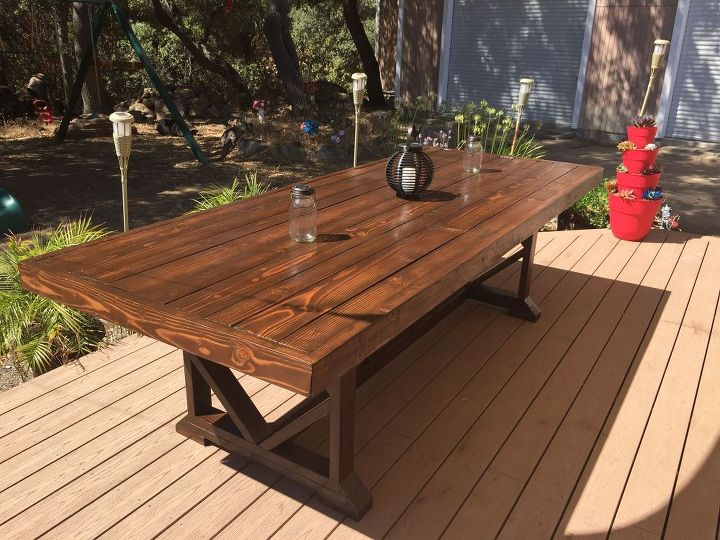
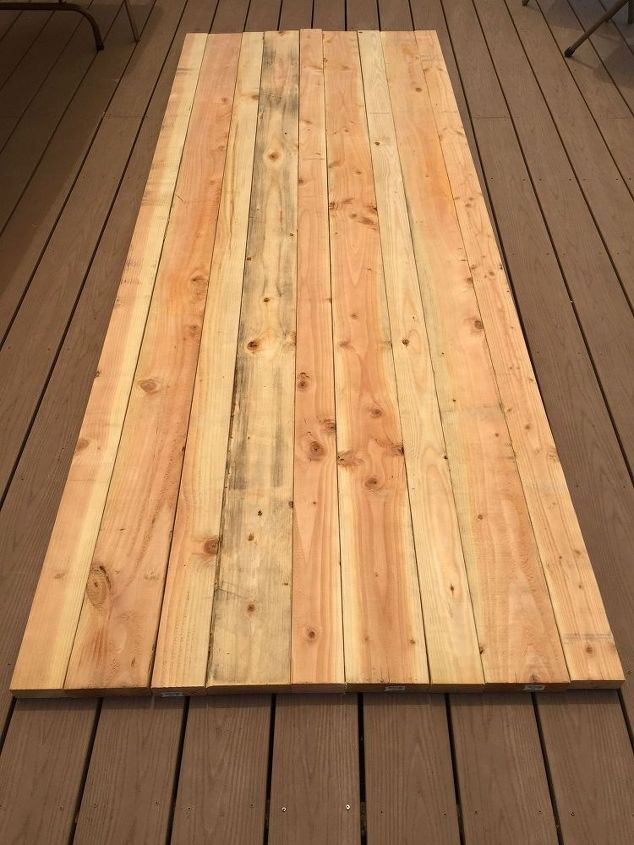
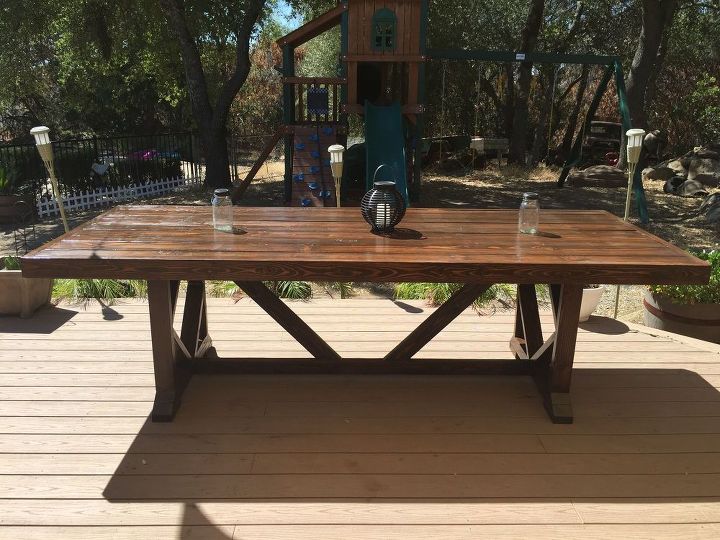
For the table top, I modified plans from Shanty to Chic and Ana White to create a longer table, and then I built my own base by looking at elements from other DIY tables, and creating my own design. Here are some pics of how it turned out:
Materials List:
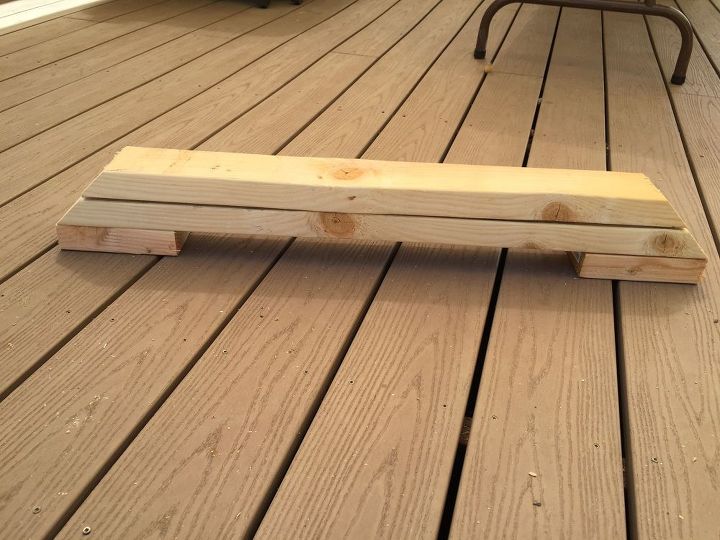
Cut the support boards and attach to the bottom of the table top using wood glue and 2 1/2" wood screws.
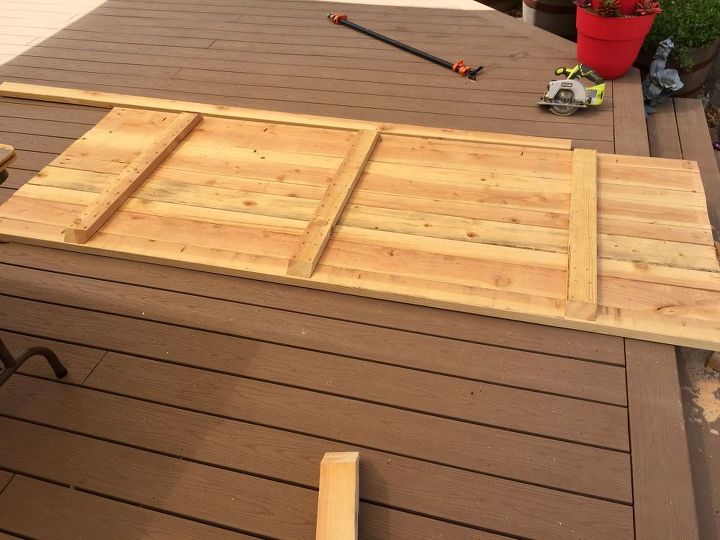
Cut the boards for the table top trim pieces and attach using pocket holes and pocket hole screws.
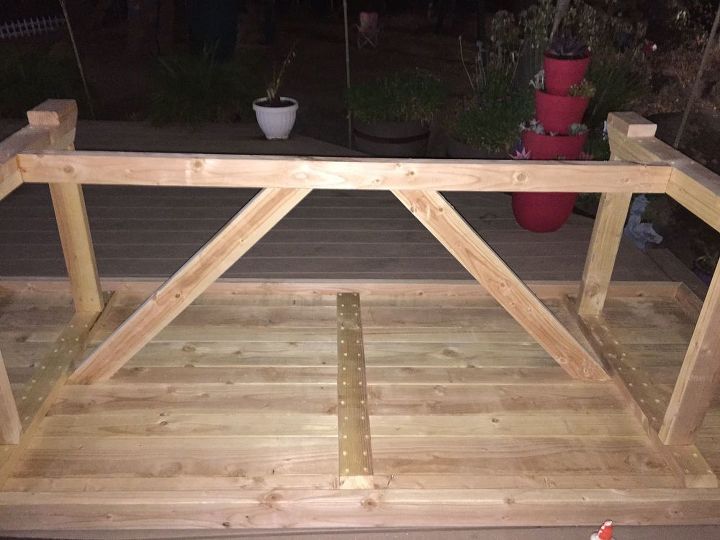
Cut the boards for the legs and attach with pocket holes and pocket hole screws. Next attach the legs to the bottom of the table and add in the cross support board.
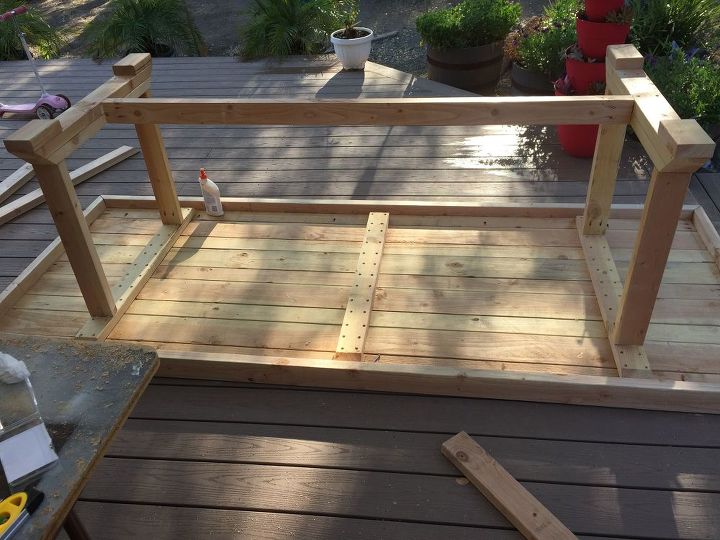
Then cut and add the other cross support boards using wood glue and pocket hole screws.
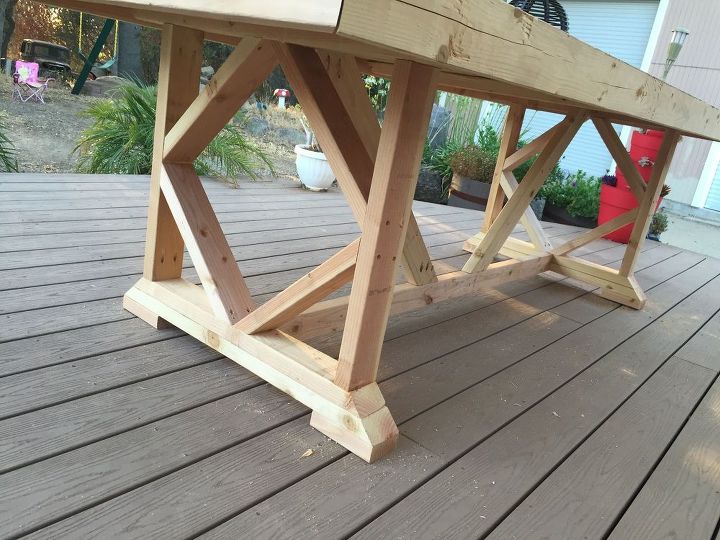
Lastly, cut the boards to create the diamond shape design on each leg and attach with wood glue and 2 1/2" wood screws.
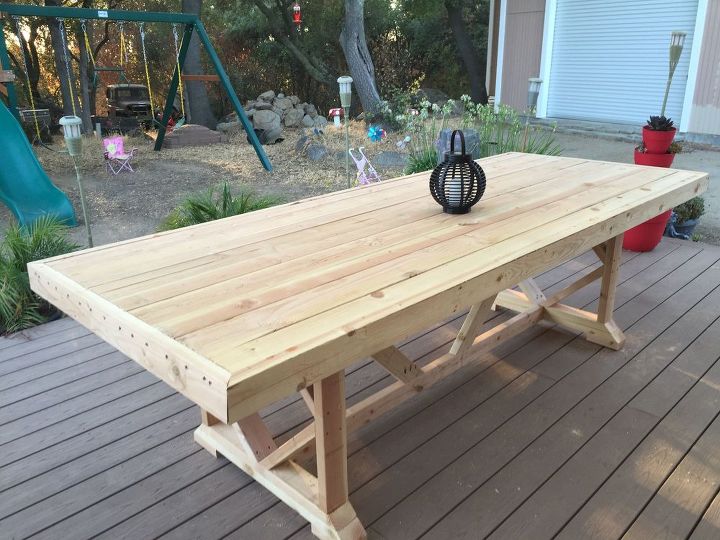
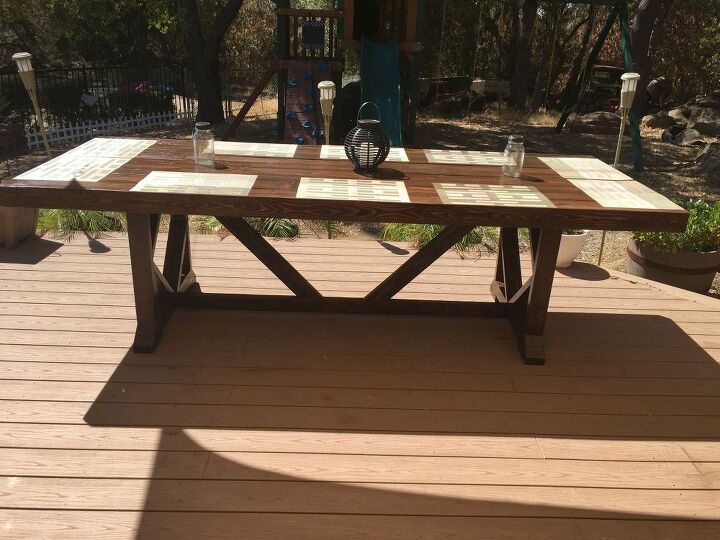
Now, sand, stain, and coat in varnish and you have a beautiful, large outdoor dining table!

Want more details about this and other DIY projects? Check out my blog post!
Comments
Join the conversation
2 of 22 comments
-
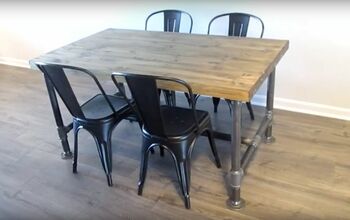
This project is final done. Some of the instructions we did have to modify but the outcome was beautiful
-
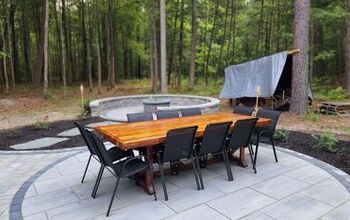
Just wanted to say thanks for the plans!! We had a new patio put in which is absolutely beautiful and we seem to get just as many comments on the table as the patio. Turned out great and the plans made it super simple!


Frequently asked questions
Have a question about this project?
The materials list, calls for 4- 4x6x12, did it mean to say 4-2x6x12? When you look at the cut list it doesn’t say anything about a 4x6x12.
Thank you for sharing your wisdom, we are very happy with the results.
I built this last year for myself and now my daughter wants me to build her one. last year I was able to get instructions and cut list for a matching bench...Is this available ??