


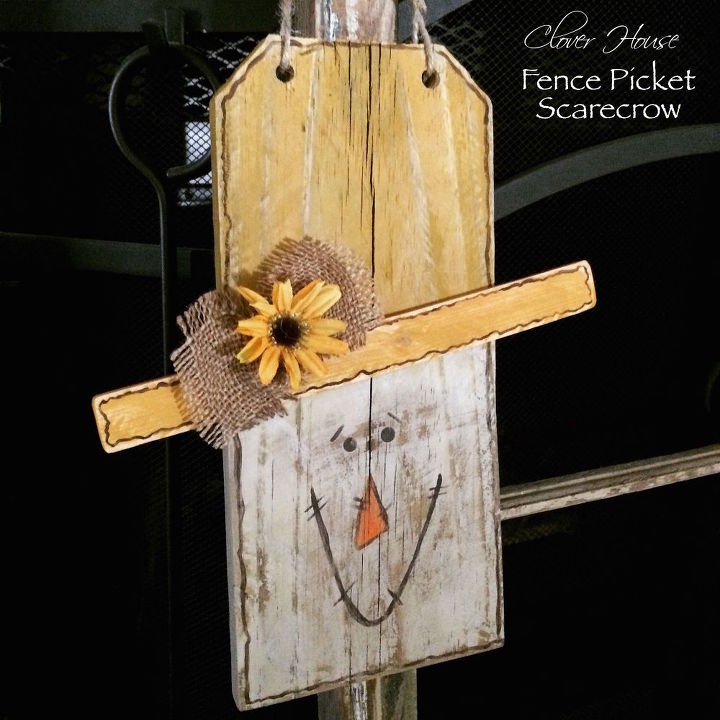
Fence Picket Scarecrow

by
DeeDee
30 Minutes
Easy
So one day I was strolling through my Facebook page when I came across the cutest scarecrow made of wooden pallet slats, of course I loved it and wanted to make my own. I decided to use what I have, which is lots of old fence pickets.
First, I went to Pinterest and found my inspiration. Visit our blog for the cute little scarecrow that I made mine after. So cute and what talent Megpie Designs has! WOW!
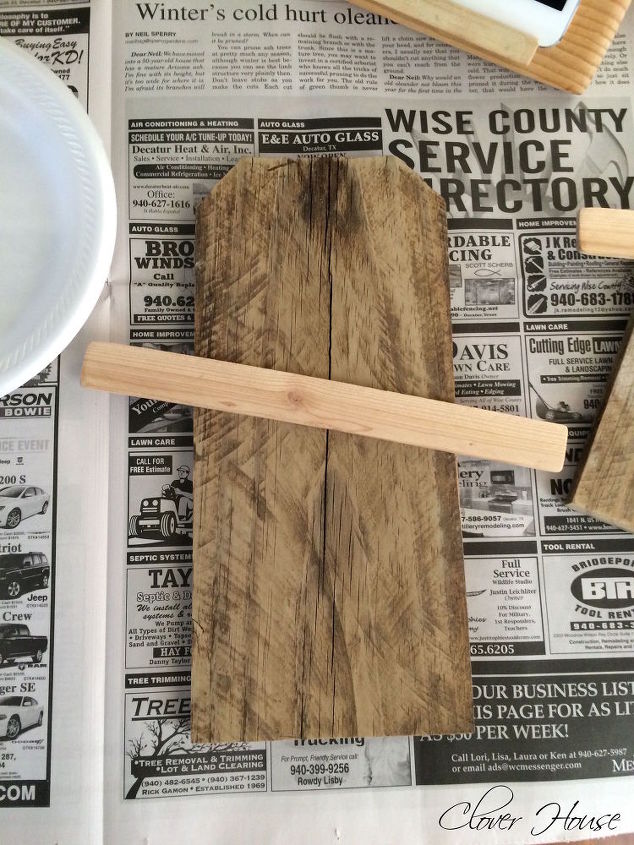
I went out to our fence picket pile and picked out a scrap of picket fence and then I cut it off to measure 12 inches tall. I also grabbed another scrap of wood (we save everything LOL!) that I cut off to measure 10 inches long. Its about the thickness of a paint stick to give you reference. Then I lightly sanded them to be a bit smoother and to round off the ends of the brim piece.
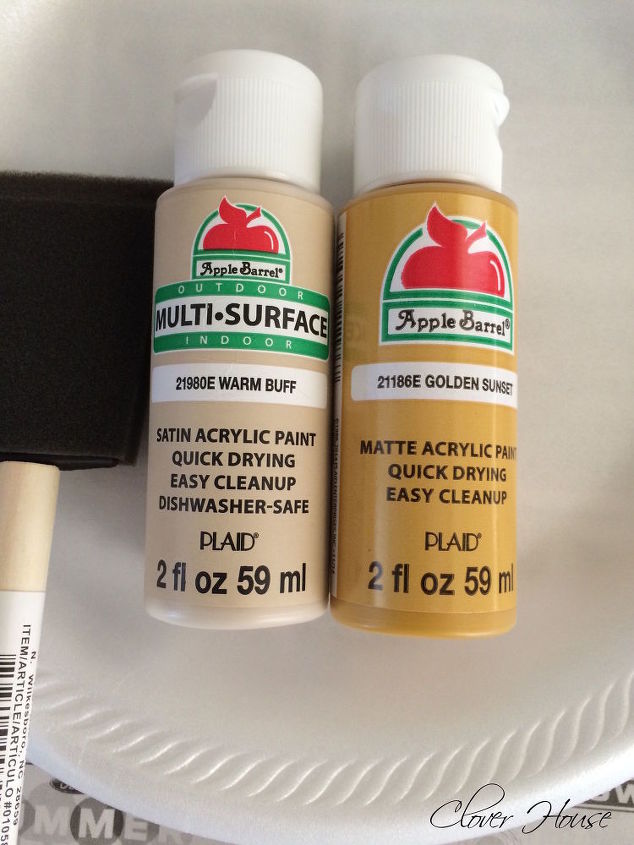
These are the two colors (warm buff and golden sunset) that I used for the scarecrow face and hat. I also used a dark brown and an orange for the face, that I forgot to get in the picture! Sorry!
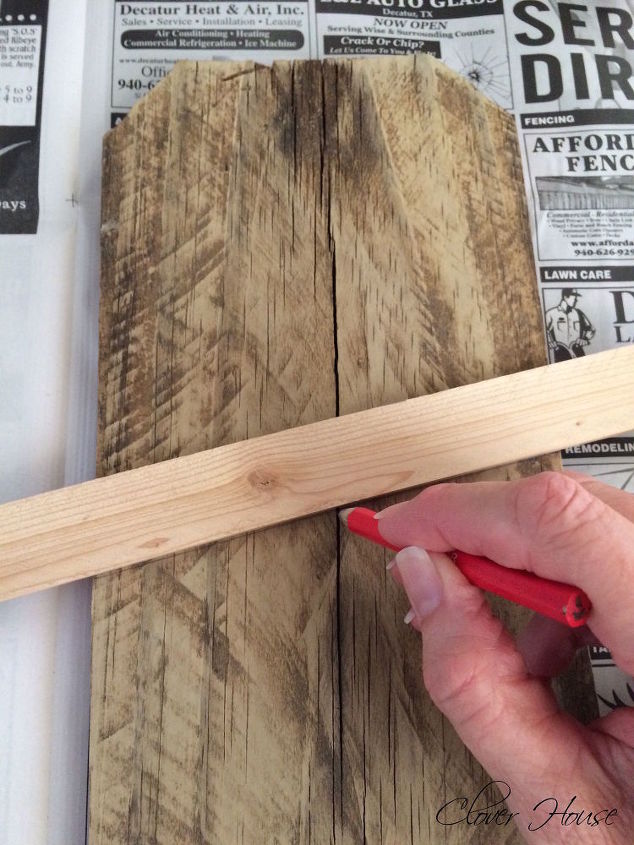
Using a pencil, draw a line where you want the face to stop and the hat to begin.
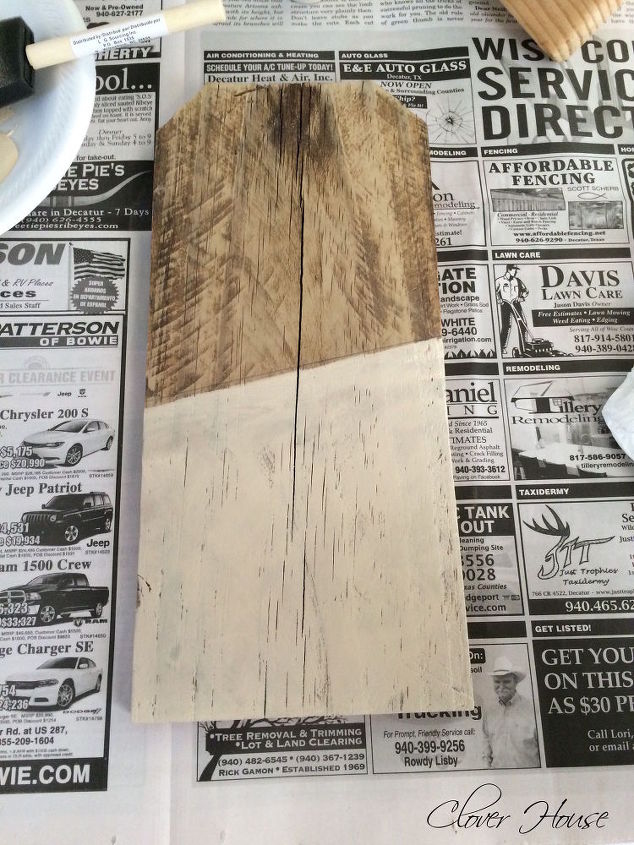
Using the warm buff color, paint the face area up to your line. I tried not to get a really good coverage, because I like the rustic look.
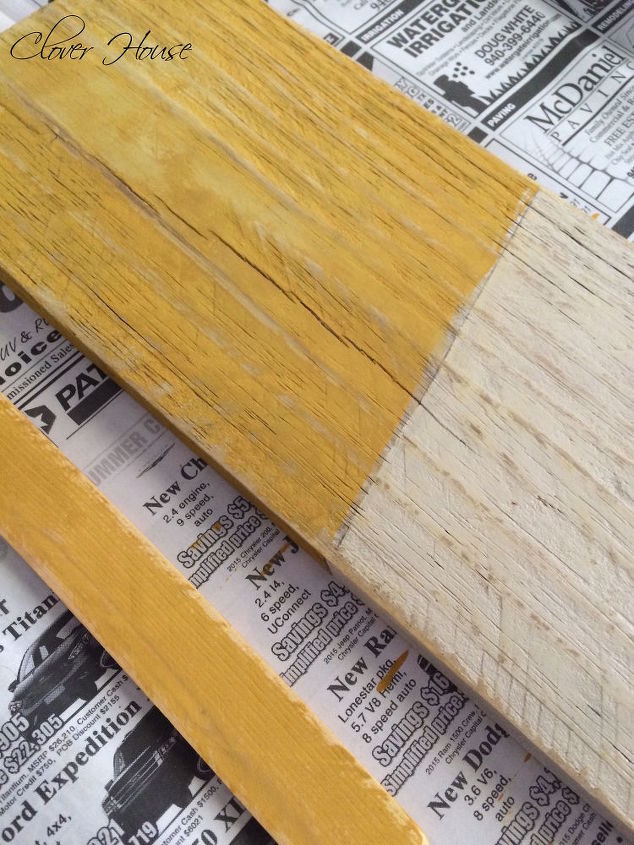
Next I used the golden sunset color to paint the brim piece and the hat area. Then, because I like the rustic look, I went out and sanded off the edges and ran the sander over the whole top area where I had just painted.
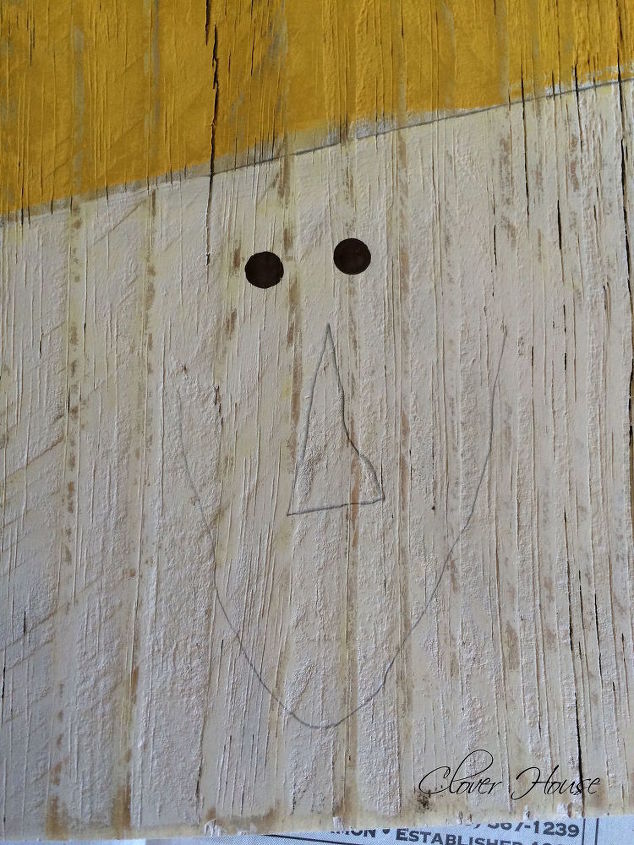
I grabbed my pencil again and drew in the face. Using the dark brown color, I used the end of my pencil and made two dots for the eyes. Again I failed to show you, but I used a very small and very pointed paint brush to add the rest of the facial details.
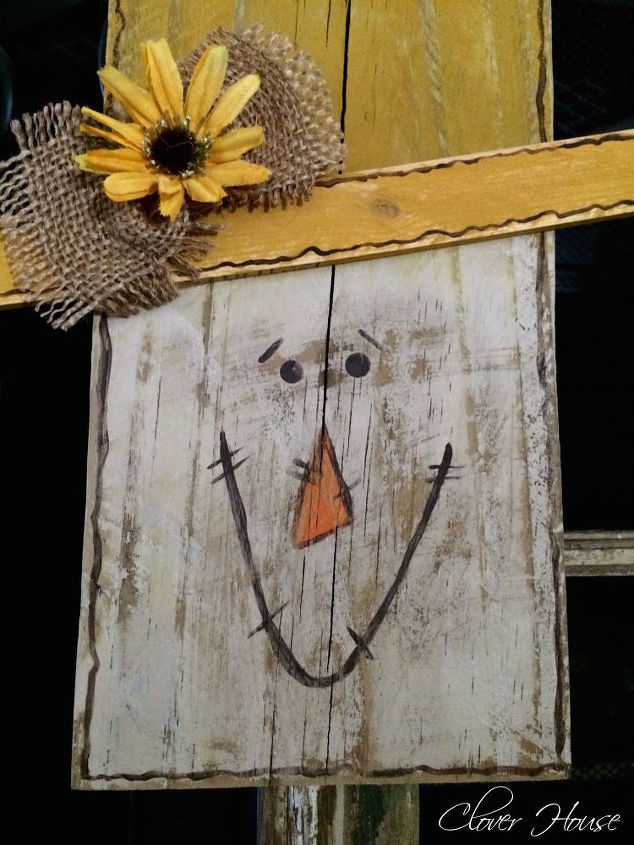
Next, I used hot glue to attach the brim and then the little piece of burlap and a small sunflower to the scarecrow face. Lastly, the freshly painted face was a little too bold for me, so I sanded it down lightly to achieve the look I wanted.
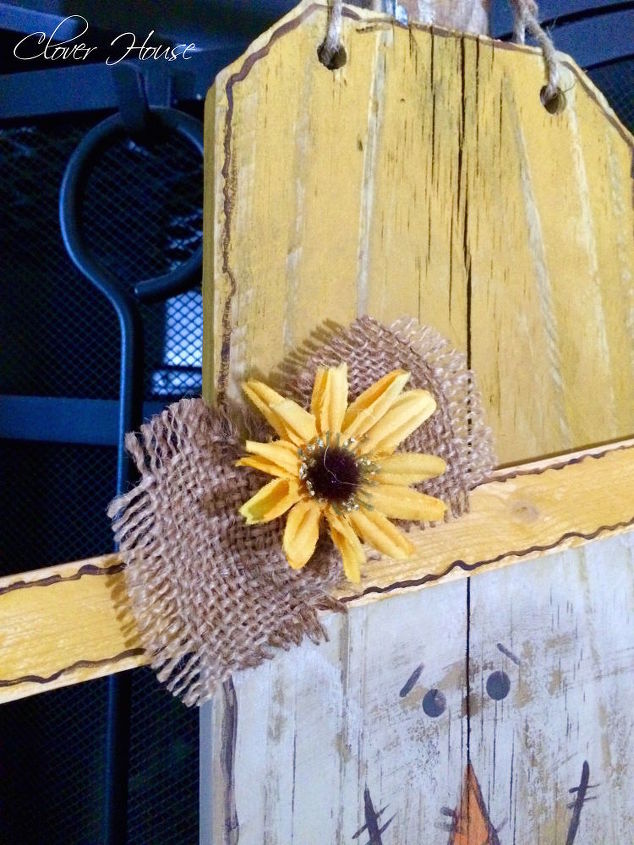
Here's a close up of the burlap accent. I just snipped a little piece of burlap, pinched it in the middle and hot glued it down on the wood, then added the flower to finish it off.
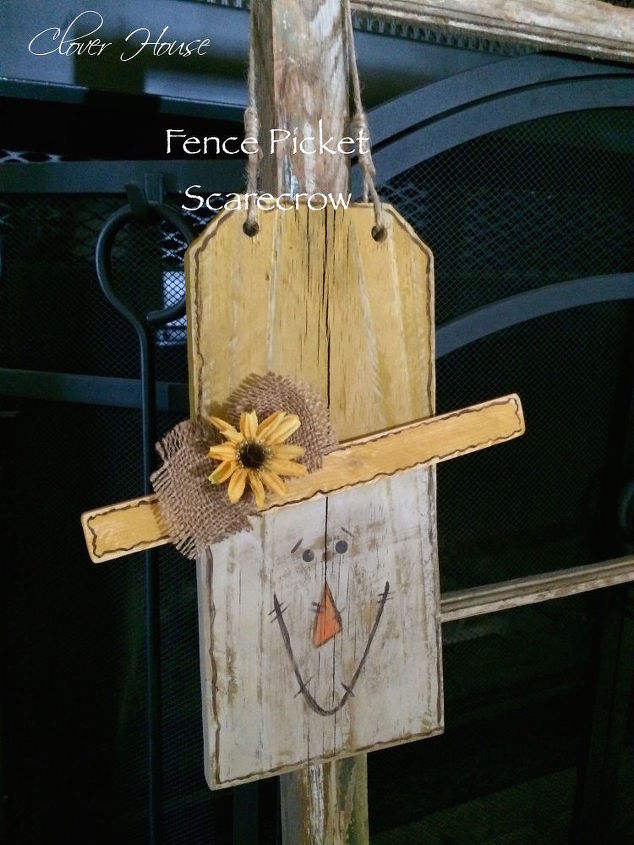
Finally, I drilled two holes in the top corners and added some jute twine to hang with and I was done! He's so adorable if I do say so myself!
Want more details about this and other DIY projects? Check out my blog post!
Comments
Join the conversation
4 of 206 comments
-
This is so cute!
-
Adorable. I will have to try that.


Frequently asked questions
Have a question about this project?