


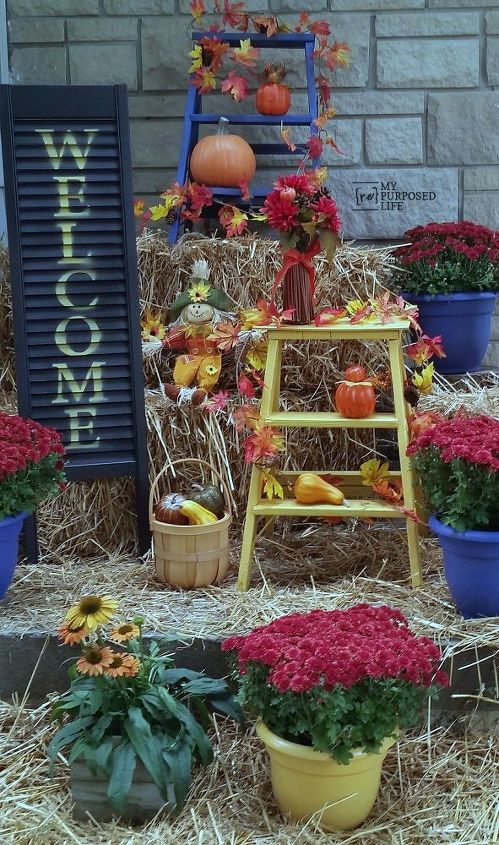
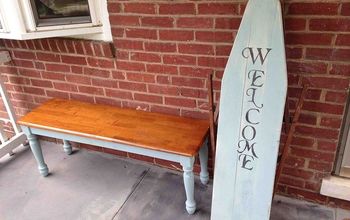
Welcome Sign Porch Decor (broken Bi-folding Door)
While making a shutter fireplace screen out of old bi-folding doors, I had to cut each door in half to use the four matching bottoms. Upon cutting one of the doors in half on the compound sliding miter saw, one of the tops CRASHED to the ground. What's a gal to do? I decided to make lemonade out of the lemons . . .
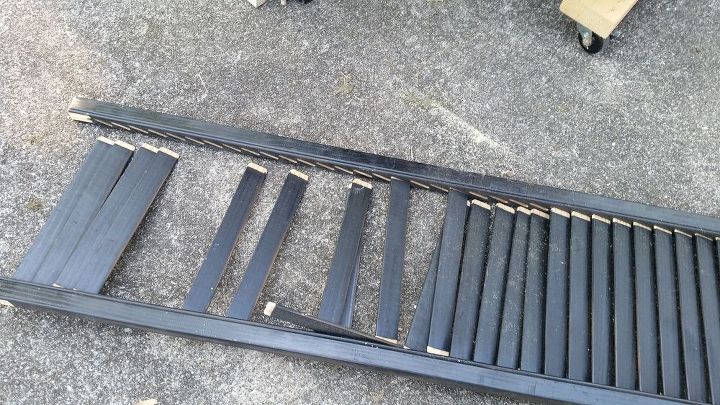
This is what I was faced with when the top half of the bi-folding door crashed to the ground off of the compound sliding miter saw. If you've ever tried putting slats BACK into the sides, you know how frustrating it can be. You get a couple in, and then you have to separate slightly to get the next one in... and one comes loose.
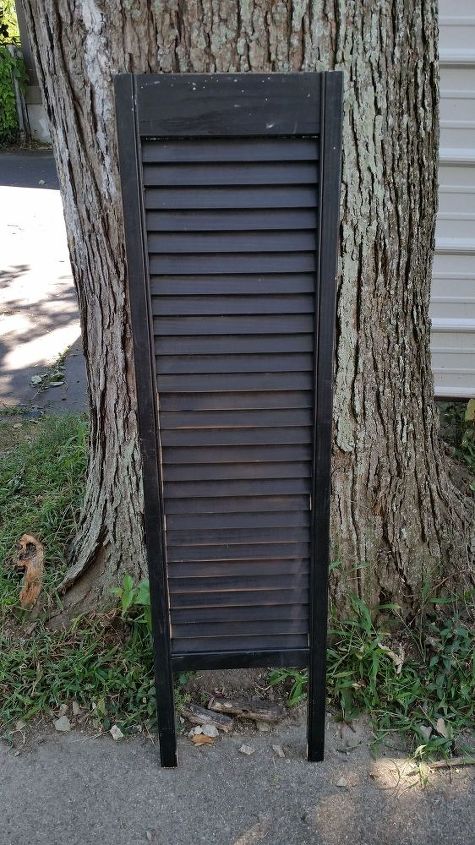
I got so frustrated that I decided at this point the shutter was tall enough. After attaching the lower piece with glue and my nail gun, I was headed back to the saw to cut off the ends so I could use this "shutter" for some project down the road. BUT-then it hit me-just as I got to the saw I decided that these pieces resembled legs! STOP the presses (saw) Leave it as is.
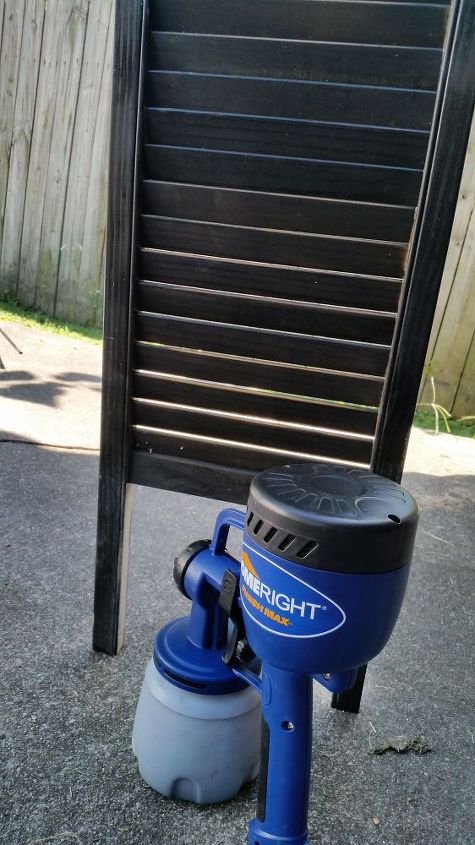
If you have ever painted slatted shutters or bi-folding doors with a brush, you know how messy it can be. Paint one side, flip it, catch the runs. Paint. Flip. Runs. Repeat. That is NOT the case when using a Homeright Finish Max. No runs, flipping or repeating!
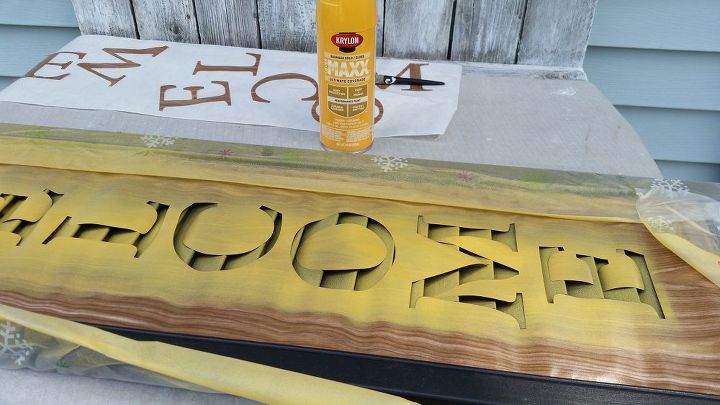
I made a stencil with my Silhouette Portrait and spray painted the word WELCOME onto the shutter.
for more information on how to make your own WELCOME shutter for your porch, hop over to the blog for all the details!

Want more details about this and other DIY projects? Check out my blog post!
Comments
Join the conversation
2 of 7 comments
-
What a great way to use something like this! Great idea Gail.
-
Love this idea!


Frequently asked questions
Have a question about this project?
How did you stencil the letters onto the louvered boards when they are not flat.