


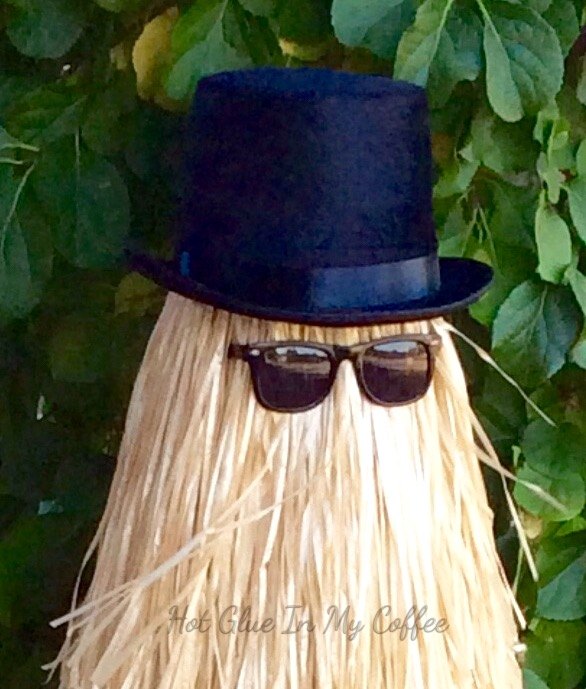
Cousin Itt

This awesome Halloween prop costs less than two venti Pumpkin Spice Lattes!
I have seen the crafters' version of Cousin Itt a few times online and I loved him! He reminds me of my youth and I can't look at a picture of him and not smile.
As much as I tried I couldn't find a step by step tutorial. I read something about tomato cages, styrofoam ball for the head, but I wasn't satisfied. So, here's my own Cousin Itt Tutorial! This project is so easy to make, give him a try, everyone needs a Cousin Itt in their family tree.
Supplies:
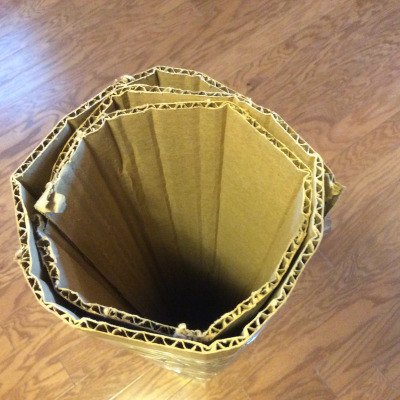
Step 1
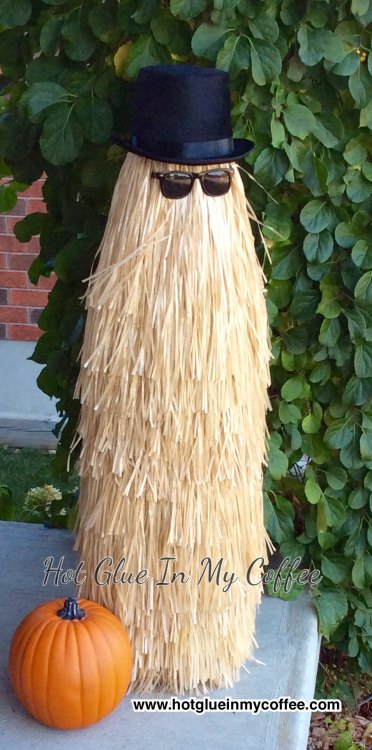
42" Tall! That's like a kilogram in metric.
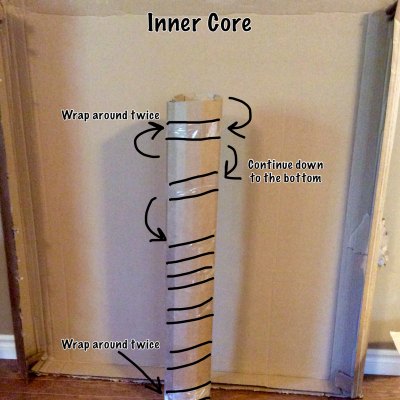
Step 3
wow... cool graphics!!!
WOW!!!!! :O
Step 4
Comments
Join the conversation
2 of 18 comments
-
When I was a kid years ago my Mom had a hula skirt and I used it to be cousin it for Halloween.
-
So clever! Awesome!


Frequently asked questions
Have a question about this project?