


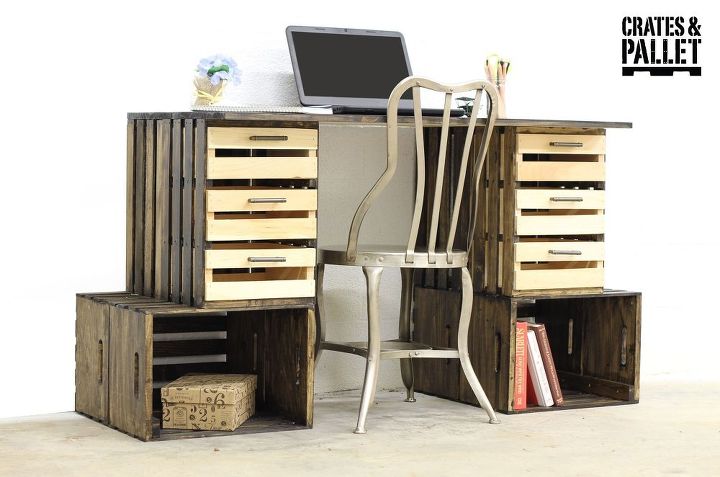
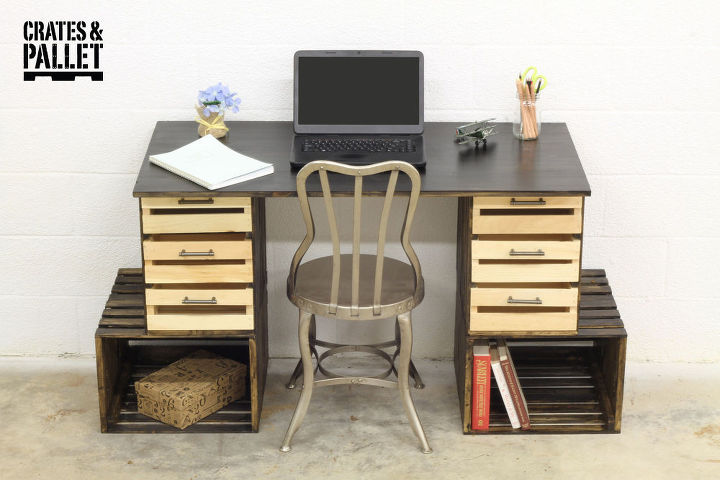
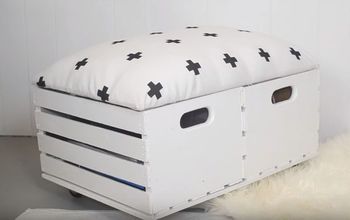
DIY Crate Desk

Using Crates & Pallet Large and Small Wooden Crates from The Home Depot and finished with a piece of plywood or wood of your choice, this Crate Desk is a fun conversation piece for an office, craft room, or dorm room, at a very reasonable price!
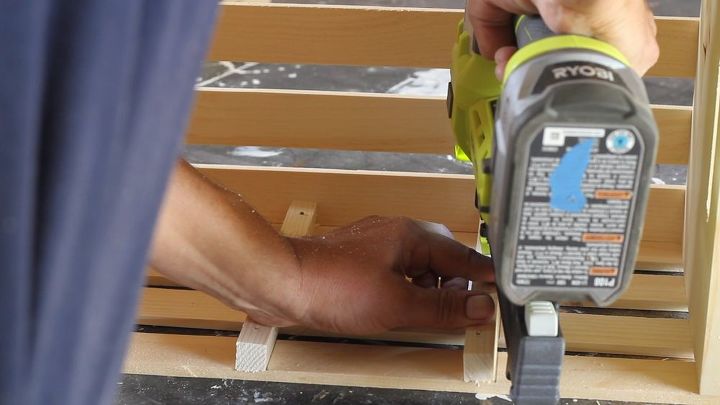
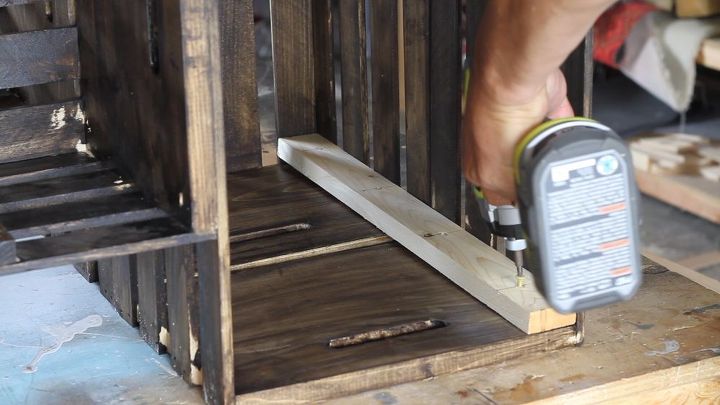
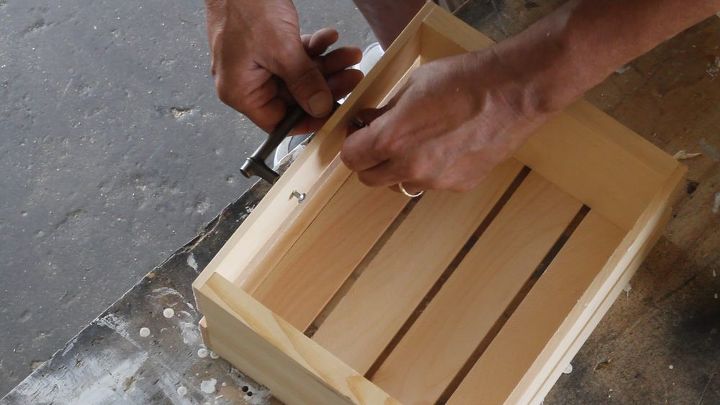
With the crate handle side towards the ground (crate is vertical), attach 4 pieces of wood (9” x 0.75” x 0.75”) to the slatted inside of one of the Large Crates using 1" wood screws. Use two screws per each piece of 9” x 0.75” x 0.75” wood. Screw the other 4 pieces of wood (9” x 0.75” x 0.75”) into the slatted inside of a second Large Crate. Set these two Step 1 Large Crates aside.

Remove all slats from the bottom of 2 more of the large crates.
Create front half of the Crate Base.
Create back half of the Crate Base.
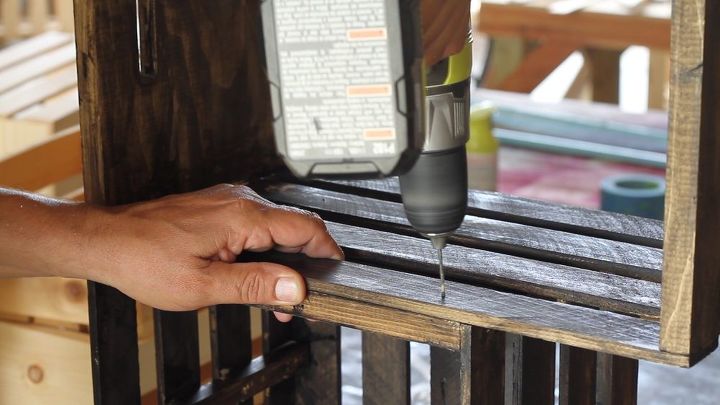
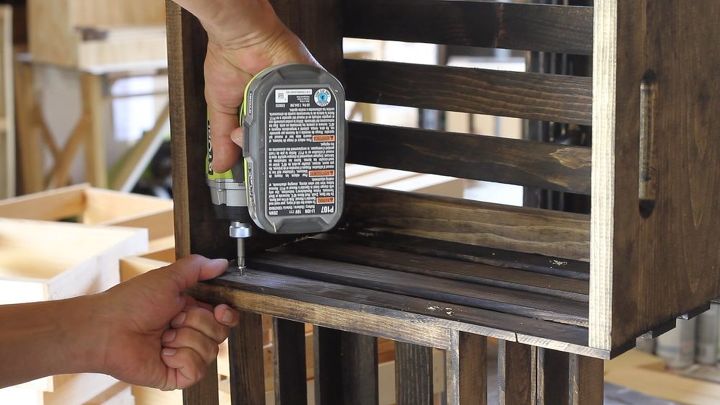
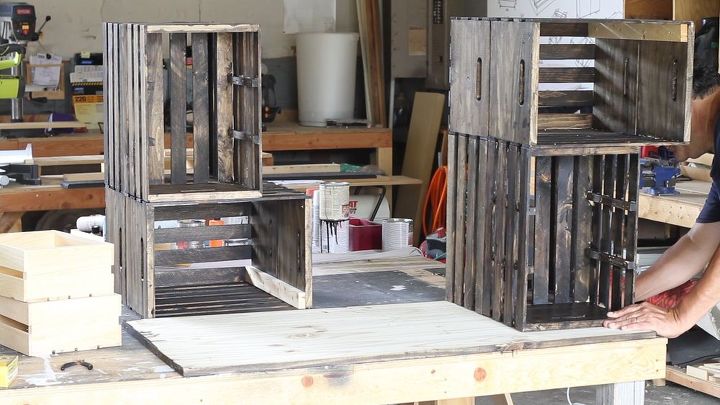
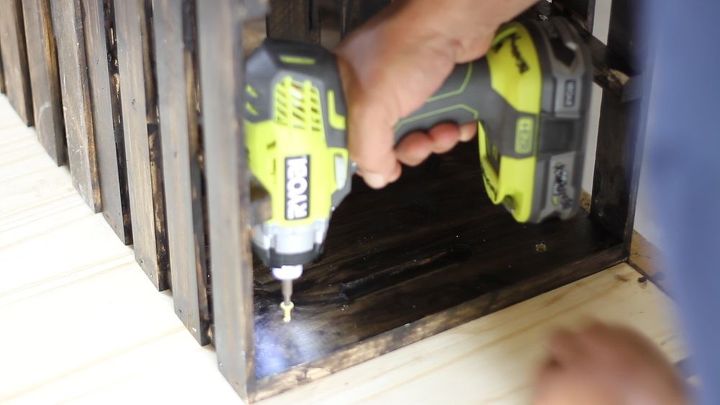
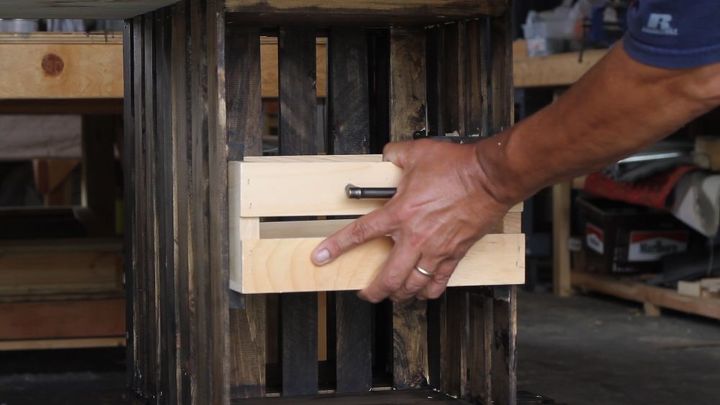
Line up the two far right aligned crate bases making sure the front half Crate Base from Step 3 is open and outward facing, and the back half of the Crate Base from Step 4 has the slatted side facing outward on the back side. Using the wood cuts (18.5" x 1.75" x 0.75"), attach the two base halves together along the inside of the bottom two horizontal crates with (4) 1" wood screws screwed into each of the two pieces of wood.
Align and space the set of Crate Bases about 4' apart.
Attach the 2'x 4' piece of plywood or other wood species (or whatever other material of your choice) to the top of the two Crate Bases to form the top of the desk. Use (4) 1" wood screws along each 2' side of the desktop board to secure into the Crate Bases. Set crate bases with attached desk top aside.
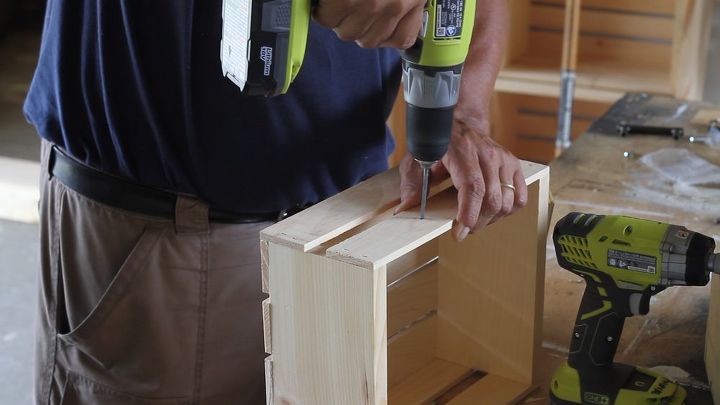
Find the center and drill appropriate sized holes for the drawer pull or knob that will be installed on the slatted side of each of the (6) Small Wood Crates.
Center and attach the drawer pull or knob to the slatted side of each of the (6) Small Wood Crates using hardware included with drawer pull or knob selected.
Slide the (6) Small Crates into the (2) Step 1 Large Crates that make up the Crate Base.
Comments
Join the conversation
2 of 5 comments
-
This would be a great computer desk as it has plenty of ' venting' for the tower
-
this is awesome!


Frequently asked questions
Have a question about this project?