


Mummify a Plastic Skeleton.......

This post is NOT for Haunters that Only Like Cutesy Halloween decor! If you don't like creepy, BEWARE stay out! ;)
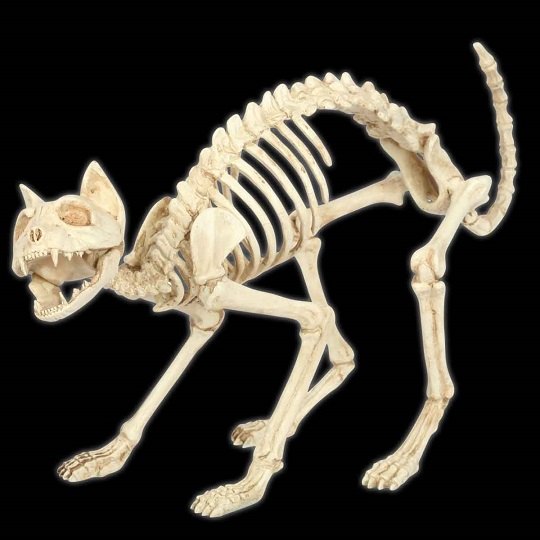
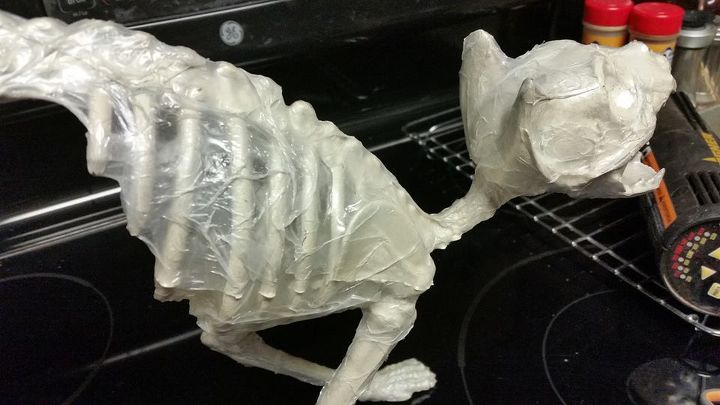
First you need a plastic skeleton of some sort, I happen to be using a cat. (by the way this is not a pic of mine..... as usual I forgot to take a before pic so I snagged this pic off of google) You will also need a thin cheap clear plastic painters drip cloth, spray adhesive, a heat gun, a brown acrylic craft paint, & clear flat/matte spray.
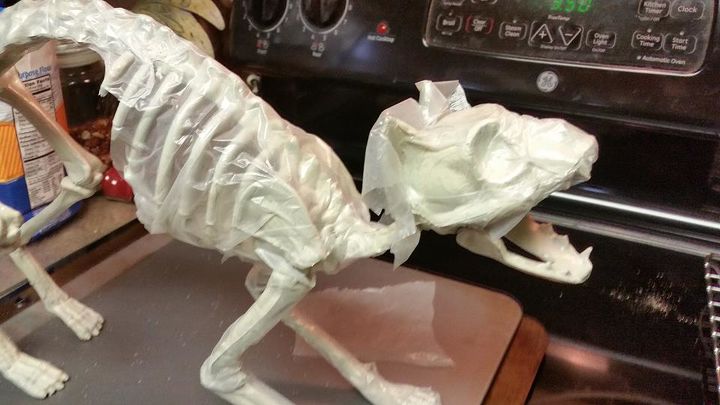
Begin with spraying a small area of your skeleton with spray adhesive, then apply cut bits of plastic to those areas trying to get as much crinkle in the plastic as you can. I had just started putting the plastic on the ears, & it needs to be adhered more closely than it shows in this photo before melting.
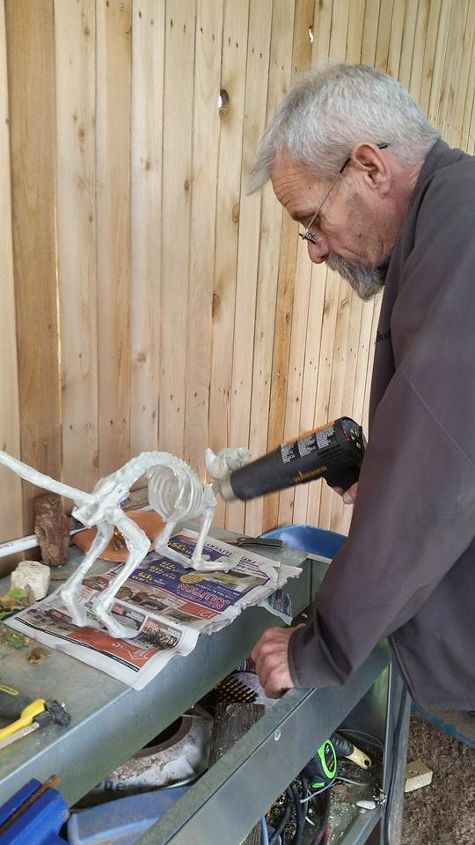
Once you have the plastic adhered fittingly to the skeleton, grab your heat gun & quickly go over the attached plastic. (my handsome guy helped out with the first layers of plastic) You will see the plastic start to shrink & form to the skeleton bones, don't over heat it you don't want the bones of the skeleton to melt! If you get a hole in the plastic cloth layer it's ok, you can leave it or cover over with more plastic later whichever look you prefer....
You can see here how the plastic shrinks to the bone. I decided it was not wrinkly enough for my liking & applied more to these same areas later.

Continue applying spray adhesive & plastic cloth in sections & heating until the entire skeleton is covered.
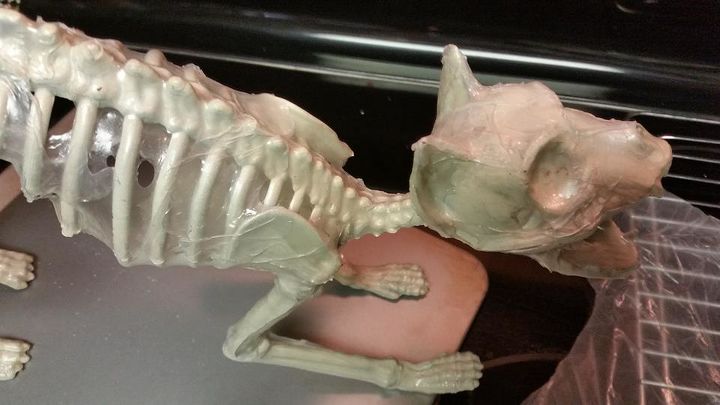
Here you can see where I came back and added more plastic cloth to make it more crinkly.
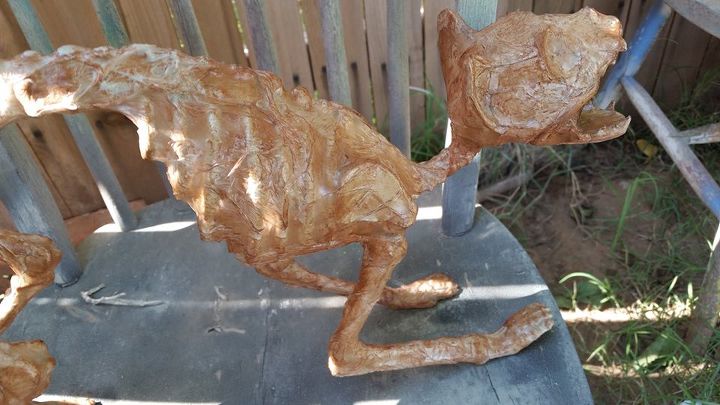
Once you have your skeleton skinned as much as you want you can either use a water based stain to go over your cat with, or a watered down acrylic craft paint. This will give you a dried up mummified skin look. Once the stain or paint has dried go over the entire skeleton with your flat/matte clear spray for protection. If you plan to use your mummified skeleton outside it would be a good ideal to go over the whole thing with a Spar Urethane to give it more waterproofing than just a spray clear coat.
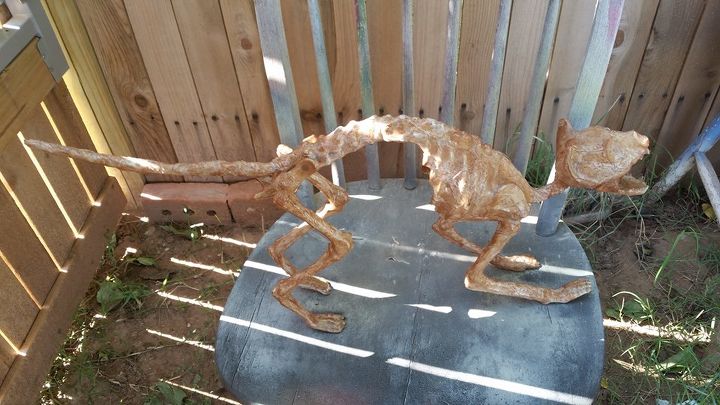
You now have a mummified skeleton, which is pretty realistic & creepy! The next step I intend to do with this skeleton is what really takes it Over the Top Creepy into the Professional Haunters Realm.... Which is to take it from a mummified skeleton to a skinned skeleton! GROSS!!! Not sure I will post instructions for that, I'm sure I'll get plenty of Hate just for this one!
Disclaimer: NO Cats were Harmed in the making of this mummy cat! I Love Cats!
DIY Halloween Decorations
Comments
Join the conversation
-
Wow this actually is really spooky (and Im not scared easily!)
-
Where can you buy a fake cat skeleton? And have you thought about maybe somehow affixing some bits of tattered fur here and there for a more realistic and scary look?


Frequently asked questions
Have a question about this project?