


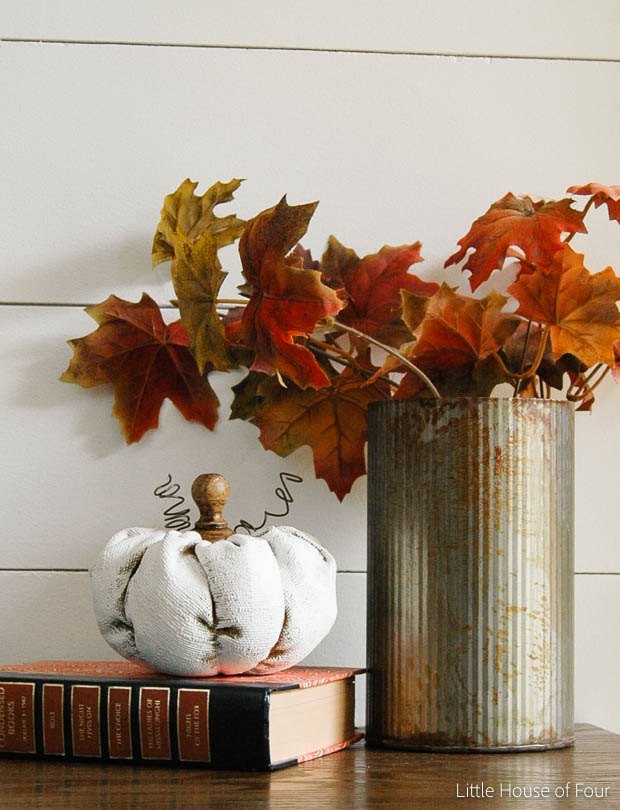
Rustic Painted Fabric Pumpkins
Fall is probably my favorite time to DIY seasonal projects for our home. I'm pretty sure I could make pumpkins all day long and never get tired of them. I tend to gravitate towards wood projects, but this time I decided to try something different.
I recently went to a vintage market and was inspired by fabric pumpkins they were selling. I knew I could make them myself and the fact that I had all the supplies at home made this project a no brainer.
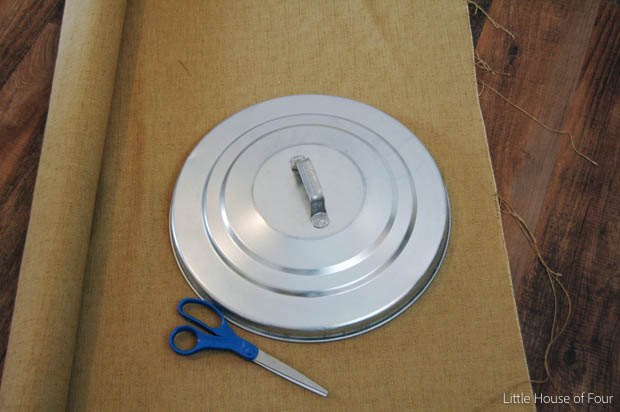
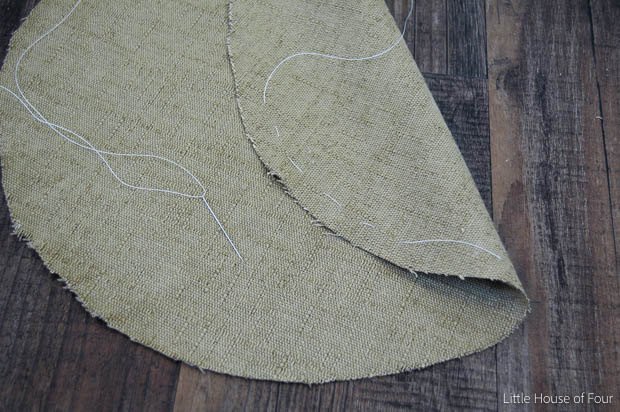
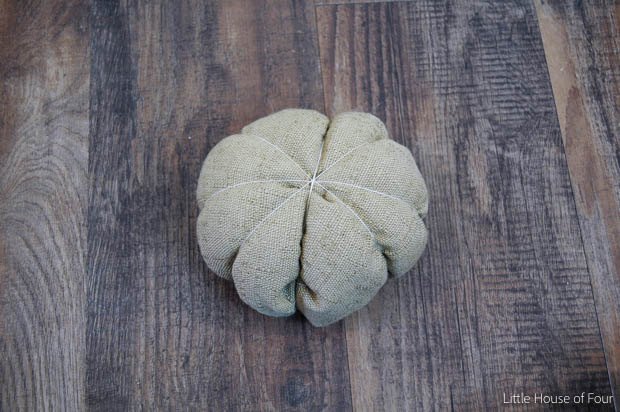
I cut out the circle then used heavy duty thread to stitch around the edge of the fabric, stuffed it with poly fill then pulled the string tight.

I wrapped more thread around the entire pumpkin to divide the fabric into sections.
I painted the pumpkin using white chalk paint, then finished it off with wire and a wood knob.
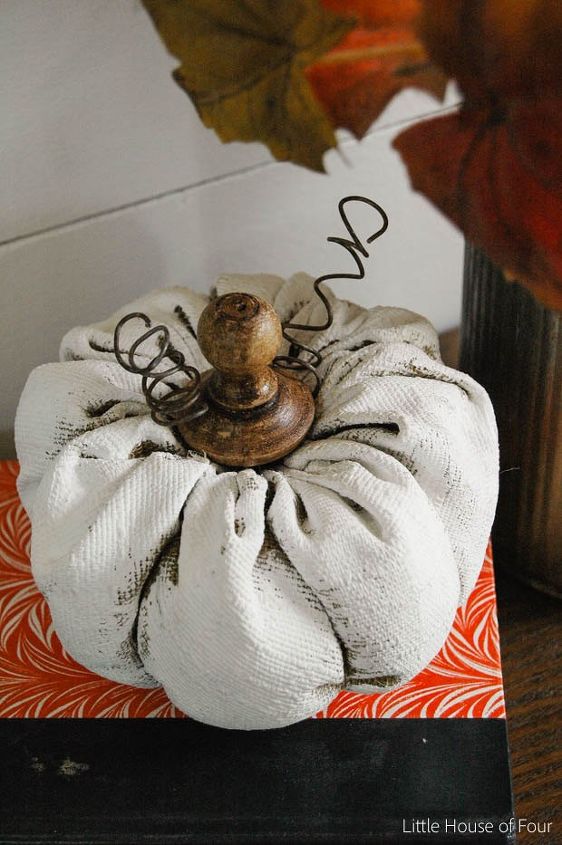
It's the perfect rustic addition to my fall decor!

Want more details about this and other DIY projects? Check out my blog post!
Comments
Join the conversation
2 of 28 comments
-
this is a really great idea and doable too!
-
I think this is so cute!! I like the stem you used and the burlap.


Frequently asked questions
Have a question about this project?