


How to Make Pumpkins Look Realistic With a Simple Paint Treatment

by
Jamie
Medium
While I love the idea of chalk paint over brightly colored plastic pumpkins, the finished craft looks a little plain and dull. To remedy that problem, I came up with a simple technique that will easily give you the texture and color variation of a real pumpkin.
s
s
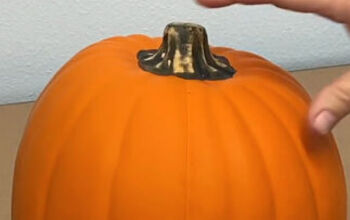
A pumpkin straight from the patch will not be one solid color. It will have different colors and textures to it. By simply dry brushing a slightly darker color over the different shades of green, I created pumpkins that look realistic.
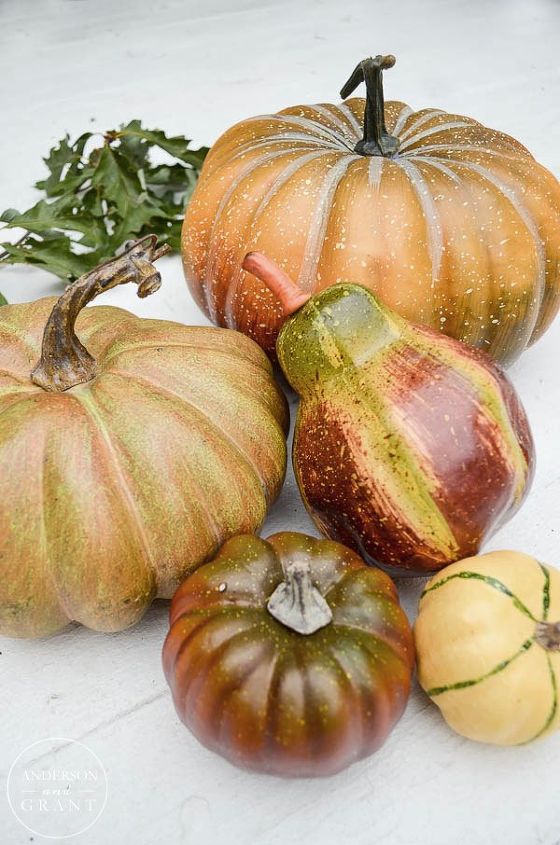
This is the types of pumpkins that I started with. Colorful, fake, and look like plastic....not at all the type of fall decor that I look for. I picked most of them up on clearance last year at Hobby Lobby.
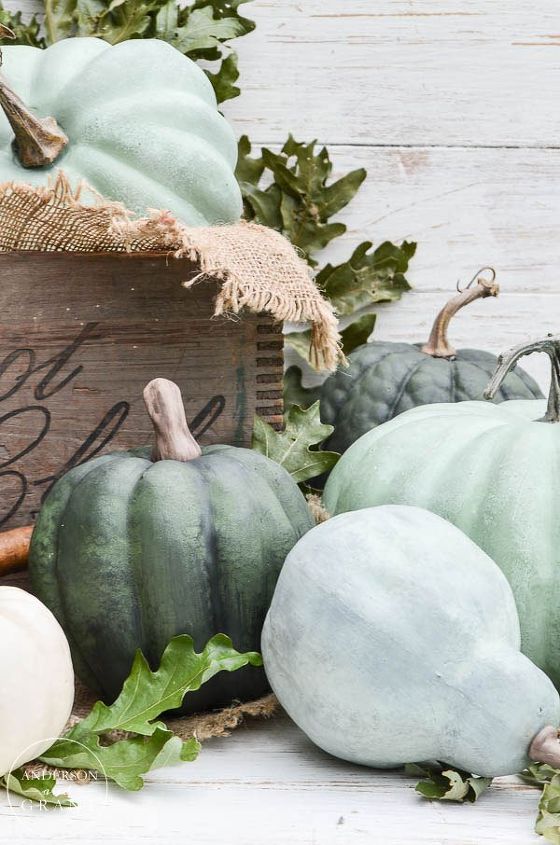
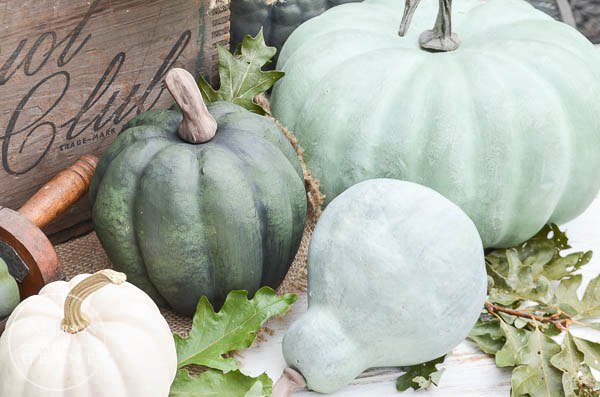
Since I wanted a neutral fall this year with shades of greens and whites, I opted to paint all of my pumpkins and gourds in mint and a medium shade of green.
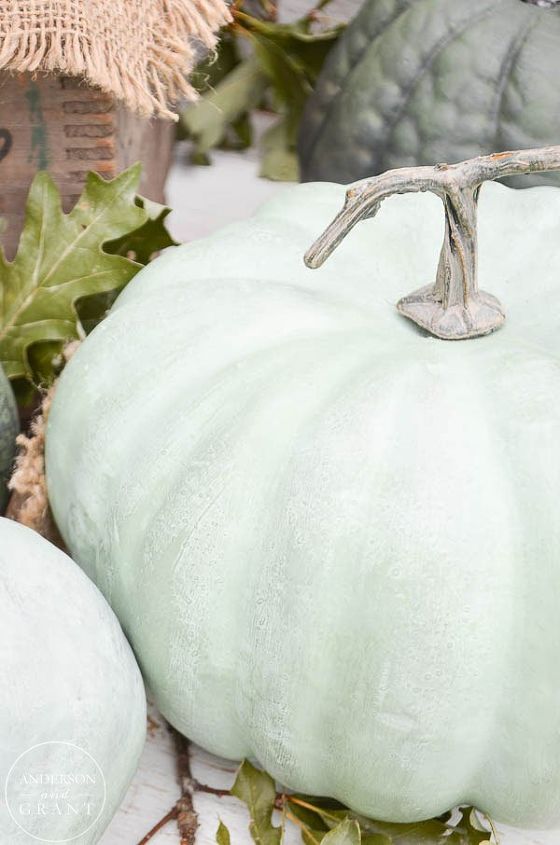
The mint pumpkins were dry brushed with the medium shade of green. This means that almost all the paint is removed from the brush before it touches the pumpkin. The paint that is left is brushed really well into the surface.
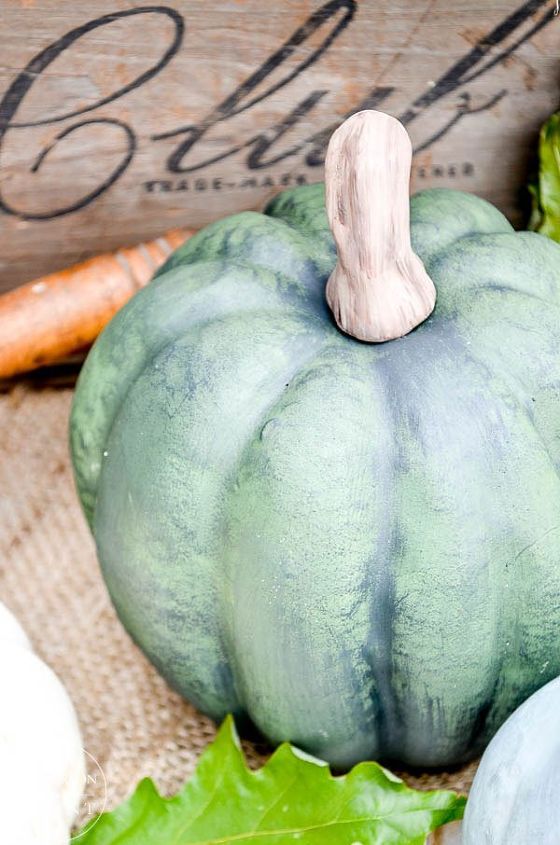
The pumpkins painted with the medium green color were dry brushed with black. I love how this one turned out. It actually looks real.
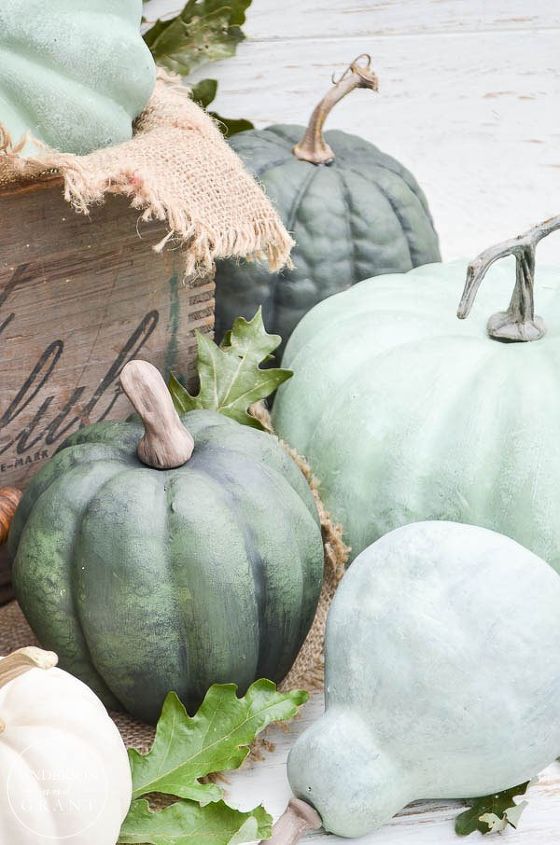
I used a collection of different sizes and shapes to create a really unique mix of pumpkins. Displayed inside of an old wood crate with the addition of some dried leaves makes for a perfect fall craft!
Want more details about this and other DIY projects? Check out my blog post!


Frequently asked questions
Have a question about this project?