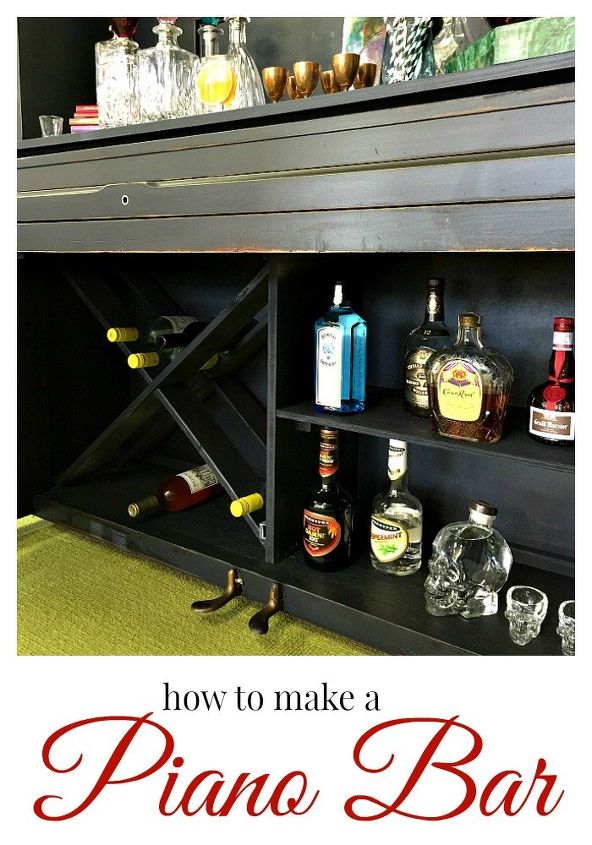
How To Make a Piano Bar #octfabflippincontest

I am so excited to share our project with you this month. This month's Fab Furniture Flippin' Contest theme is SPRAY ME PRETTY!
This makeover is a little different for us and, man, did we have fun with it!
This months contest was sponsored by HomeRight. How awesome is THAT?? We love them!


HomeRight is a DIYer's dream. They have tons of cool products so you will enjoy looking around the website but two of my favorite products of theirs are the Finish Max sprayer that we used for this project and their steam machine. I'll fill you in on the steam cleaner in a later post!


Here's a good one for you, I used to take piano lessons.


Four very long years of my life.


Why my mother insisted I do this I will never know. I couldn't play worth a flip.


My Pomeranian, Corky, would sit by the bench and howl the entire 30 minutes I had to practice every day.


Even my teacher, Mr. McDonald, the sweetest man ever, told her she was wasting her money.


I cannot make this up people.


My mother finally came to her senses and realized that while I could learn the keys and read the music, Liberace was just not inside me. Playing did not come natural for me.


I think my mother wanted to believe that I took after my father, who had an incredible voice and could play guitar by ear. She kept thinking that if I dug deep enough, the talent would emerge.


It didn't.


I tried to tell her, Mr. McDonald tried to tell her and Corky tried to tell her.


Sorry Mom.


So this piano has literally been passed around my family for forty years.


Forty years.


And it wound up being given back to me.


And what am I supposed to do with this? We have well established my INability to play.


The piano was an old upright similar to this:
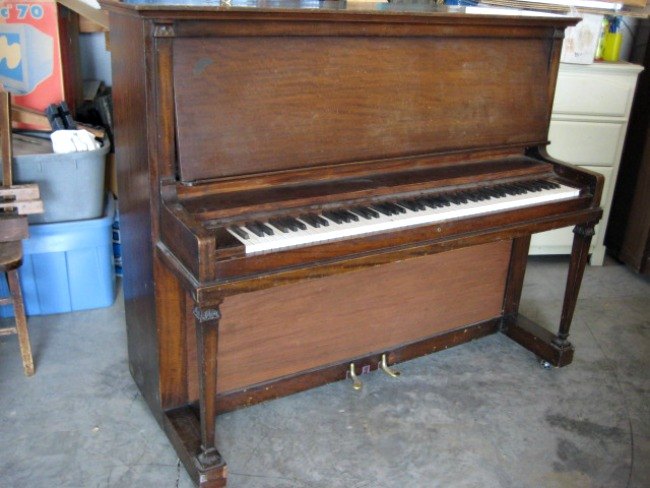
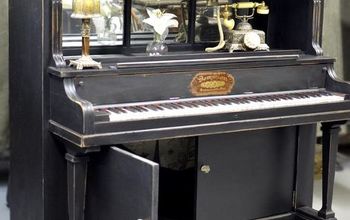
Somehow we managed to begin our deconstruction without snapping a before pic.


We gutted the inside and removed the keys, hammer and the soundboard.
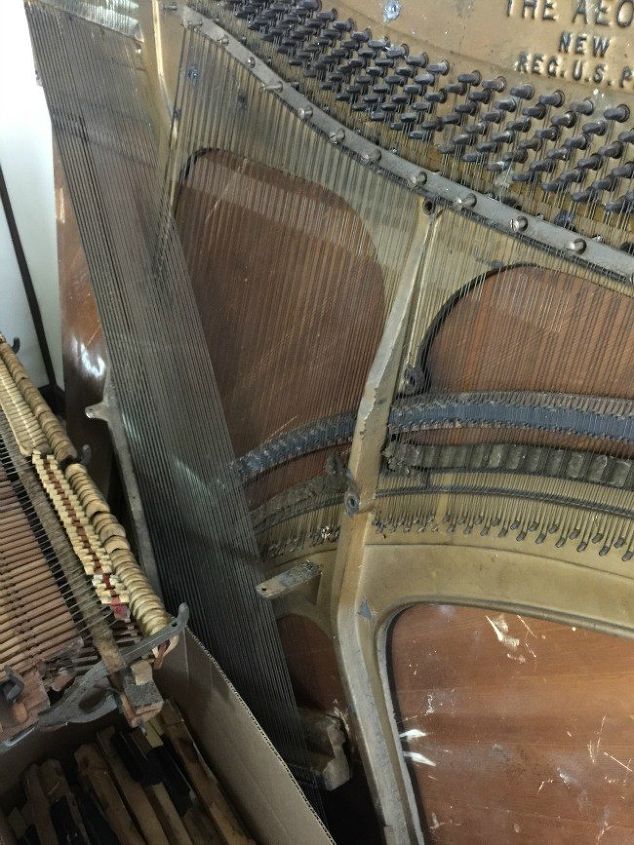
I've been thinking of all kinds of projects with these pieces!


We also removed the top front panel and the knee panel, and the fall board came off as well.


Yes these are technical terms and, yes, I had to Google them.


I contemplated turning this into a desk or an interesting bookcase. That could have been cool. However, I went with a bar. This is one piece I will probably keep for a while, you know, because I am NOT sentimental, so I wanted it to be super useful. (-;


We do not have a bar at the studio, as no office should. Said no one ever. None of us actually drink much. But there are Friday afternoons that we would like to sit and just hang out for a minute. We work super hard during the week and we just do not have much time to catch up with each others lives. A little toddy on Friday afternoons to shoot the breeze and hang out without working sounds kind of nice, doesn't it?


So we decided to make a bar.


Since the piano was now basically a shell, we started by adding floors and backs.
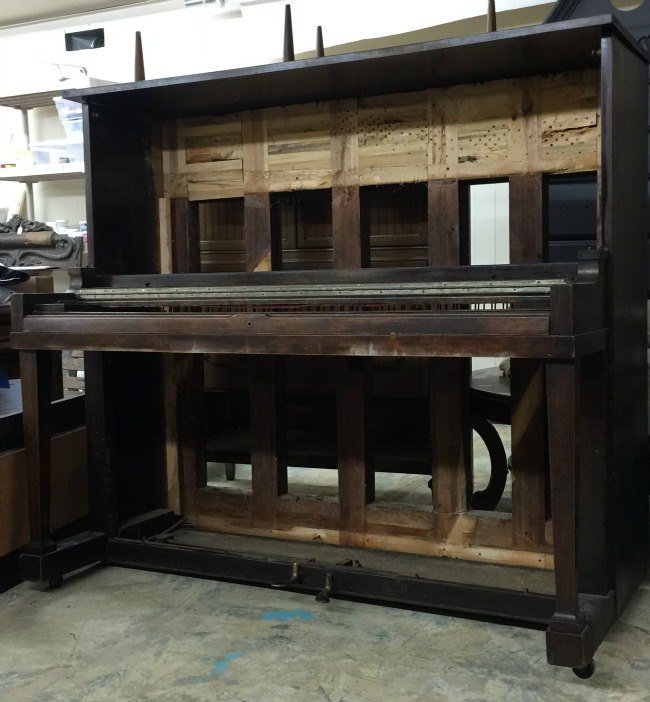
This is behind the knee panel...
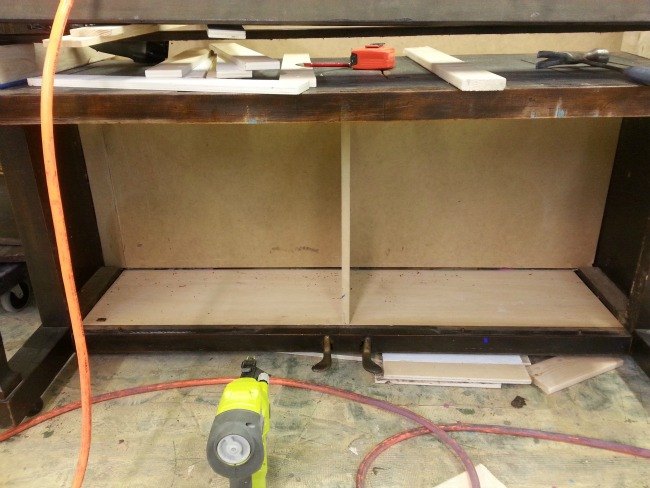
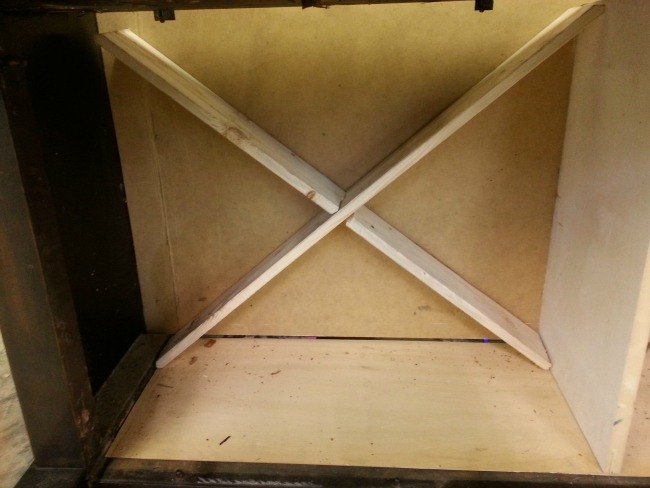
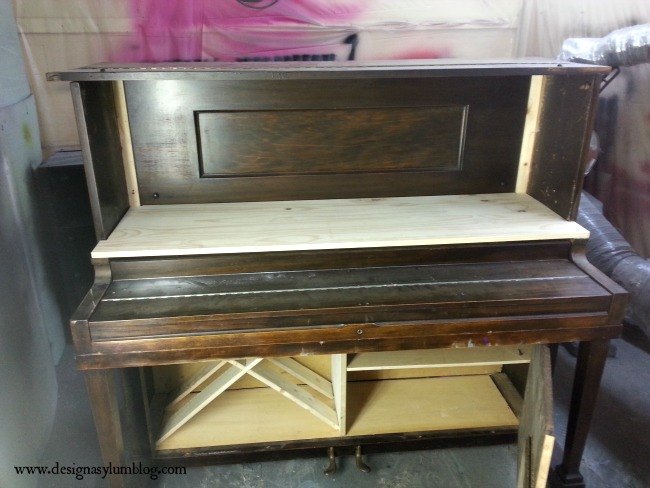
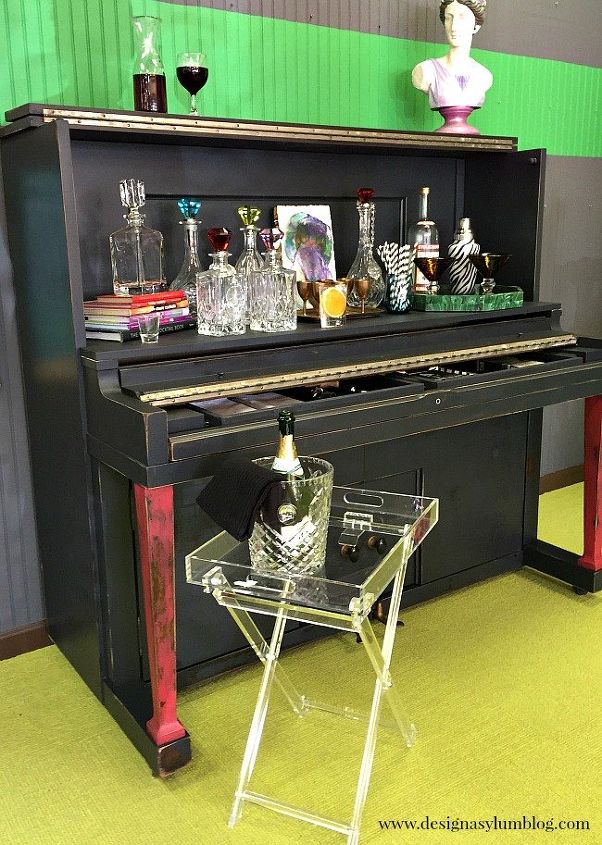
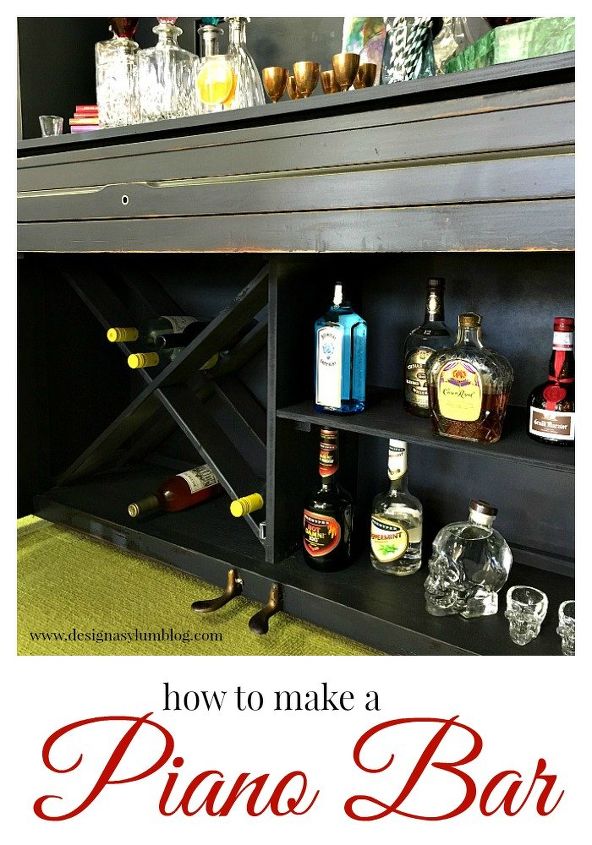
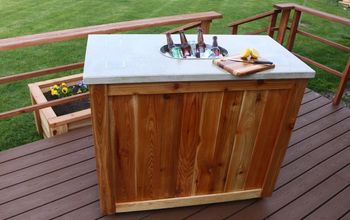
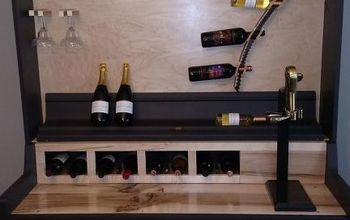
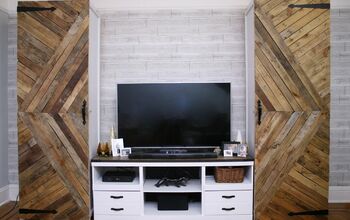
We added a center divider so that we could create storage for wine and liquor.


The wine would be stored on it's side so The Accomplice made two "X"s. We placed one in the back of it's section and the other in the front.
For the liquor side we simply added a shelf in the center.


I wanted to reuse as many pieces as possible from the piano. We took the top front panel and pushed it to the back of it's space. We used the knee panel by cutting it in half to create cabinet doors for the storage area.
Now the fun really begins! The spraying!!


Can I just tell you how much men love their toys? I practically have to wrestle the sprayer away from The Accomplice. The Finish Max Fine Finish sprayer is absolutely the bomb diggity. He loves it. I love it. It's easy to use and it's easy to clean.


We used Velvet Finishes paint and base painted in Luxurious.


The sprayer comes with a viscosity cup that makes determining the thickness of the paint so simple. Add a little water to the paint, pour it in the container, attach it to the sprayer and you are ready to go.


It's seriously that easy.
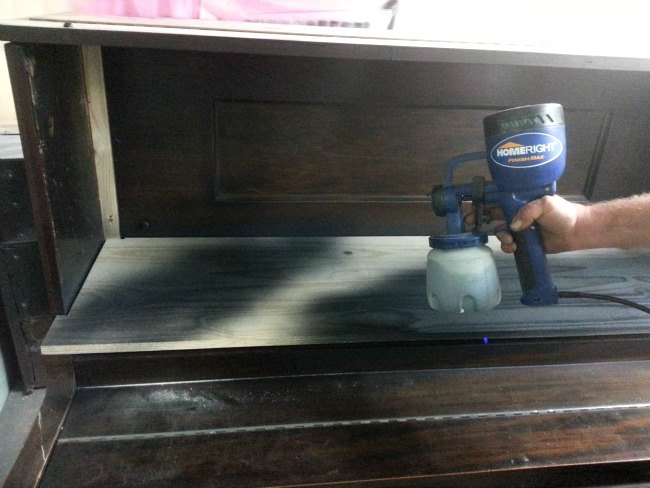
Smooth motions, right and left with the sprayer and you will not believe the amazing finish you will achieve.


With the spraying complete, we moved on.


Where the keys once were, we added drawers. We used the key slip as the drawer front and built two drawers the same way we built this tray. We simply put a strip of wood on the sides and down the center so we would have something to attach the drawer slides to.


I painted the legs red over the black, I needed a little touch of funky. I also painted the center of the top panel but I took it back to black.
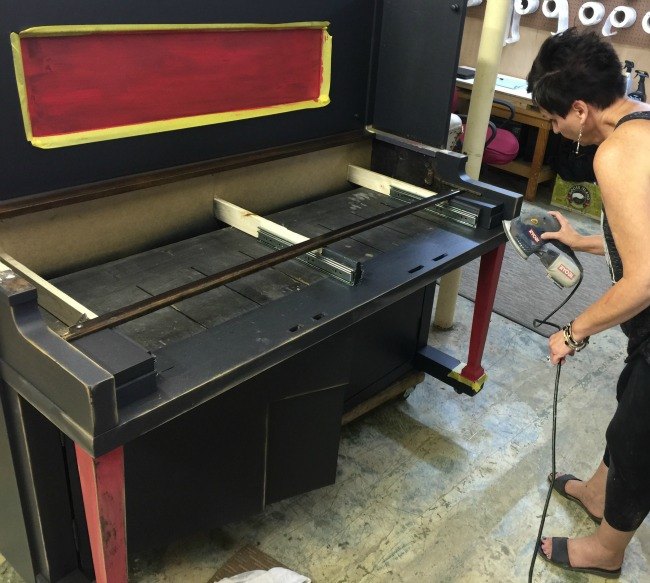
I lightly hit the edges with my electric sander. I distressed with a heavier hand on the legs.


After the distressing was done, I glazed the entire piece.
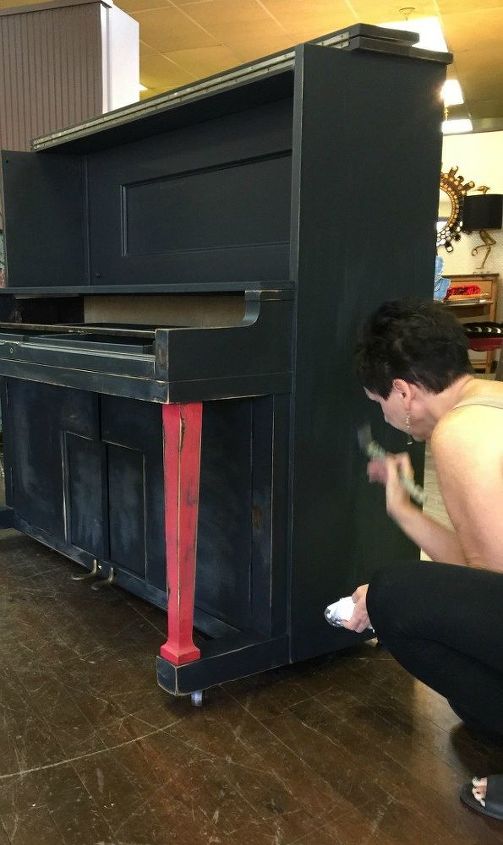
After glazing the piece was complete!


Thanks to the HomeRight sprayer, this project went quite quickly, even with all of the rebuilding we had to do.


Soooooo....


How cool is this?
Crazy right?


The drawers are shallow but perfect for napkins, coasters, towels. You would even have room for a cutting board and knife.
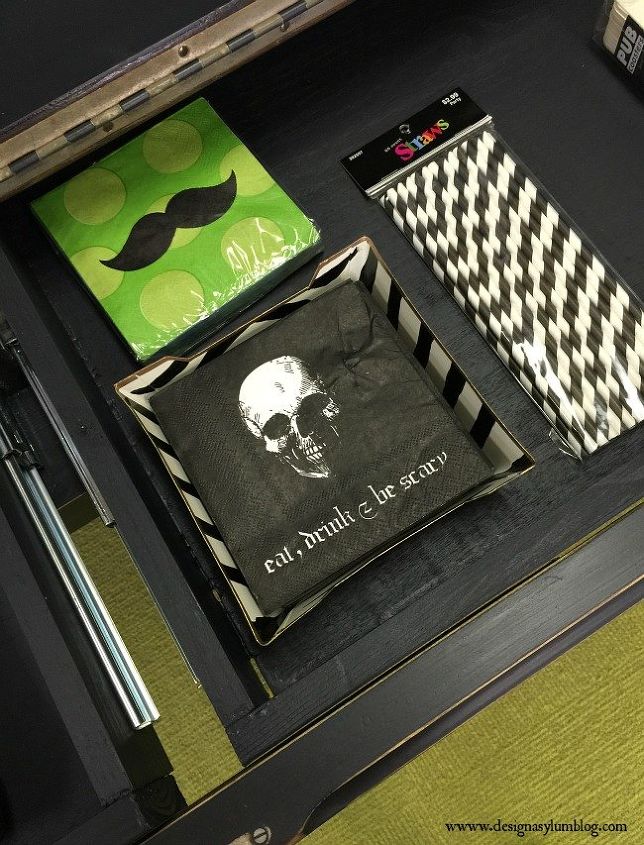
Aren't the napkins fun? Thank you to The Handler!


I love the egg shaped knobs we found. The back plate has the same worn patina as the foot pedals.
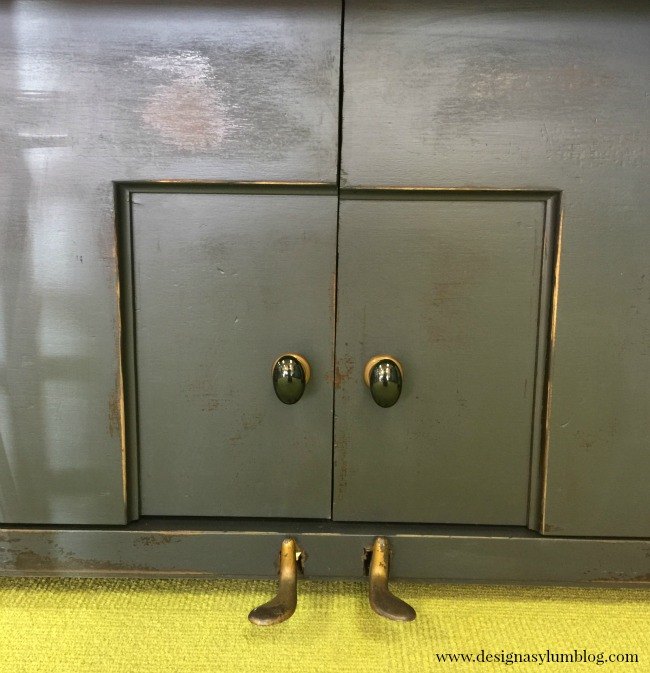
I am being serious when I tell you I cannot even remember what the pedals do.


I'm really happy with the way the piece turned out and I'm looking forward to chillaxin with The Accomplice and The Handler on some late Friday afternoons soon.


Care to join us?


To wrap it up, a big thank you goes out to HomeRight for sponsoring this months Fab Furniture Flippin' Contest.


Go check out the website right now.


And thank you to all the FFFC hosts, they work hard at this!!
This month's Spray it Pretty theme was hosted by Evey and Lynn. Be sure to pop on over to their blogs and check out more cool projects.


Any bloggers out there interested in being a part of the Fab Furniture Flippin' group can email info@fabfurnitureflippincontest.com for information. Sponsors and themes change monthly and the contests are a lot of fun!
This project was sponsored by HomeRight. I received free product from the sponsoring brand. My rave reviews and love of the of the HomeRight sprayer and product line is 110% my own opinion. #
Kellie from Design Asylum Blog
Want more details about this and other DIY projects? Check out my blog post!
Go
Frequently asked questions
Have a question about this project?
  3 questions
  • Kailey Porter Kailey Porter on Feb 05, 2017
    I am repurposing an old piano and I was wondering how you got the harp out? That's the part I'm on now. Thanks!
  • Rhea Rhea on Feb 25, 2017
    Is it hard to remove keys/hammers/harp? What's the best way to do it? Any advice?
  • Dave Deerman Dave Deerman on Apr 19, 2017

    i have 15 upright pianos to get rid of do you know of someone who takes old pianos for projects like this?

Comments
Join the conversation
2 of 10 comments
  • Matthew golom Matthew golom on Nov 15, 2020

    Love the work wish. I had my own studio 😭

  • Lori Ward-Laatsch Lori Ward-Laatsch on May 03, 2023

    Your dog was not saying you couldn't play he was singing with your playing, when I tried to play clarinet my dog sat beside me howling too. Once my mom came and told him to leave the room and he looked at her like she lost her mind so she left and he continued to sing along with my awful music. 😊 You dog was just accompanying you. I love dogs. But I could never do this to a piano those and organs are my parents and my childhood my mom played so well and could sing me not so much. So kudos to you for being able to do it it looks good. (Funny my dog never sang with my mom though but he was totally my dog if I was home he was with me)

Next