


A DIY Log Table | Scandinavian Style

by
DIY Passion
12 Months
Easy
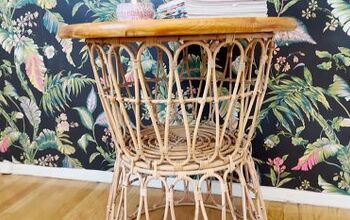
About a year ago - YES a year ago, our friend was clearing some property behind his home and he had to cut down a few maples. Immediately, I asked if I could have a stump! This is what we took home.
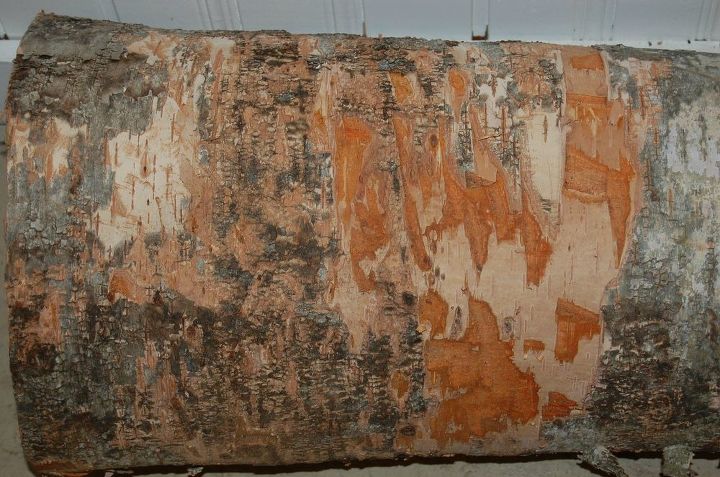
It's a white maple and came from a coastal area - so it was WET. Not unhealthy or rotting - that's just the way things are here. Anyway, hours and hours and hours of painstaking stripping of the bark and sanding and we ended up with this.
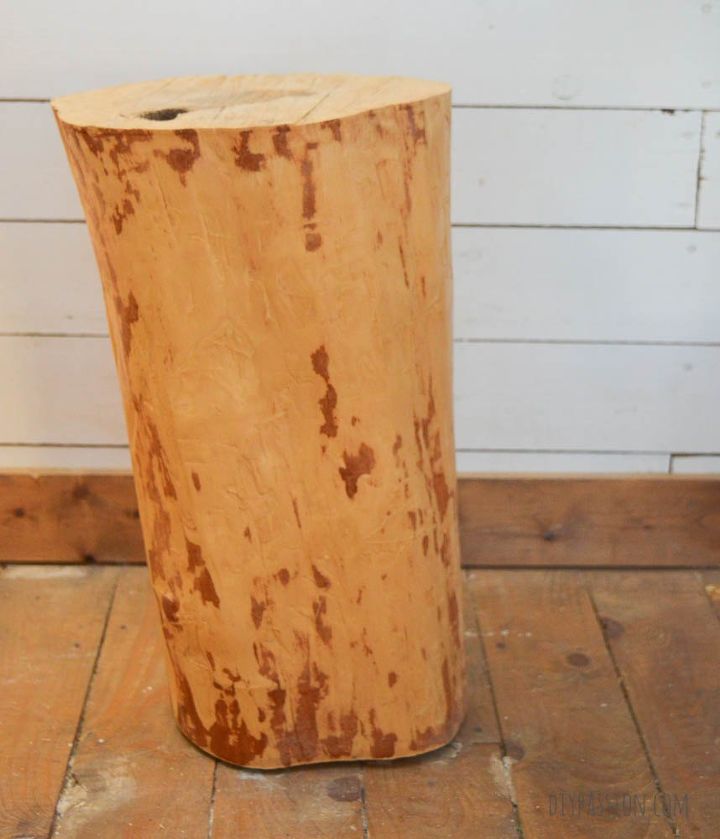
It took an entire YEAR for the log to entirely dry out. During that year, we used it as a little table, but it was slowly darkening in colour and becoming prettier as it dried out. I had a vision from the start to give it some pop and purpose. Man, waiting that year was tough!
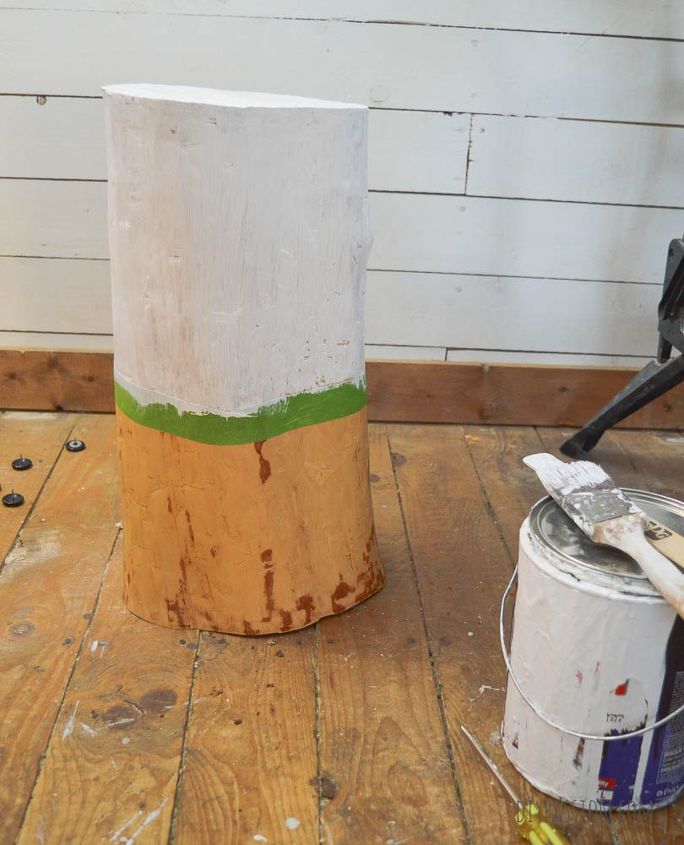
Finally, the wet centre ring was reduced to basically nothing. I sanded it one last time and gave it a good prime on half of it. Then voila!

Want more details about this and other DIY projects? Check out my blog post!
Comments
Join the conversation
3 of 5 comments
-
DIY I know what you mean, anxiously waiting for two large tree cuts to dry out so I can debark and apply a light white wash to add a bit of nature in my living room as side tables. I was wondering how I was going to move them, never thought of casters, duh!
-
I didn't seal mine and it dried out and got real light! Then it deteriorated and became sawdust. It was outdoors and used for a pedestal. What did you do to preserve it? Thanks...hugs


Frequently asked questions
Have a question about this project?