


Upcycled Plastic Play Kitchen

by
Fiona Janine
$40.00
2 Weeks
Medium
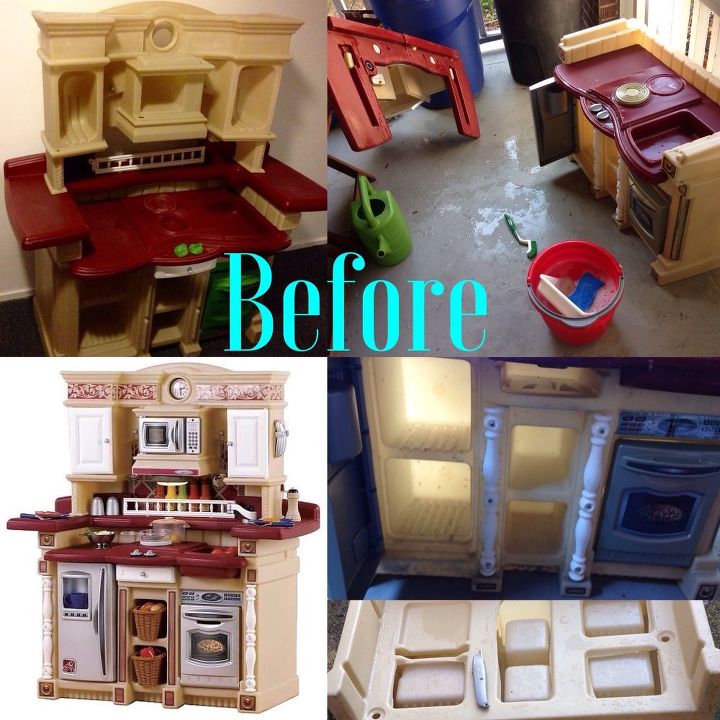
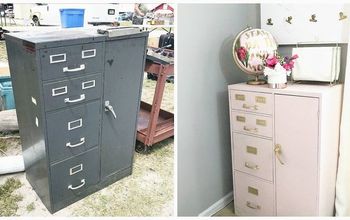
I found a filthy Step 2 Play Kitchen in an alley on garbage day. I carried it home six blocks and completely transformed it with some elbow grease and Rustoleum Spray Paint.

Step 2 Plastic Play Kitchen Upcycle
When I found the Play Kitchen it was dark outside, and I didn't realize how filthy it was. It was covered in dirt, there was algae growing inside, and the dated decals were peeling off.
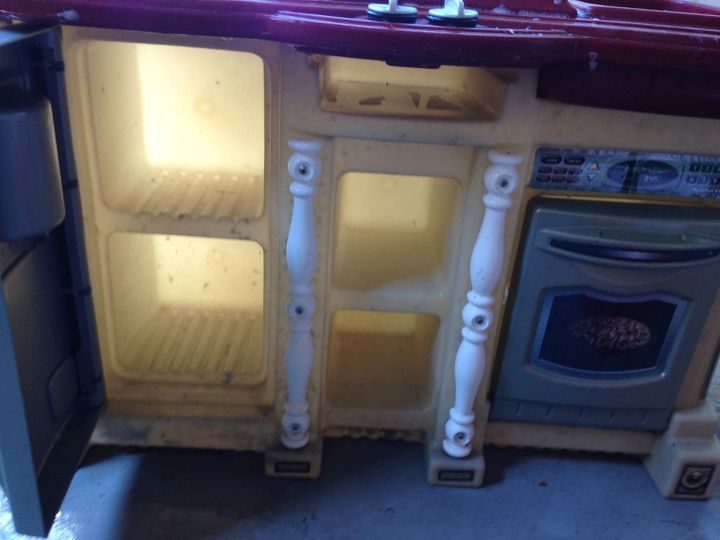
Before: Filthy and algae ridden
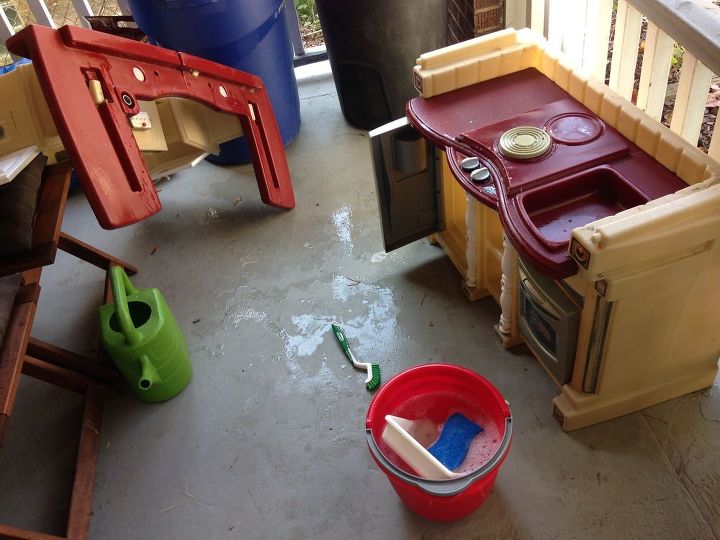
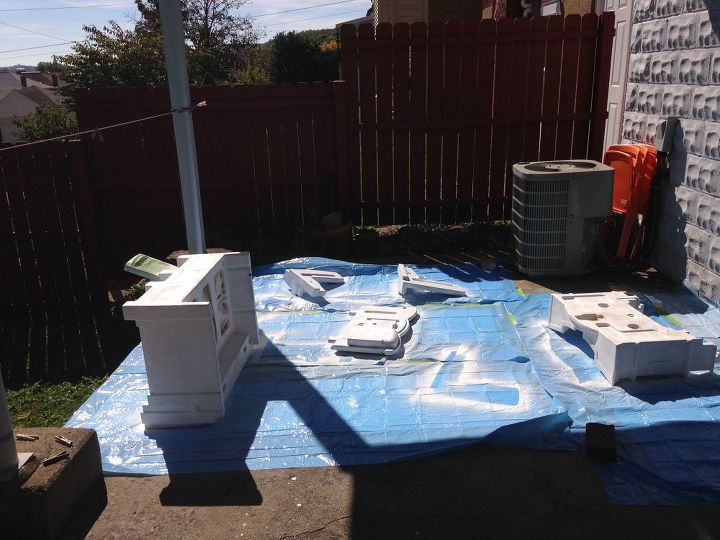
I scrubbed it with hot soapy water and Dawn soap. I completely unscrewed all of the parts and took it apart, so I could get into all the filthy nooks and crannies. I power washed it with the hose.
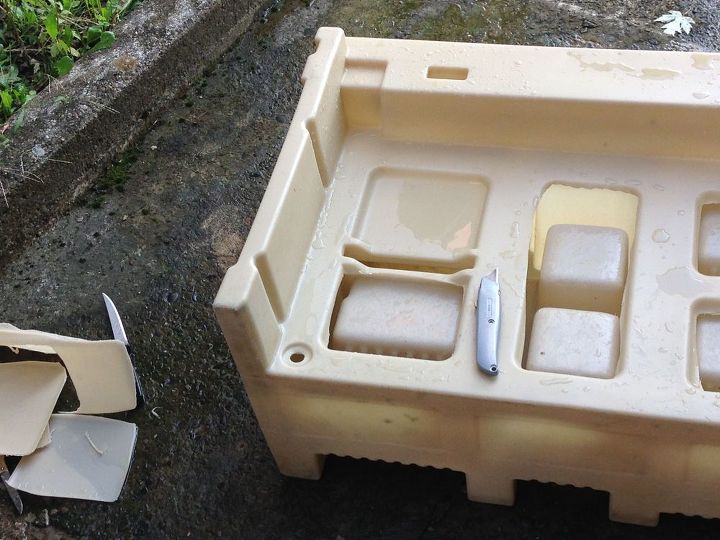
I cut out panels to clean out the inside.
I couldn't get the algae out of the inside with just the hose, so I got a box cutter and cut out panels in the back. I put a bleach solution on the inside and let it sit for a few hours, power washed it with the hose again, then let it dry in the hot sun. I put a high power blow dryer in the openings to remove any extra moisture lingering within.
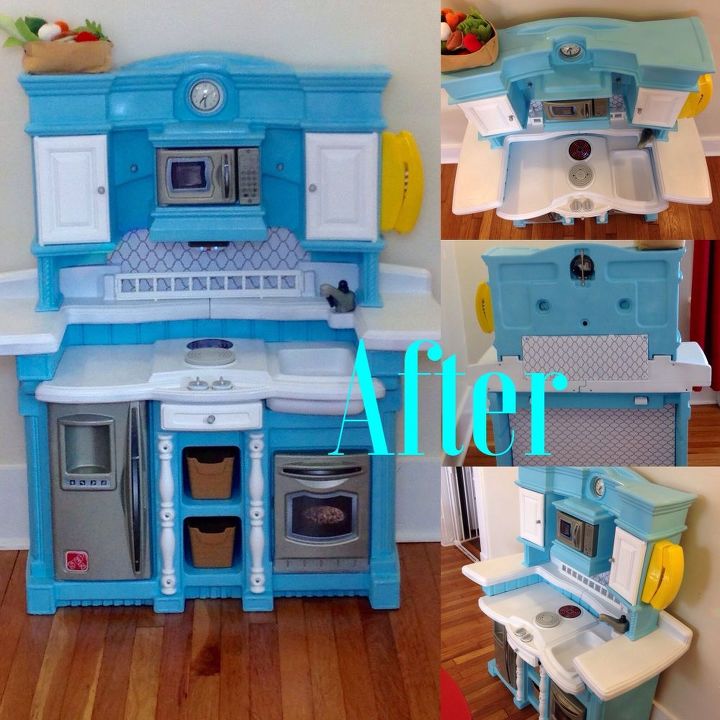
After a great deal of elbow grease, the play kitchen was really, really clean. I decided it would be fun to give it an updated look. With the help of Rustoleum spray paint, I was able to transform this old piece of garbage.
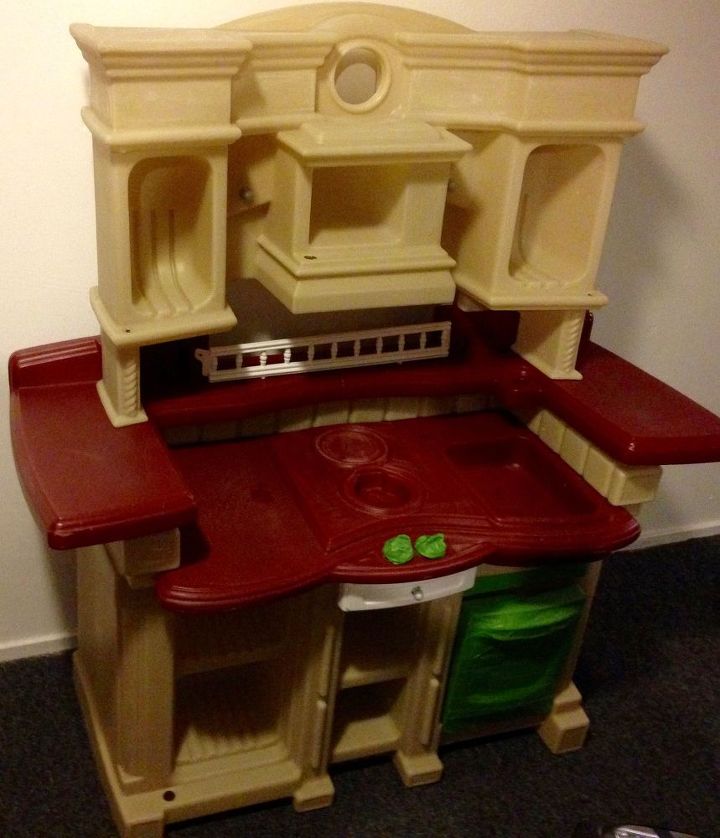
Before spray painting, I sanded with very fine sandpaper, removed parts I wanted to keep as is (the cabinet/microwave/refrigerator doors), and taped up all other parts with Frog tape.
I primed all parts with Zinsser 1,2,3 Primer and let it dry overnight.
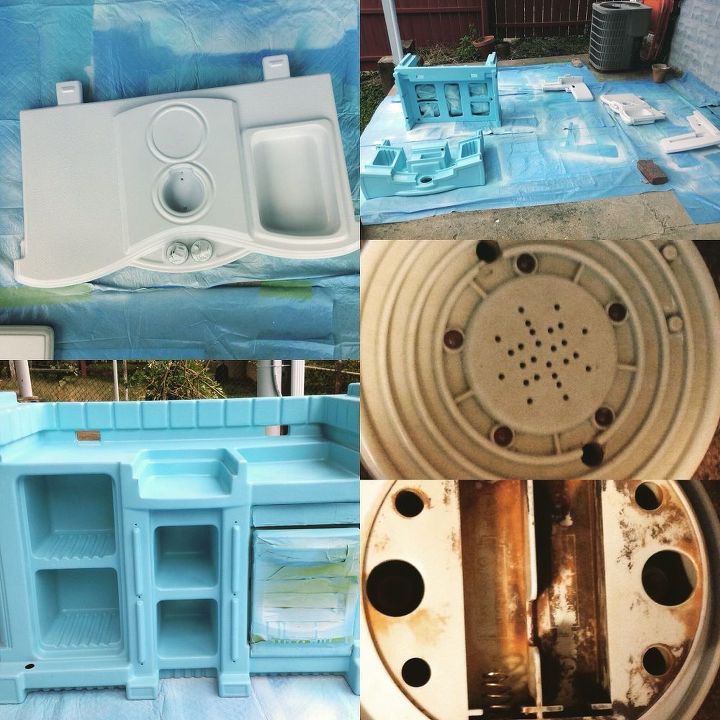
I painted with Rustoleum Painter's Ultra Touch 2x in Aqua and Flat White. I did a thin layer and let it dry over night, then went over it again. I ended up doing two layers.
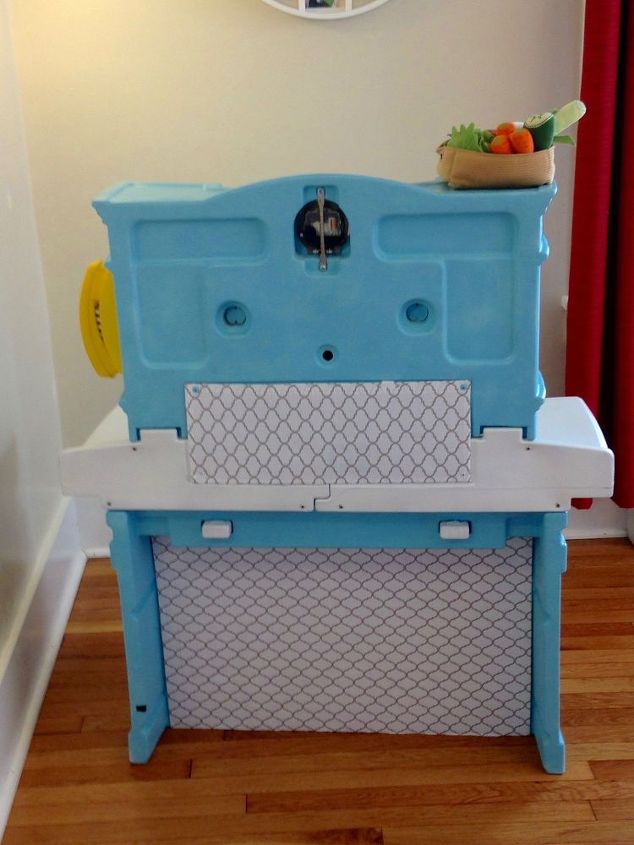
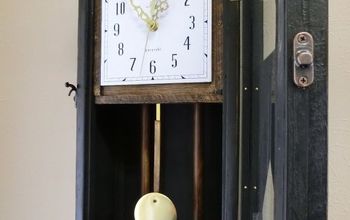
The clock face had water damage, so I googled "clock face" and found an image that suited my fancy, had it sized, then printed and cut it out.
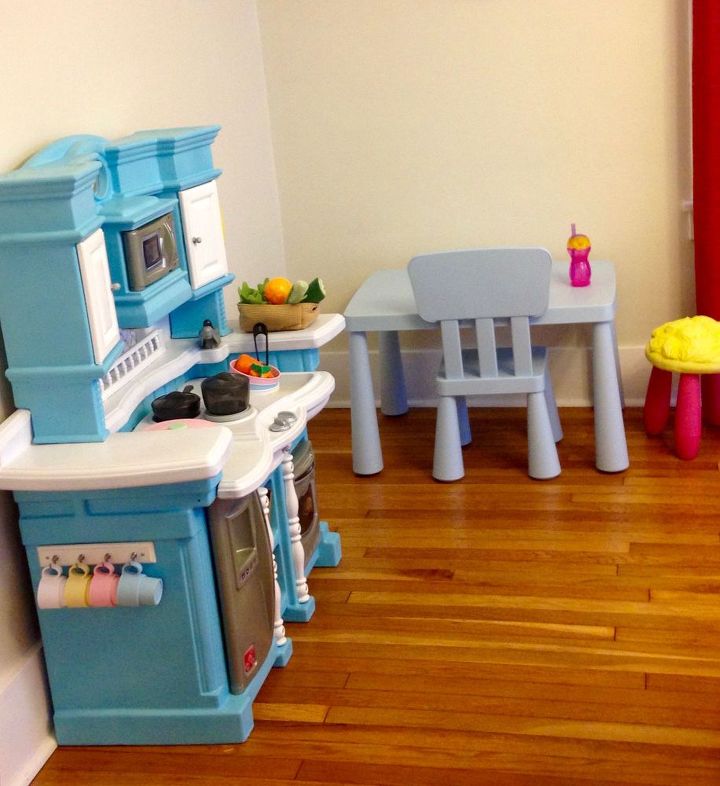
Unfortunately, seven days wasn't enough time for the spray paint smell to go away. I brought it inside, but the smell started to give me a headache. I put it on the front porch in the fresh air for another seven days, and now it finally seems to have no smell.
Want more details about this and other DIY projects? Check out my blog post!
Comments
Join the conversation
2 of 83 comments
-
I love this,you did a great job. I have a suggestion , paint the table and chair the same blue.very cute.
-
Boy, I love when a project really comes together like this! You did a great job on it, like Barbara said, looks better than when it was new! Don't you just love spray paints nowadays? And Jeff had a good idea too, a whole new kitchen color scheme for the little ones!


Frequently asked questions
Have a question about this project?
How did you get the stove piece off? I found the exact same kitchen on the side the road yesterday and am inspired by your post. I was able to get almost everything off except for the stove top. Also, what did you have to tell Step2 to get the replacement parts?