


Adding Trim to 1960s Cabinets
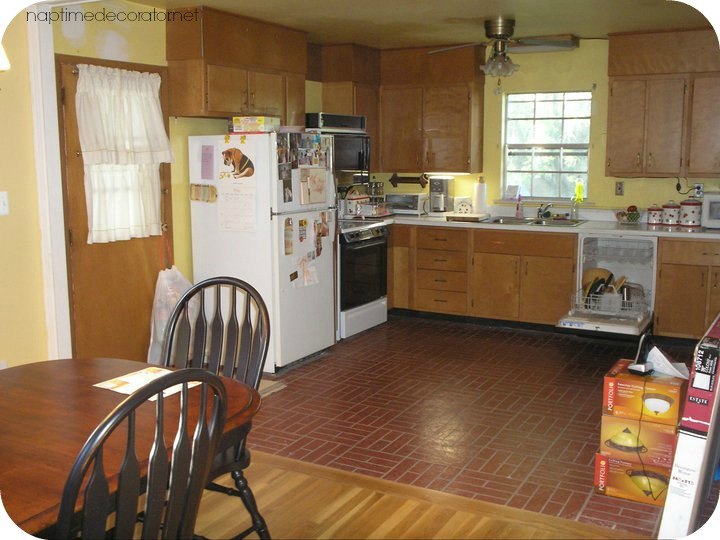
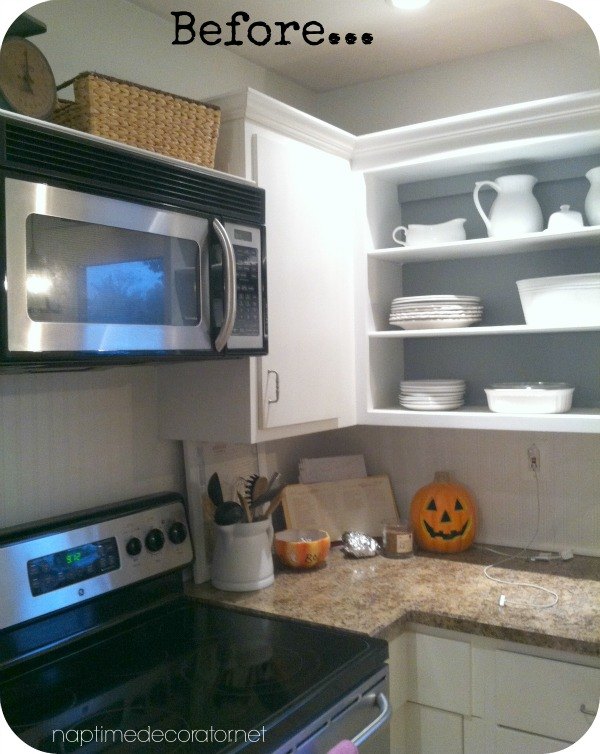
When we moved into our home a decade ago, we were faced with the 1960s original cabinets in the kitchen. Working on a tight budget, and a ticking clock with a baby on the way, we had to make due. So we ripped out the bulkhead, painted them, and got new hardware. That's about as fancy as we could get.
A couple years ago we ripped off some fronts to create open shelves, and added some crown molding at the top...
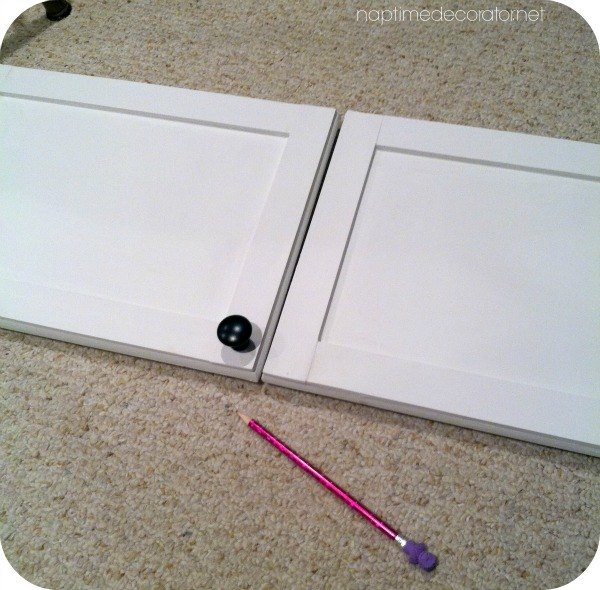
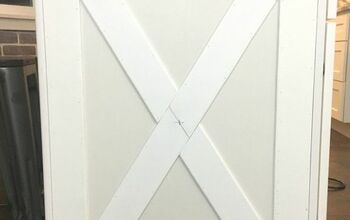
But I've always wanted to add some trim to them...make them a little more interesting. I've been doing a little mini makeover in the kitchen so I finally decided to tackle this project last week. I went to Lowes, found some trim, and got to work.
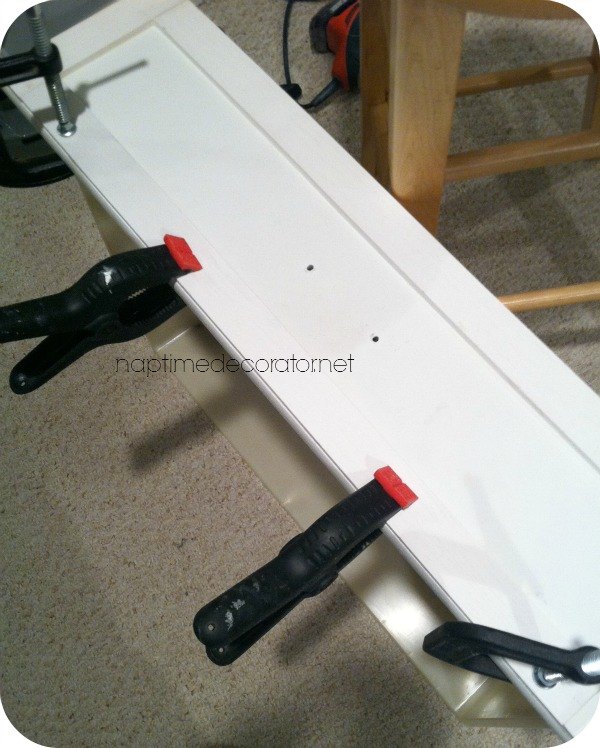
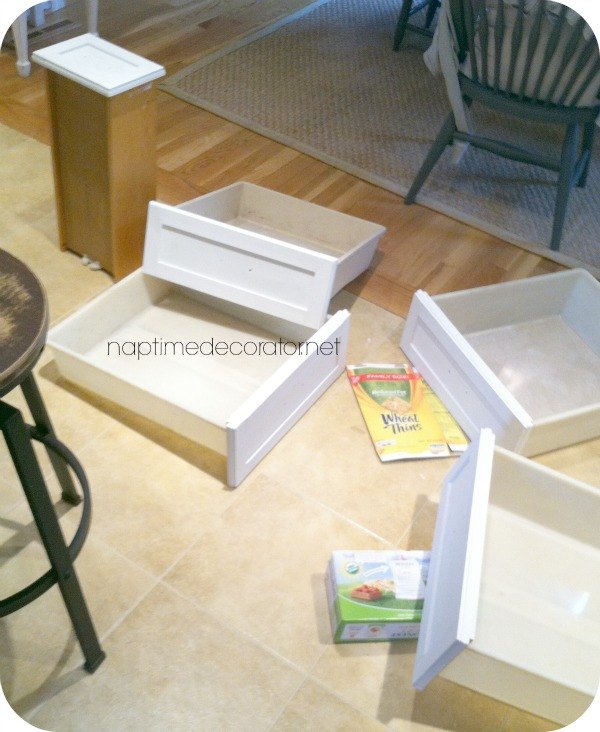
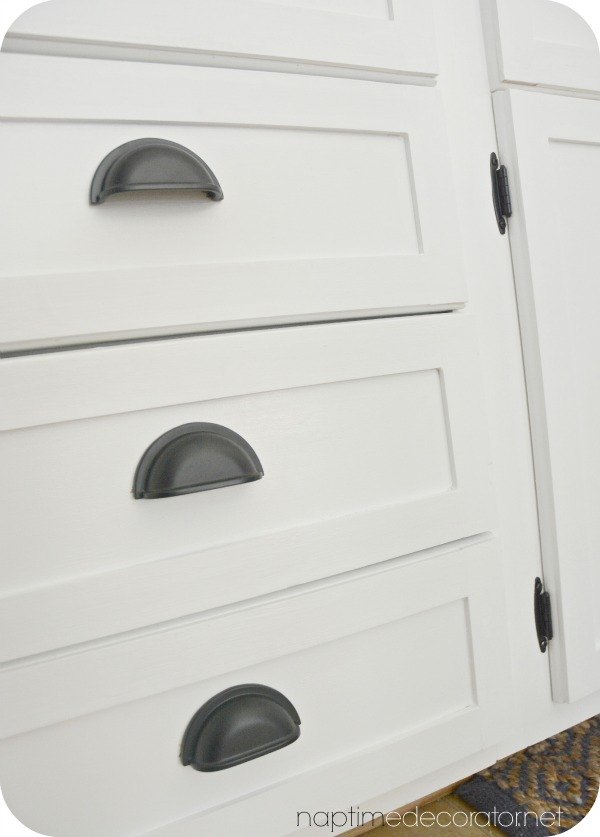
I measured and cut the wood using a portable circular saw. I used some wood glue and clamps to set the pieces in place. Drilled new holes for the new knobs, and all that was left was some priming and painting!
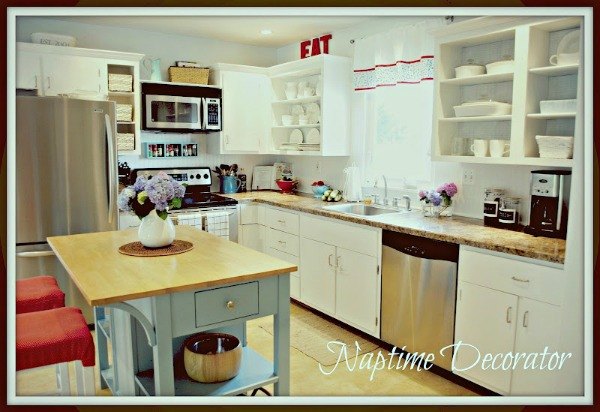
And now we have some seriously updated cabinets!
And now...
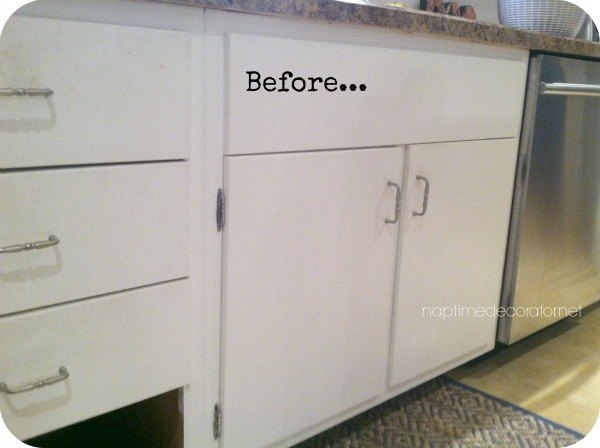
Before...
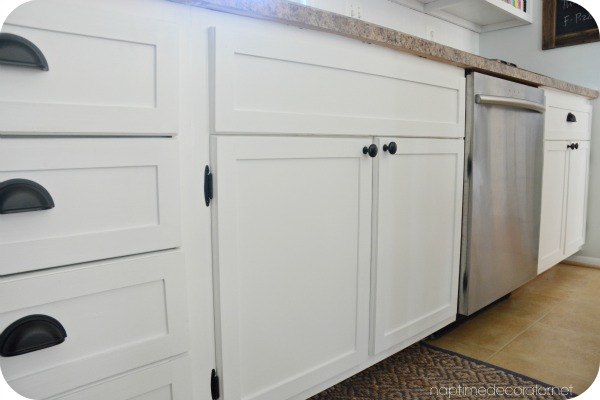
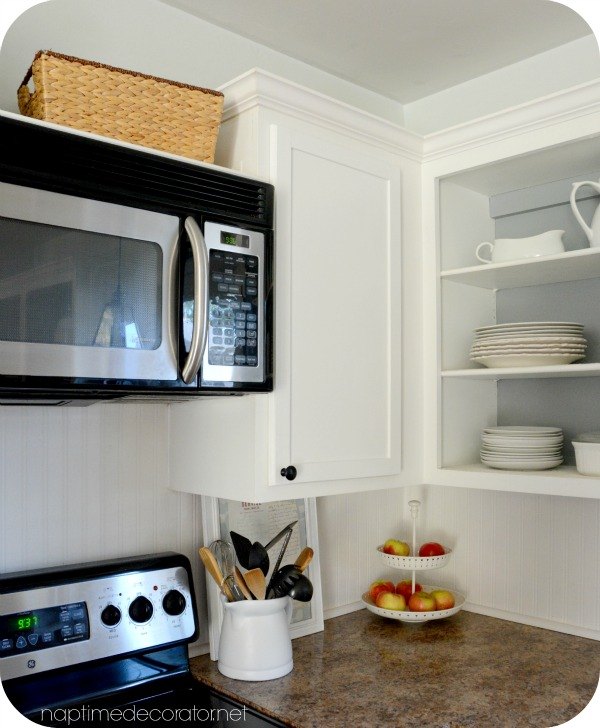
And after...
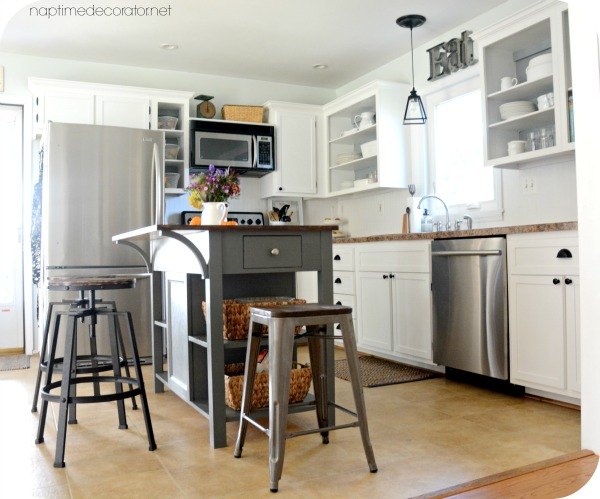
Same view now...
I am in shock at what a difference a little trim can make!
The '60s never looked so good;)

Want more details about this and other DIY projects? Check out my blog post!
Comments
Join the conversation
2 of 229 comments
-
This turned out fantastically!
-
Good job!!!! I'll remember this because it's something I need for my old kitchen. Very old kitchen and very tight budget.


Frequently asked questions
Have a question about this project?
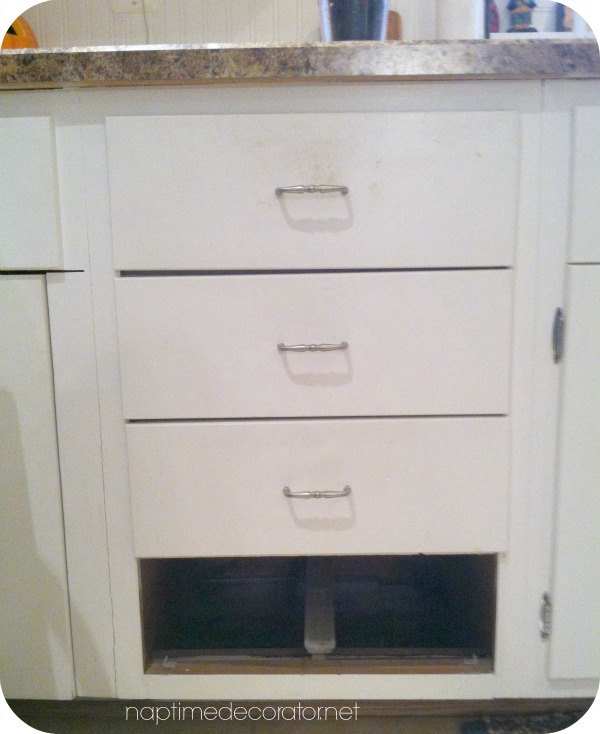
The corner near the stove. Are those tiny corner draws or just dead space?
Your original 'before' and final 'after' looks like your transformation included more than paint and cabinet molding/new hardware. You also changed the counter tops and all appliances - correct??