


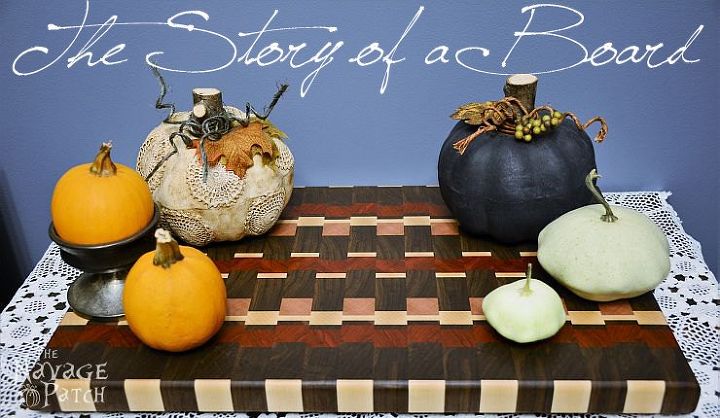
The Story of a Board: An End-Grain Cutting Board Tutorial
$00
3 Days
Medium
I’ve been dabbling in the world of wood for about two years now. Like many others, my first real project – the first thing I built from scratch using exotic woods and precise measurements – was a cutting board. I learned from a great video tutorial posted by Marc Spagnuolo, aka The Wood Whisperer. I watched his tutorial and ran out to the closest wood shop (even though we were trying to keep a tight budget after moving into our new house) and promptly dropped $280 on three pieces of wood: purpleheart, rock maple (aka hard maple), and jatoba. Handan flipped her lid when she learned what I had done, but I had a vision (of building a board thousands of others had built) and nothing would keep me from achieving it!
Two years have passed since that first hard-won monstrosity of purple, brown and blonde. I have better machines now, and I’ve improved my technique. I’ve also created some designs of my own that I think better reflect my own sense of style. I’ll share one of these designs below and outline how I go about it.
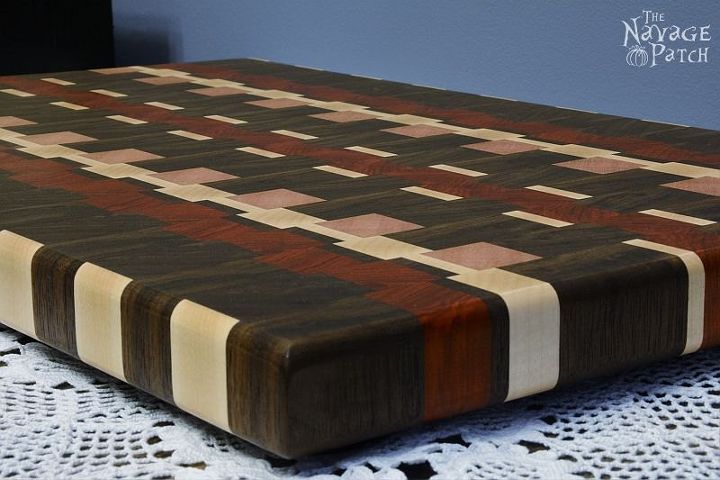
This board, like most that I make, is an end-grain cutting board. The two main benefits of end-grain boards are board longevity (the end grain of the wood will not show slice marks as much as side grain or face grain) and knife longevity (the ends of the wood fibers are kinder and gentler to knife blades, thus reducing sharpening frequency and prolonging the blade’s life).
I made this board for a friend, and it measures about 20″ x 13.” I used walnut, hard maple, redheart and African mahogany 5/4 boards (board thickness is measured in quarter inches. Thus, a 5/4 board is 1 1/4” thick. That is the thickness before milling. The actual thickness you end up purchasing is a little less. Just like a 2 x 4 is actually a 1 1/2 x 3 1/2).
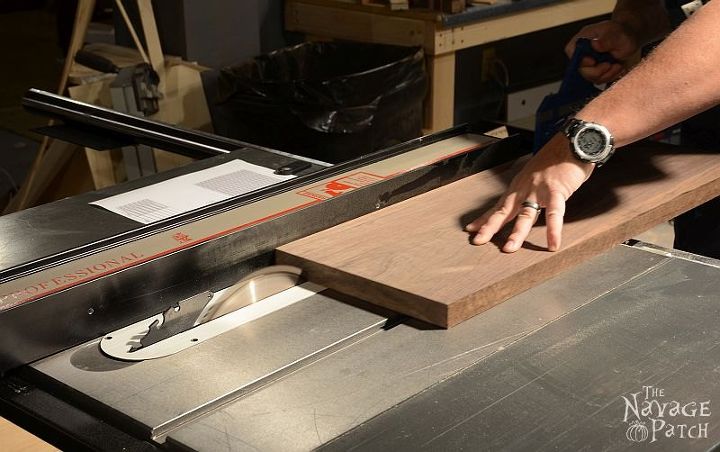
First I cut the source lumber to 27 inches and planed them all smooth and to an equal thickness. Then I cut the lumber into strips ranging from 1/4" to 2." The full cut list for anyone interested can be found on our blog (link at the end of this post).
Here are all the strips, arranged by species.

Next I arranged them in their proper order and glued them up.
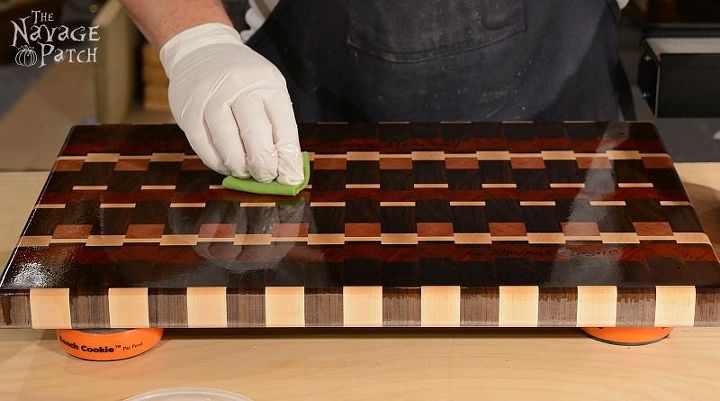
After engraving the board (not shown - see blog), I cleaned it with mineral spirits, then finished it with 4 coats of food-safe varnish.
Finally, I added some rubber feet.
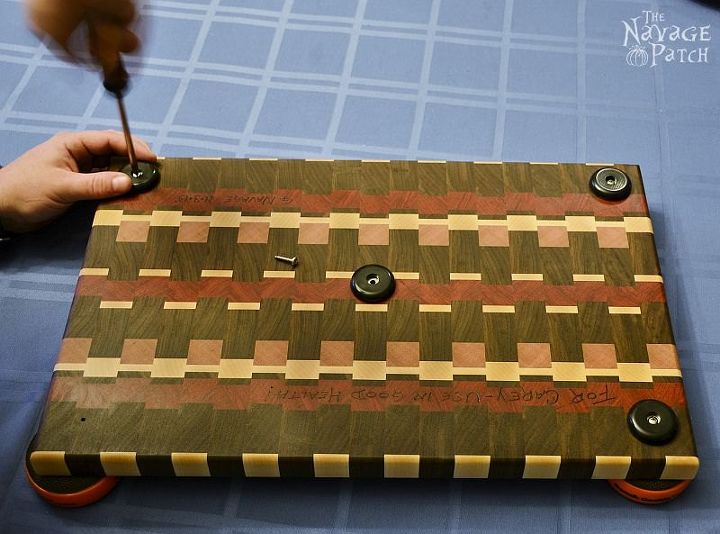
And it's done!
Please head over to our blog for a much more detailed post with 60+ photos and the free cut sheet for anyone willing to make a similar board.
Good luck!
--Posted by Greg

Want more details about this and other DIY projects? Check out my blog post!
Comments
Join the conversation
2 of 206 comments
-
I've made several end grain boards with different patterns, and am looking forward to using this design. Very nice work, btw.
-
I would like the cut sheet and lay - out of cutting and gluing for this
cutting board
Don


Frequently asked questions
Have a question about this project?
I'd like to make things like this but I don't know where to find exotic woods. Can anybody help me please? Thanks.