


DIY $40 Wood TV Frame {works for TVs That Tilt and Rotate, Too!}

by
Catherine
In our last post, we shared how we added fancy ledger stone to the corner chimney area of our living room (hint: spray paint was involved) and restored the original slate mantel for just $102. If you missed it, check out my Hometalk posts and the "DIY Project Gallery" section of the blog.
.
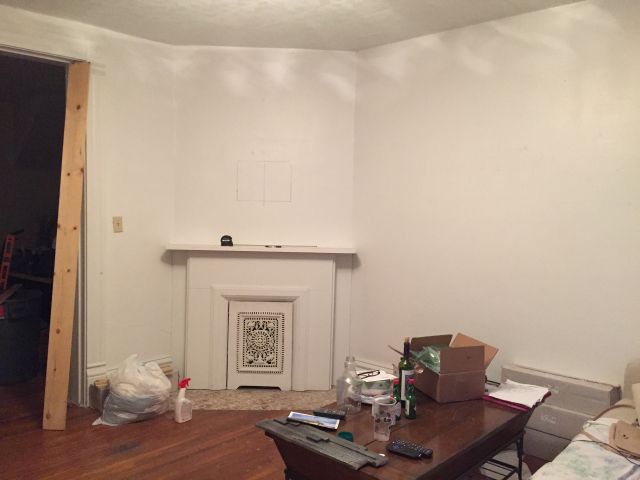
This is what the fireplace looked like when we purchased the house. Two words: white paint.
.
This is what the fireplace looked like when we purchased the house. Two words: white paint.
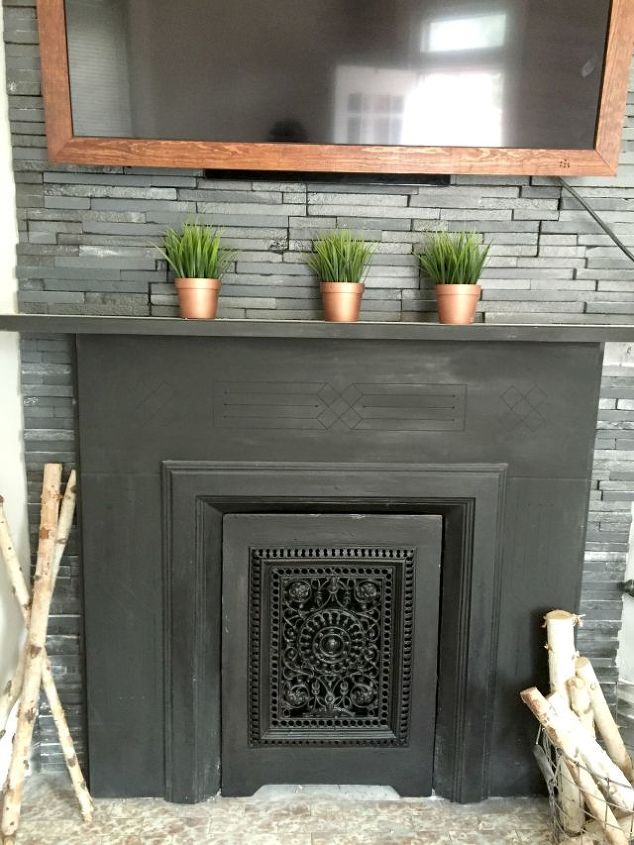
Here's what it looked like after we added the ledger stone and restored the slate.
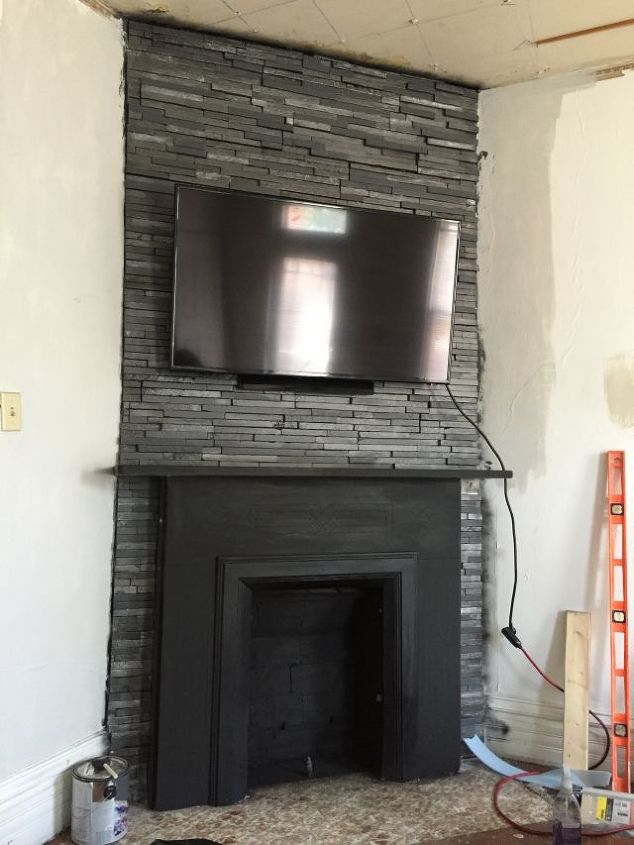
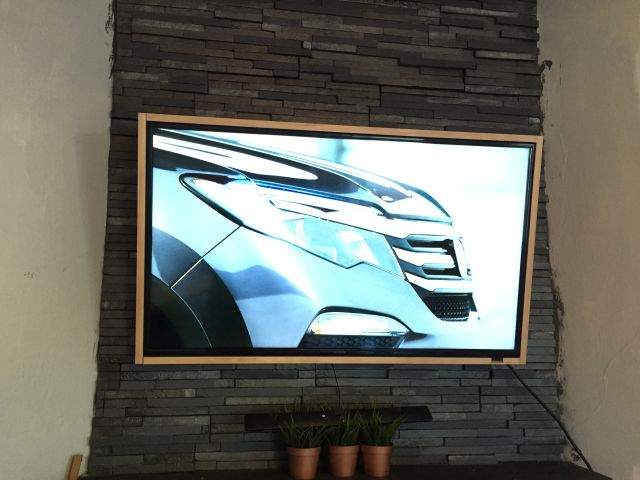
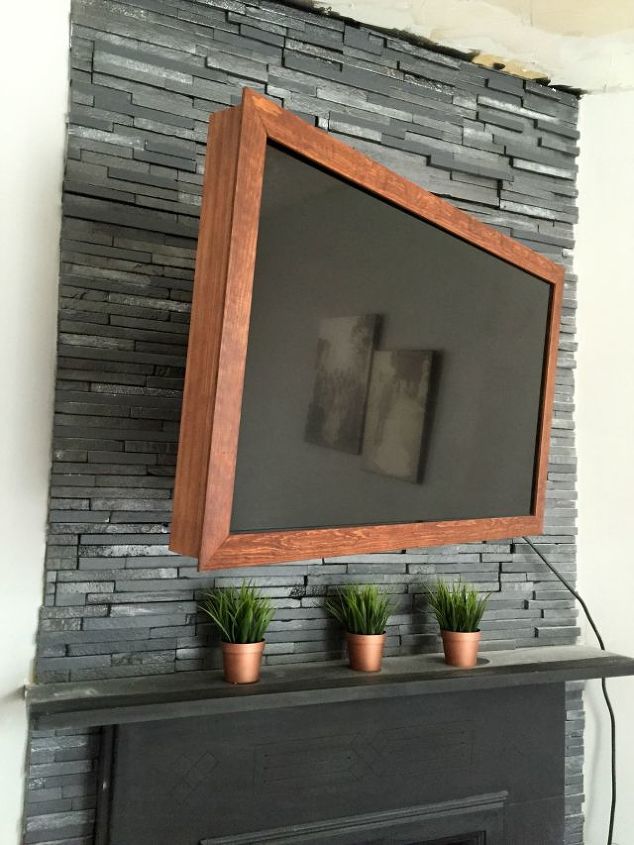
Here's the problem. We didn't love the way the TV looked against the new stone. It kind of overtook the whole thing. But, where else would we put it? This house is cozy - it's just about 1100 sq.ft. and only has one living room/family room/den (this one). Putting it against one of the walls would take away from the precious seating space available in this room. So, we set out to find a way to keep it on the fireplace but make it look a little more classy.
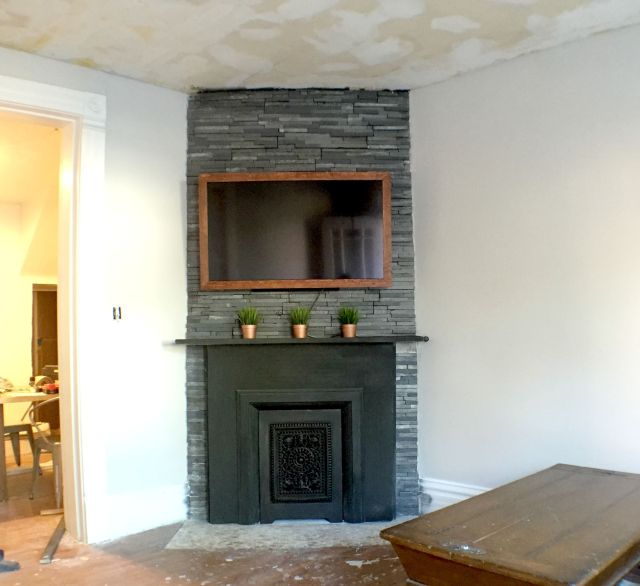
We love the way it turned out and the impact it has on the whole room! It makes the TV look less like a huge piece of electronics, and more like something that's almost supposed to be there. The project only took a few hours to complete and cost about $40. Not bad, right?! Here's how we did it.
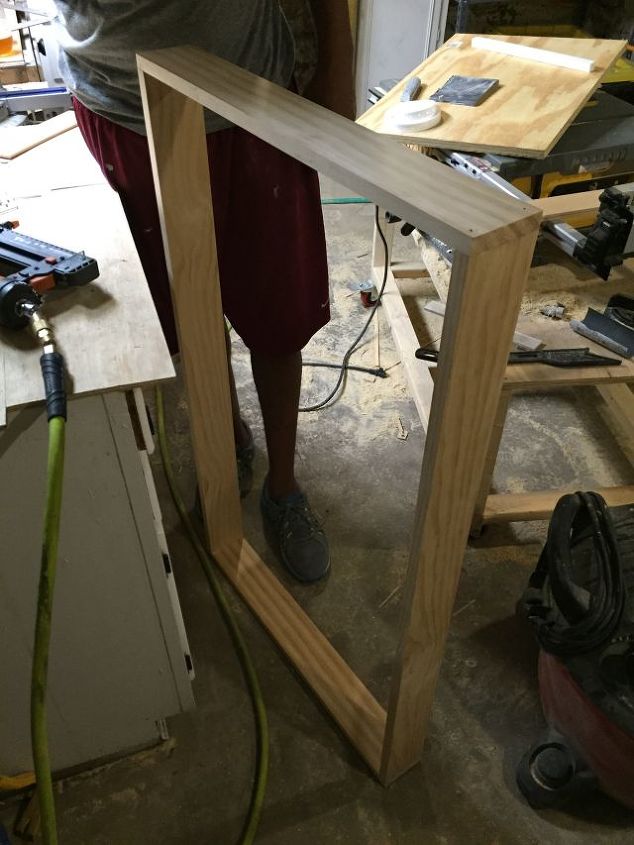
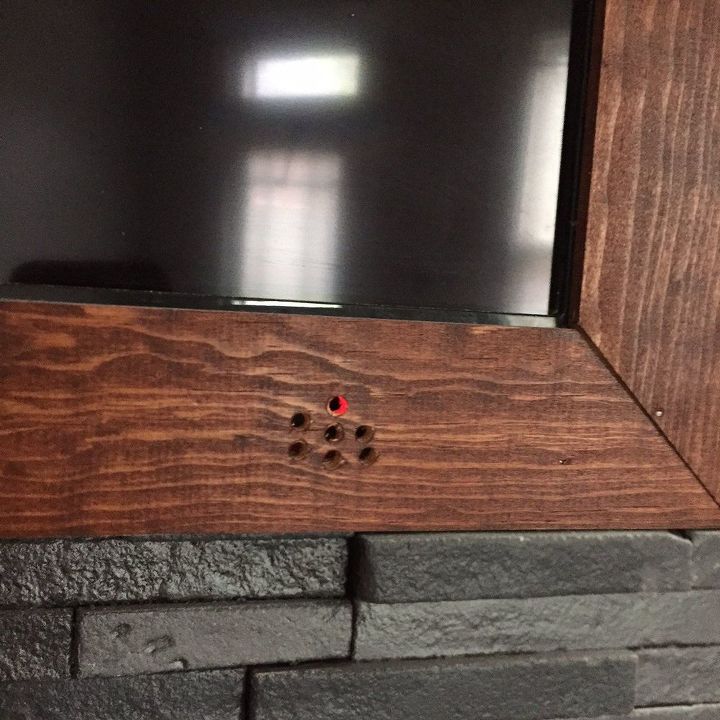
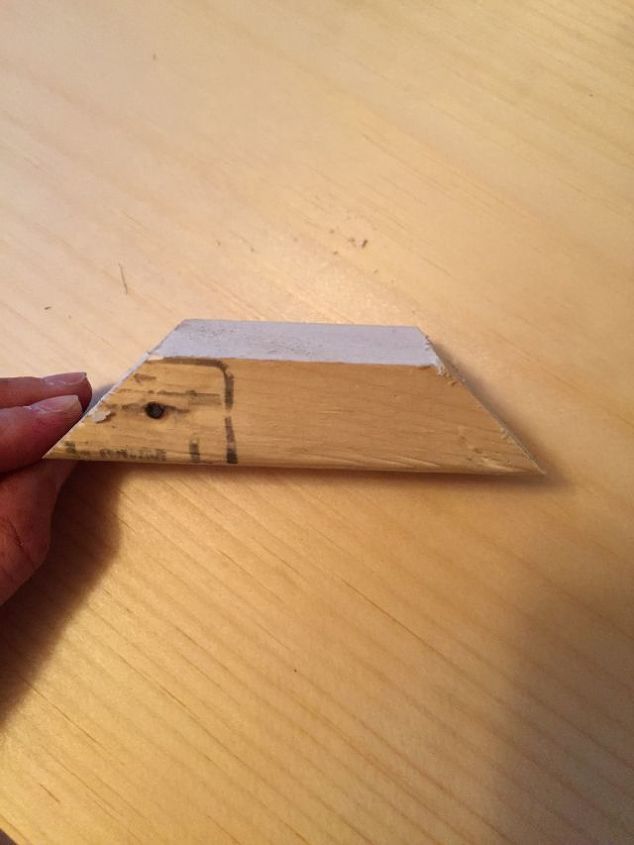
Make sure you account for any bump outs on your TV when you build the frame (on the bottom right, we had a remote sensor that we needed to cut out).
Another thing you may need to account for is access to the controls on the side of the TV. Ours is on the side against the wall so we didn't worry too much about how it looked. You could get creative and add a hinge or something to make it blend in if the controls are in a spot that's visible.

Step 2: Cut and attach your wood of choice for the face of the frame
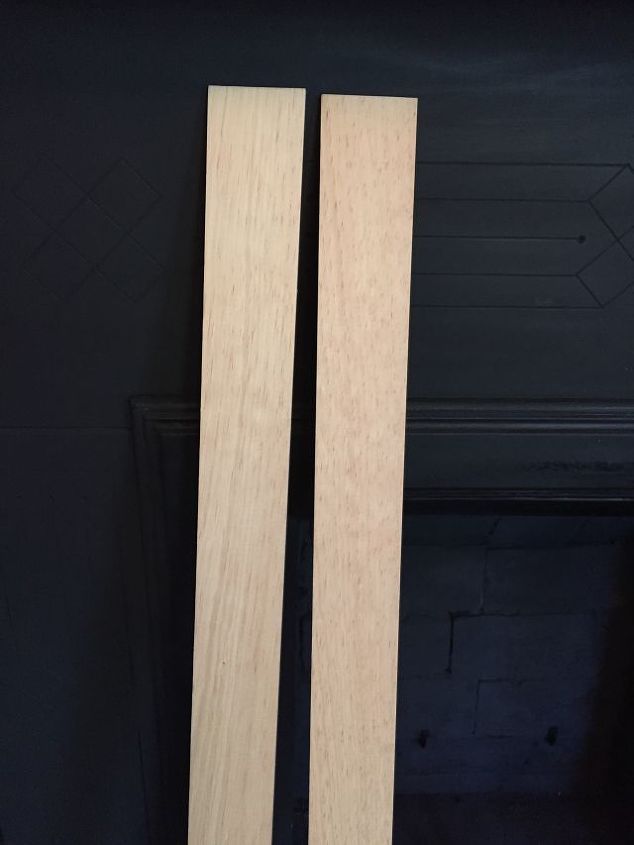
We stained them Minwax American Walnut, and attached them to the wood frame.
Since our remote sensor is on the front of the TV, we drilled a few tiny holes into the frame for access. Works like a charm.
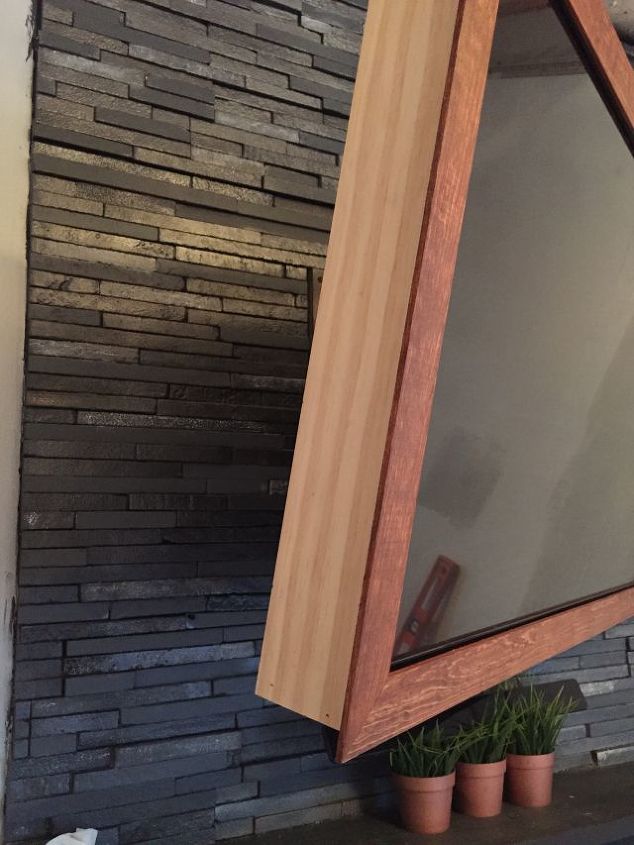
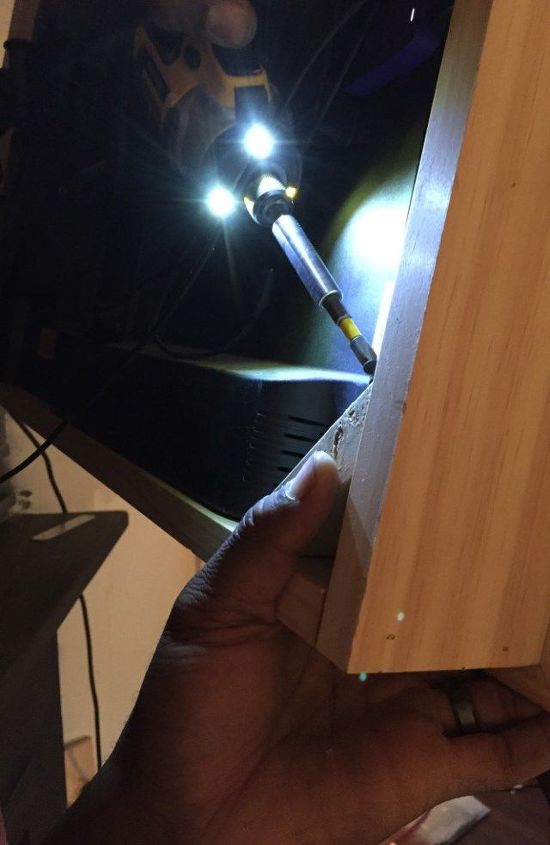
Step 3: Secure the frame to your TV.
Once those are cut, screw them into their respective corners.
And there you have it! It was a great solution for our limited budget and limited space, and we've already received so many compliments on it.
Head over to the blog for lots more photos and details on how to do this project yourself.
Want more details about this and other DIY projects? Check out my blog post!
Comments
Join the conversation
2 of 18 comments
-
I think this idea is brilliant! The one thing I hate about our big screen is it's prominence in the room. This idea makes almost a mirror of the TV above the mantel. I do agree that the cord is distracting, but you might be able to conceal it as Carol has suggested, or just get a taller plant to hide the exposed part of the cord from the TV and then tack it to the mantel. I love the rustic look of your fireplace too!
-
You could really conceal the cord by running it to the side, hopefully between rows of the stone, and then down to the floor along the edge. Lovely job!


Frequently asked questions
Have a question about this project?