


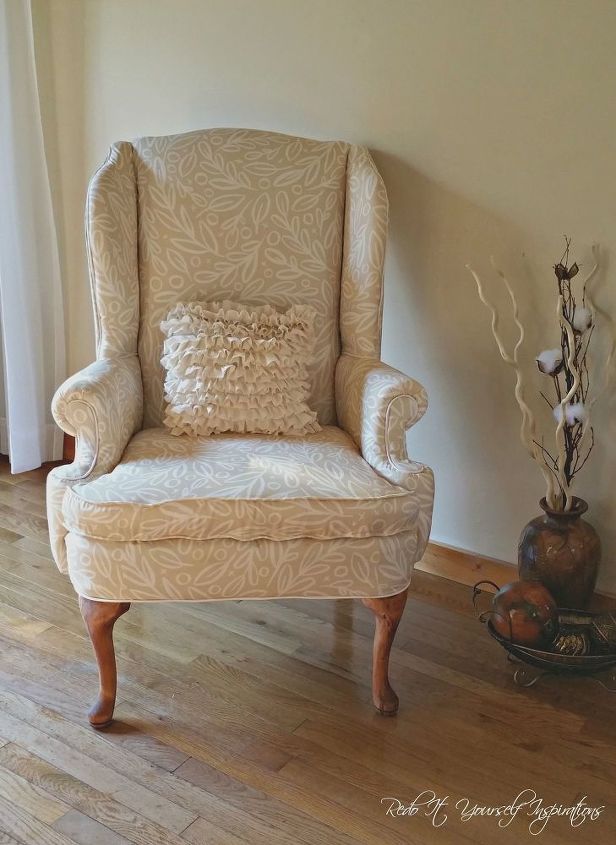
A Wingback Chair Makeover
I'm so excited to be a participant in the November Fab Furniture Flippin' Contest with the theme "Take a Seat"!
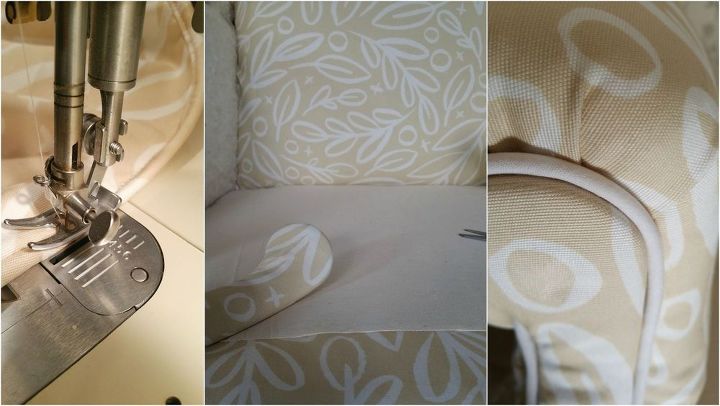
This time The Fab Furniture Flippin' Contest has us taking a seat... and flipping it into a new life with amazing winning fabric designs from Minted.
This time The Fab Furniture Flippin' Contest has us taking a seat... and flipping it into a new life with amazing winning fabric designs from Minted.

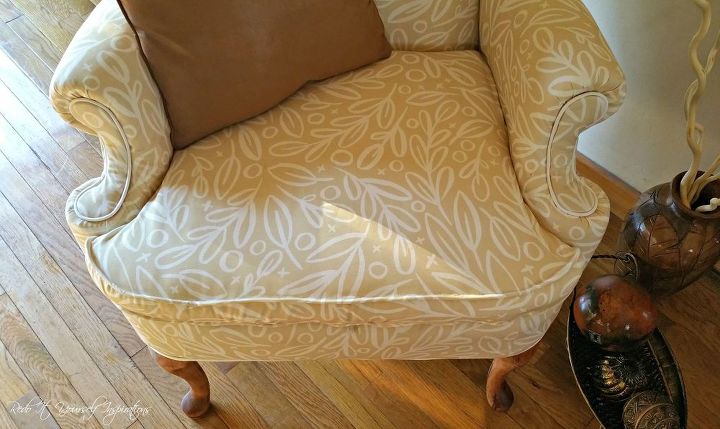
I saw this badly stained wingback chair getting tossed out on the curb, so I asked the guy if I could take it and redo it. He said, "Sure, help yourself!"
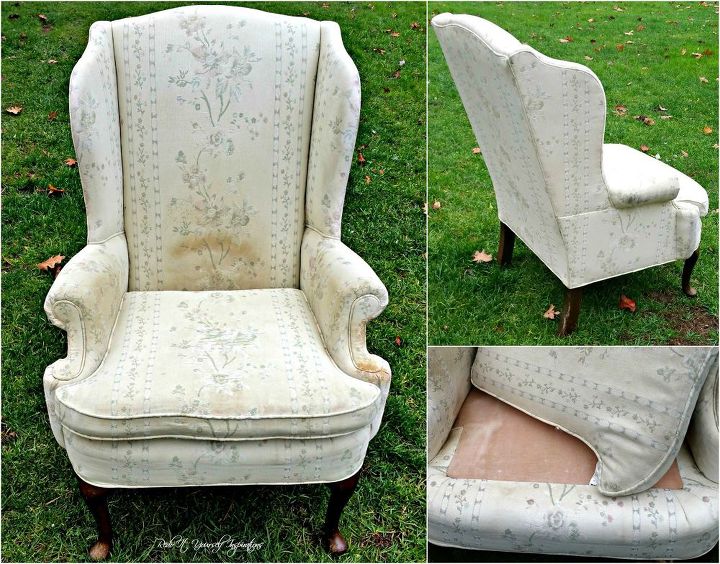
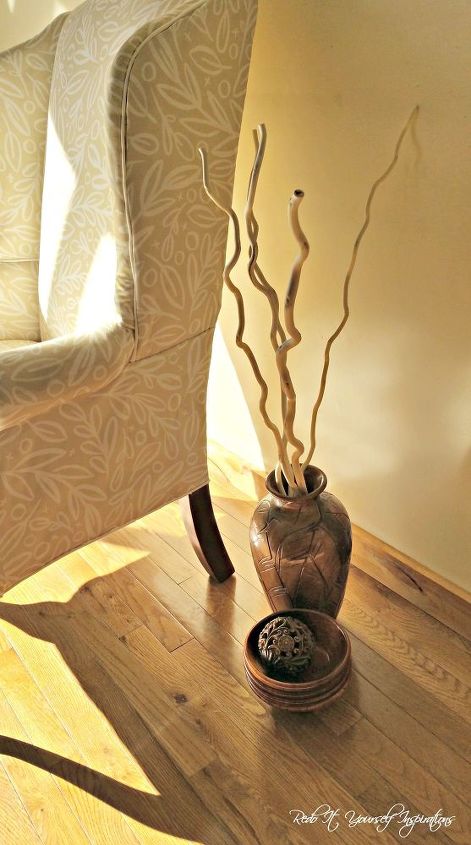
I started with the cute little legs. After realizing I was not going to paint them, I sanded them down to refinish them. Look what I found...
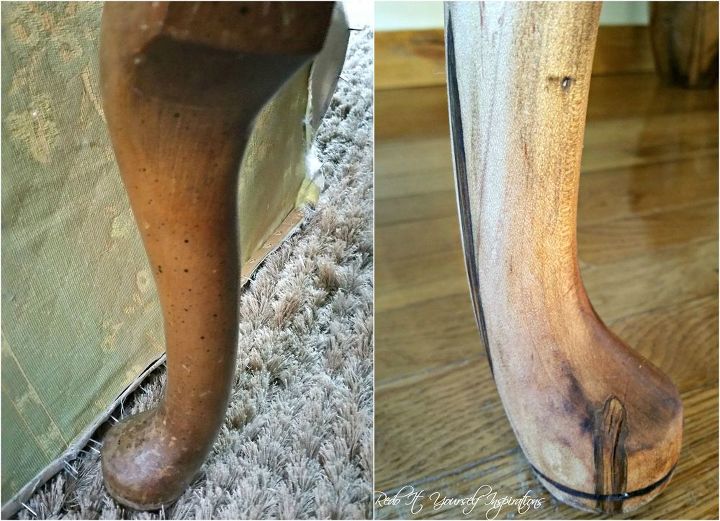
natural tree growth! That's just too amazing. I ended up clear waxing the gorgeousness.
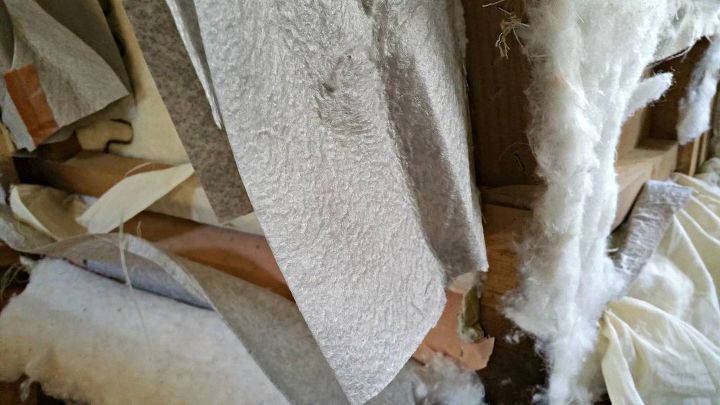
As for the rest of that chair, I wondered what I got myself into.
After several days... and nights... that felt like 40...
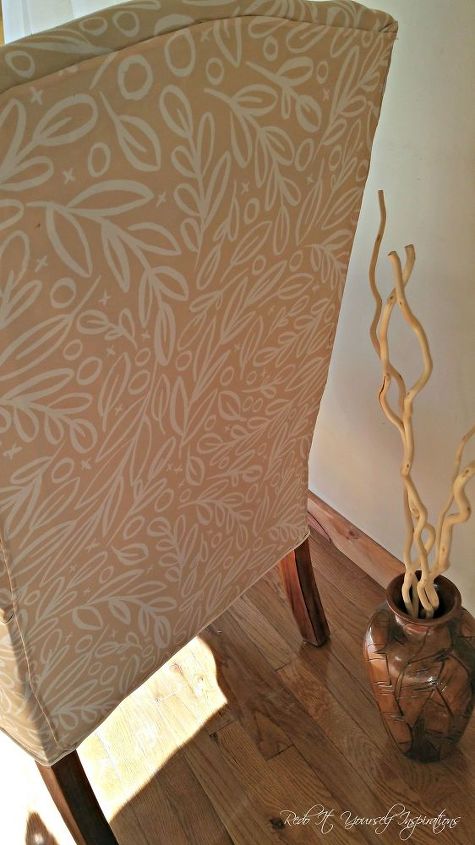
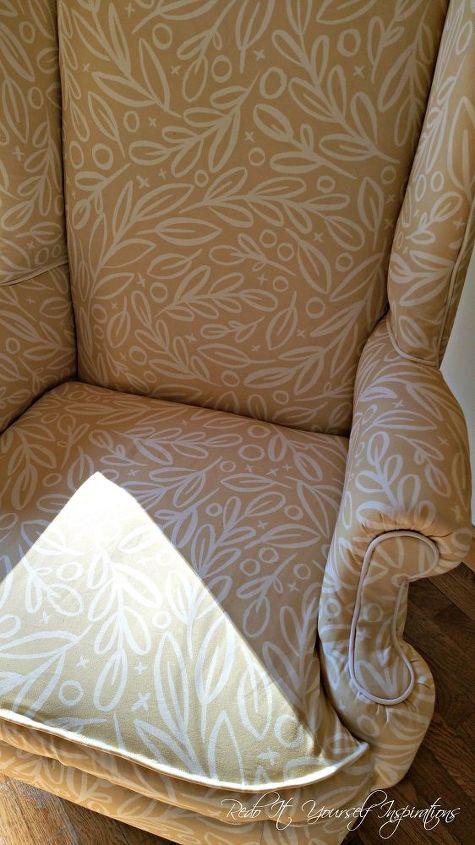
I saw the light at the end of the tunnel.
, , ,

Want more details about this and other DIY projects? Check out my blog post!
Comments
Join the conversation
2 of 19 comments
-
Hi Robin, I have a mid century wing back that was my Aunts done in red velvet. It has seen better days and I am going to redo the fabric. I am going to check out your blog to see if you gave details on reattaching the fabric to the front. Thank you for posting your project. It came out lovely.
P.S. Went to the blog....no other details that are helpful oh well.
-
Love to do it


Frequently asked questions
Have a question about this project?
How much material and cushion needed to re upholster a chair like this I have one that could use a face lift. Thank you for your response in advance.
How did you know how to cut & sew (and put back into place) the new fabric? I’d like more information too please (step by step with pictures would be helpful for anyone wishing to act on the inspiration you created).
It looks beautiful!! How did you know how much fabric to buy ?