


DIY Clay Jewelry Bowls *gift Idea!*
2 Materials
$30
2 Days
Easy
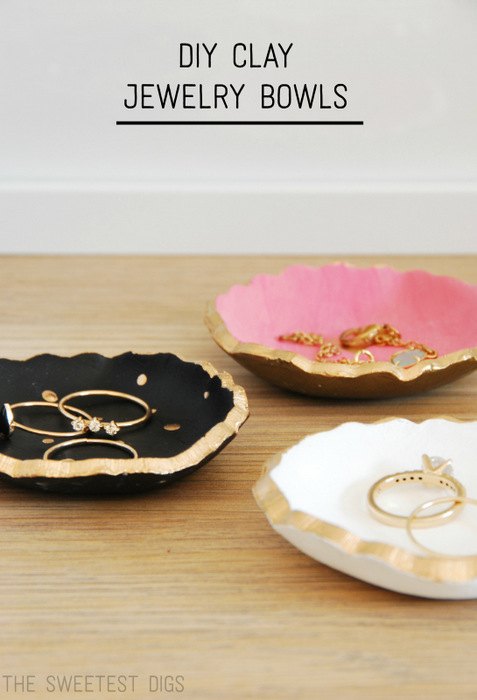
This is a seriously cute DIY, you guys. I had seen tutorials out there for these little clay ring dishes – from stamped to marbled to painted, and so decided to give it a try. And they turned out so sweetly, I HAD to share them with you.
What you need:
1 // air dry clay (or use oven bake clay – either will work) – Sculpey is a reputable brand name of clay: air dry & oven bake
2 // a cookie or shape cutter of some kind (a small bowl edge would work for this) – here is a scalloped set
3 // a rolling pin
4 // some acrylic paint – I have a set like this one so I have tons of colors available
5 // gold foil paint – I use the Plaid Liquid Leaf
6 // modge podge (the tried and true modge podge here) or clay glaze (sculpey gloss glaze)
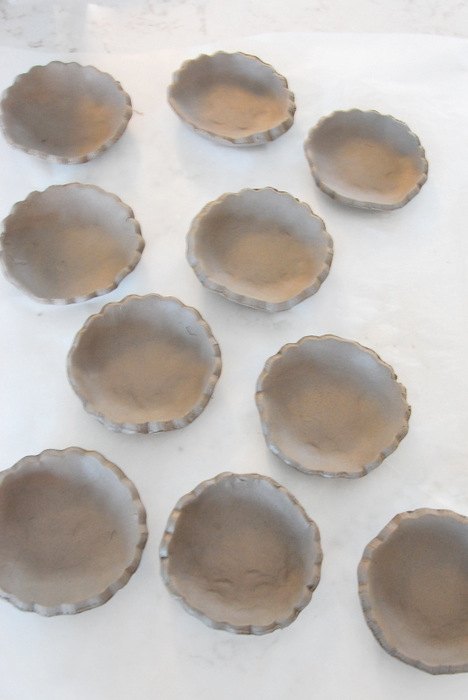
My girlfriend Caroline and I got together for a crafty afternoon (is there anything better than a girls DIY day?!) and whipped out a bunch of these sweet dishes. We used 1 package of air dry clay for our bowls (that stuff goes a long way!). Remove the clay from the package, roll it out with a rolling pin, and cut out the shape using a cookie cutter or bowl. I had a round scalloped cookie cutter, which made a really sweet shape. We then curled up the edges ever so slightly with our fingers, so that it would take on a bowl shape.
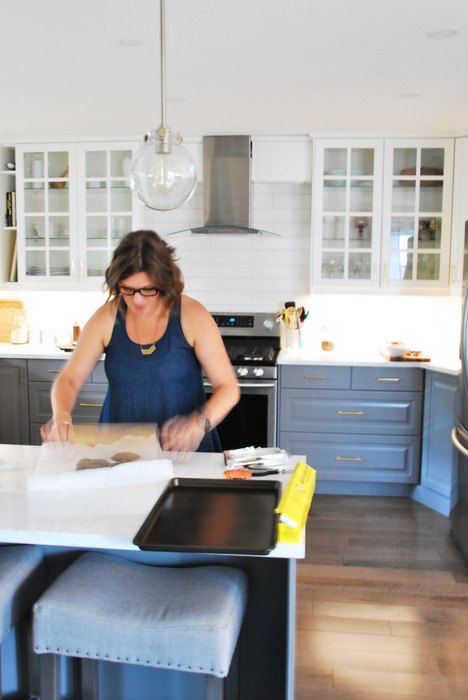
Then you just need to let those puppies dry. We put ours on some parchment paper and set them aside for several days before we painted.
Once totally dry, then it’s the fun part – you can decorate and paint these little gems however you please. We used various colors of acrylic paint on our dishes, and let those base colors dry before applying the liquid leaf gold foil paint. We did a few different looks – some plain ones with gold rim, some with gold polka dots, and some with a tiny gold heart in the center. Tip: for the polka dots, use the opposite top edge of your paint brush for a perfect dot.
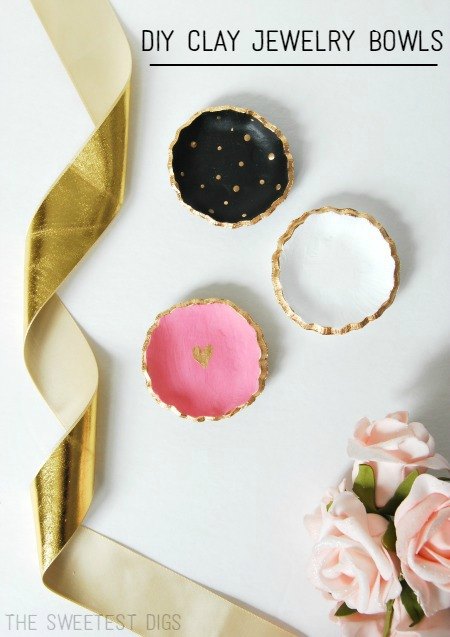
Hop over to the full post to see what my little secret is to help seal them! This has helped make them a little less fragile and prone to scuffs.

So cute, right? They are *perfect* on your nightstand as a spot to put your rings and earrings.

Want more details about this and other DIY projects? Check out my blog post!
Comments
Join the conversation
2 comments
-
Oh my gosh I want all of these! <33 love
-
Adorable! And being in "lockdown" due to the pandemic, this is a creative and ideal way to be constructive and have some FUN at the same time. The possibilities are endless ... my kind of project!
Thank you very much for sharing and inspiring!


Frequently asked questions
Have a question about this project?