18K Views
DIY Christmas Wreath - SO EASY!

by
Kim {Tidbits&Twine}
(IC: blogger)
2 Materials
$1
1 Minute
Easy
If you've been following my blog for a while, then you know that I only have one wreath and I just dress it up differently depending on the season or occasion. This way, I have less to store and I always have a "new" wreath to enjoy! I use the same grapevine twig wreath year after year as my wreath base and then simply wire on different accents using floral wire. This year, I wanted to create something simple, elegant, & neutral. Here's a step-by-step guide to creating this look, as well as link to create other looks.
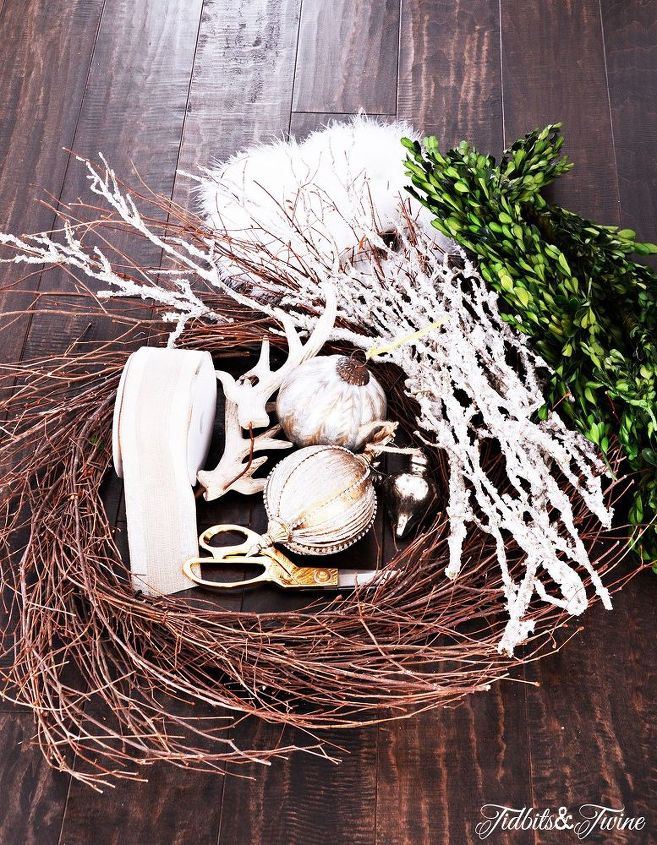
Step 1: Gather together everything you *think* you want to use on your wreath. Sometimes, you won't actually know what you're going to use and how you're going to style it until you start putting it together.
Step 2: Wire on your snow covered branches so that they go in the same direction as the twigs.
Step 3: Add your greenery. I used stems of preserved boxwood.
Step 4: Start layering in your accessories.
Step 5: Add a center bow. I also added one big ornament.
Step 6: I added a feather boa on the inside of the wreath to make it "pop" and also to cover the area where the snow branches and the twigs met.
And ta-da! It's done and ready to hang!
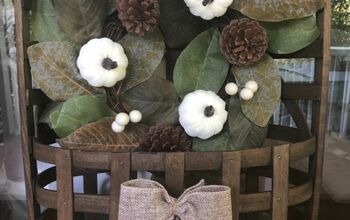
Here's a look at last year's version. Click on the link for a full tutorial to make this wreath!
Enjoyed the project?
Suggested materials:
- Stuff
- Stuff

Want more details about this and other DIY projects? Check out my blog post!
Published November 24th, 2015 12:31 PM
Comments
Join the conversation
2 of 11 comments
-
Good idea
 Debby Purse
on Dec 04, 2015
-
-
I love your wreath! Thank you for sharing this idea♥
 Maarit Aho
on Mar 19, 2016
-











Frequently asked questions
Have a question about this project?