


Let's Make: A Giant Floor to Ceiling Curtain!
Making a large floor to ceiling curtain is easy and surprisingly inexpensive with these rock star tips!
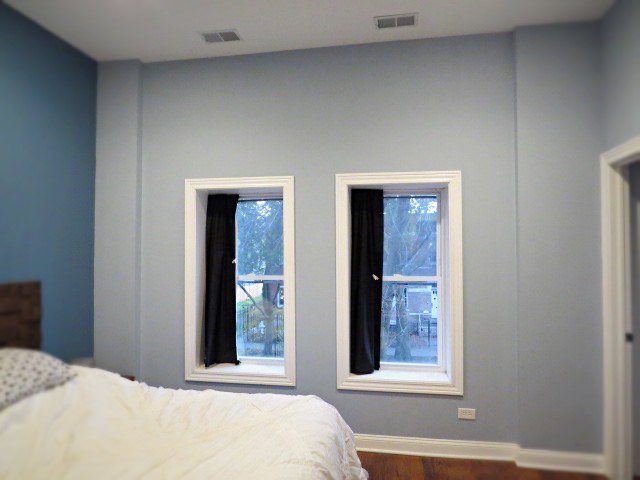
Here's our obligatory before photo. There are two sort of bump outs on either side of the windows and I thought hey, ya know, perfect spot to hang a floor to ceiling curtain!
It all started with purchasing a huge seamless remnant from a local theatrical fabric supplier (resources available on the blog!). Take a girl out of the theater, can't take the theater out of a girl....It cost a mere $50 for a piece about 10' x 15'. Seamless. Yes.
Excellent resource though, theatrical fabric suppliers. Try it, you'll like it!
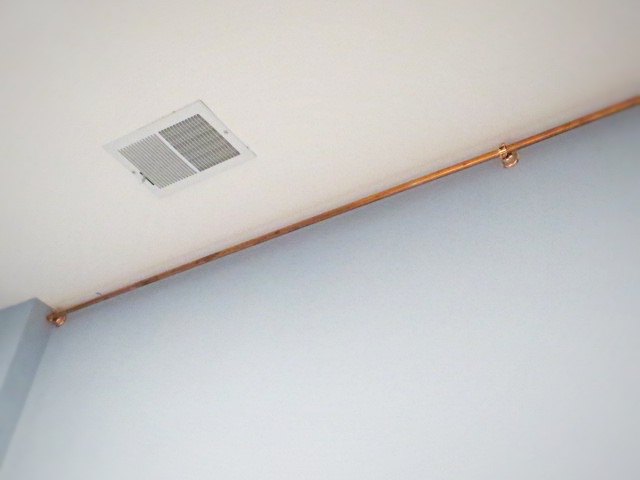
Yeah, sorry, my photos are awful lame on this project. But here's the copper pipe curtain rod I assembled out of 1/2" pipe and bell hangars. I have so many tips and designer hints in this Flipping the Flip blog post it's unreal, you've gotta come check it out at humboldartdept.blogspot.com.
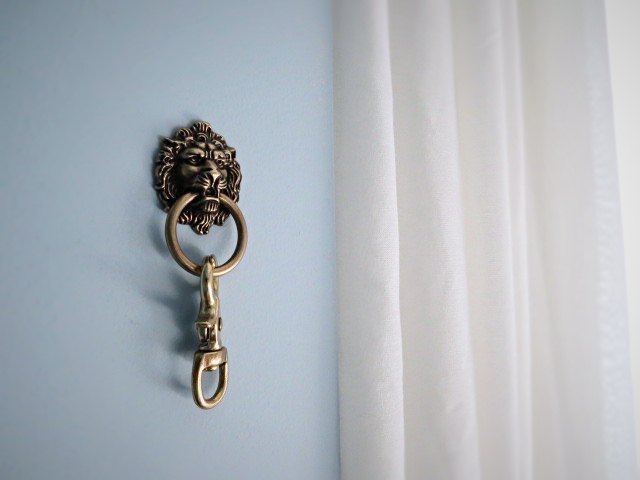
Next was using cabinet pulls as tie back hardware. Yep, cool, right? Click over to my blog post (link at the bottom) to find out how I got the hardware on the wall.
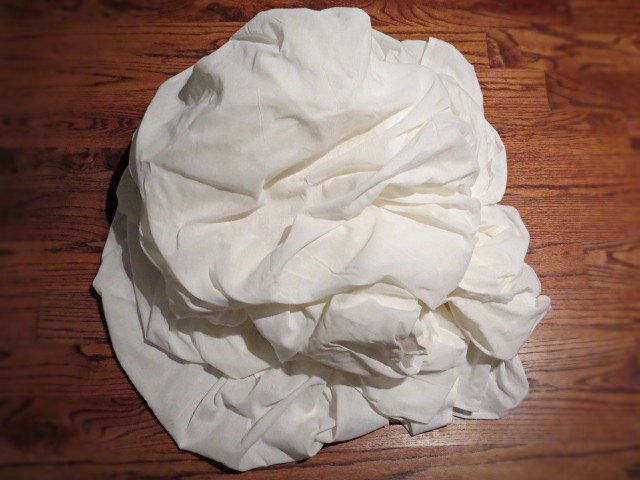
Once everything was cut, coffee dyed (the top pocket sleeve was additional filler fabric, and much too white so it got a soak in coffee -- another cool tip!), and stitched, it was time to hang the curtains.
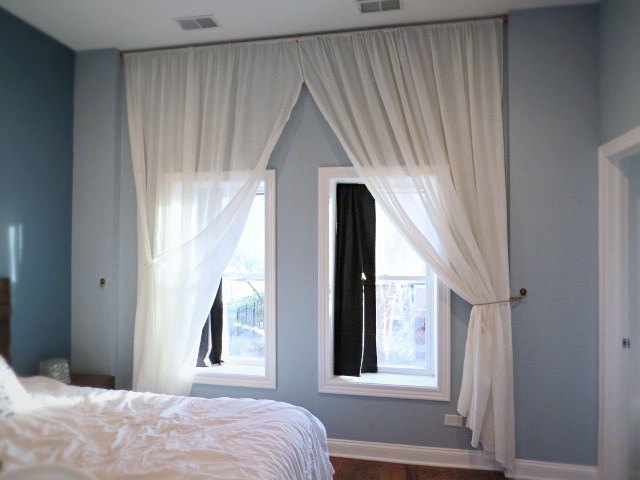
Except I screwed up the top pocket sleeve. The panels wouldn't move (too tight) plus somehow I was 2.5" short in height. Ah darn it. I went through several iterations of draping, first several being too pretty, per se, for my taste.

Well so ok, I took the curtains down, spent forever seam ripping, re-did the top pocket, and blam-o, it was finally the right height and the curtains now move freely! Yay!
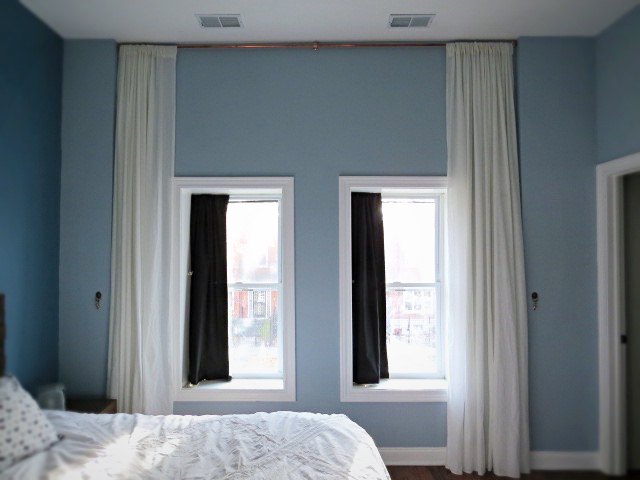
Yeah, not the best photo, sorry, but hey, we've got floor to ceiling curtains in our bedroom now! I went with hanging the panels straight, no tying back. It's a work in progress, minor tweaks ahead, but it's close!
But seriously though, I loaded up this post with all sorts of good hints, tips, designer-y things, you should come by for a read! Click the link below!
Resources for this project:
See all materials


Comments
Join the conversation
-
Absolutely nothing beats floor to ceiling curtains for a luxury look in any fabric
-
White/coffee blackout pull-down shades/blinds would look nice and when up not stand out as the black curtains do. They come in various shades of white (colour too), are blackout lined, hand operated -no cords, are honeycombed construction (35+% reduction in heat loss), easy to install and essentially out of sight when up. Small strips of painted wood installed down the two in sides of the window frame to create a track would eliminate any light leakage and further the insulating properties.


Frequently asked questions
Have a question about this project?
I love the copper pipe idea. I have a large porch with windows from one end to the other. About 40feet. I have priced painters drop cloths. Large and natural looking. I’m planning to put large grommets across the top and hang them. These copper pipes are perfect to hang them from
You did a fantastic job with the pipe but the expanse of wall left on the eye when open needs addressing. A picture or some kind of artwork? Wish I could answer it. I am going to do this with one of my rooms with heavier curtain material as it blocks out more light. Well done you!!
Looks fab......but have you thought about hanging another curtain in the middle.....it would make the space look even more fab!!! Just saying!