


Cedar Chest Blah to Cedar Chest Beautiful

5 Materials
Having grew tired of such dark colors, but still loved the idea of keeping my cedar chest in my bedroom, I decided to try my hand at making my own chalk paint. It couldn't go wrong, it's just chalk paint...and for me if something doesn't work the first time...I try, try, again. Fortunately for me this turned out exactly how I envisioned it on the first try.
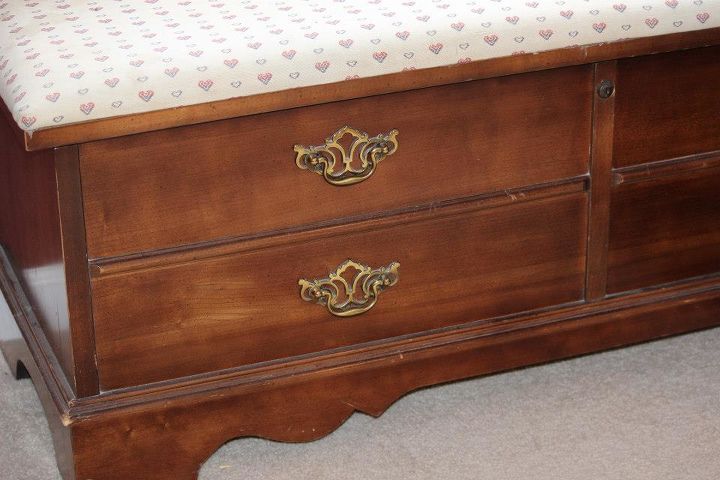
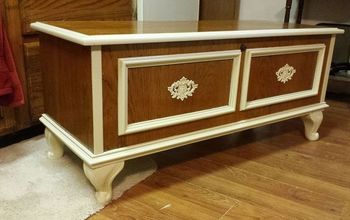
The little dreary cedar chest
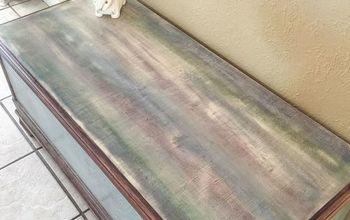
I compared numerous "self-made" chalk paint. I must admit I made several batches before I was satisfied with the texture and finish. Yes, I used plaster of paris...and yes, I read all the "don't use homemade" from all the big companies. All I can say is the "proof" is in my photos. 4 years (almost 5 years) later, it still has the before look that I wanted. So much, that since then, I have also done my cherry nightstand that matched my cedar chest.

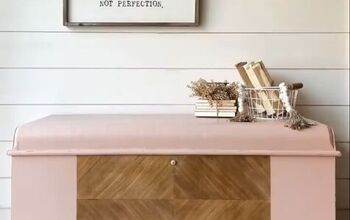
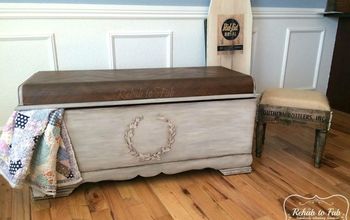
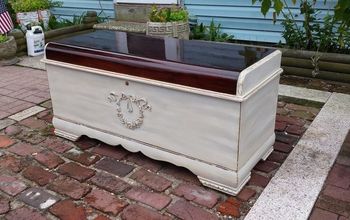
After making a batch of homemade chalk paint, I applied 2 coats to my CHERRY cedar chest. After the paint dried, I sanded the edges, trim, and where ever I wanted my chest to look worn. You can tell I took the sanding in places, all the way down to the cherry wood. I had removed the "seat' prior to painting which made it easier to rough the top edge. Recovering the seat just took scissors and a good stapler. I sprayed painted the handles, replaced the seat, took a step back and smiled. I love this cedar chest. One day I'm going to start on the king-size bed frame to match!
Comments
Join the conversation
2 of 3 comments
-
Love the fabric you chose!
-
I love it! Bright and beautiful. Love what you did to the pulls and the fabric choice is right on!


Frequently asked questions
Have a question about this project?