


A No-Sew Way to Make Short Drapes Floor Lenght

by
Anna M
2 Materials
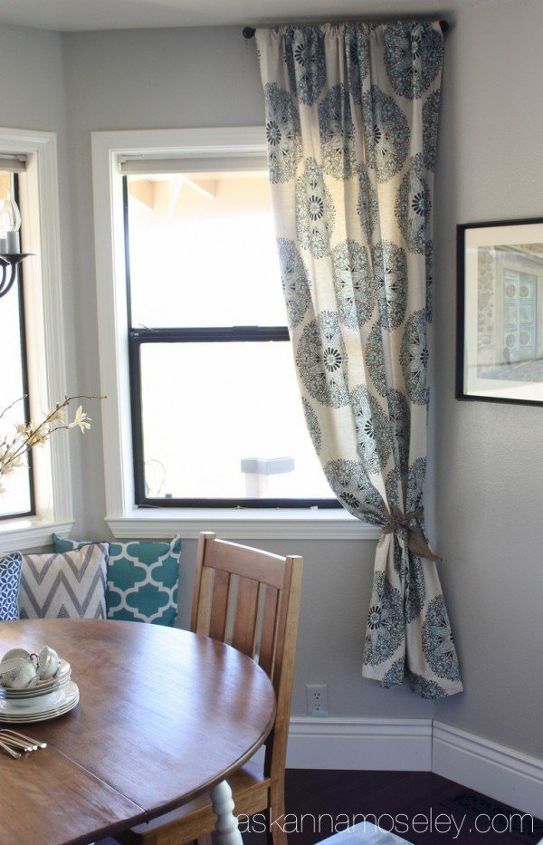
A few months ago, I fell in love with these drapes, but they were too short for the look that I wanted, so I came up with a no-sew solution!

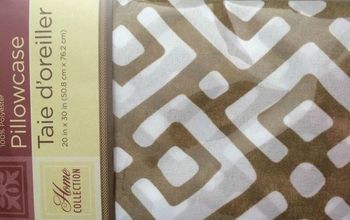
Here's what you need -
First, iron your drapes and the new coordinating fabric to ensure they are wrinkle-free, and then lay them right side up.
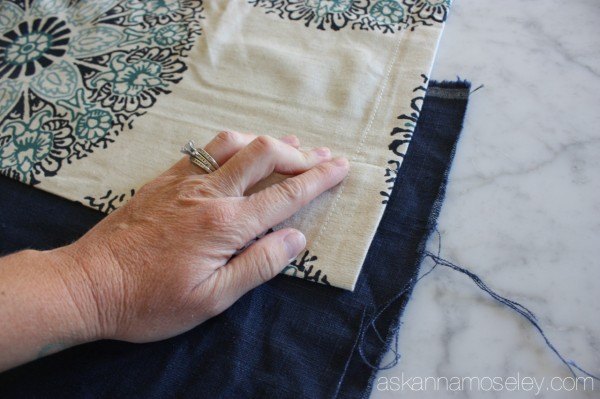
Next, measure how long you want to extended fabric to be, and make sure you leave an inch on the left and right sides for the "hem." With my drapes, I wanted to add 18 inches, but my fabric was 24 inches long so I overlapped by 6 inches.
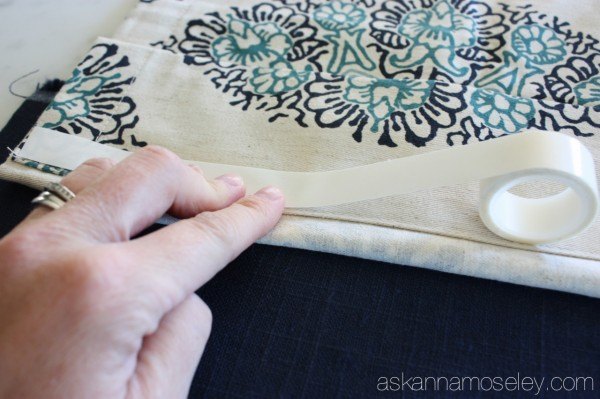
Flip the bottom of the drape over and attach the fuse tape to the inside of the drape. I attached the tape a few inches from the bottom (you'll see why later)...

Run the fuse tape along the entire width of the drape, and then pull off the paper. Once you've removed the paper, flip it back over and push it down to attach the two fabrics.
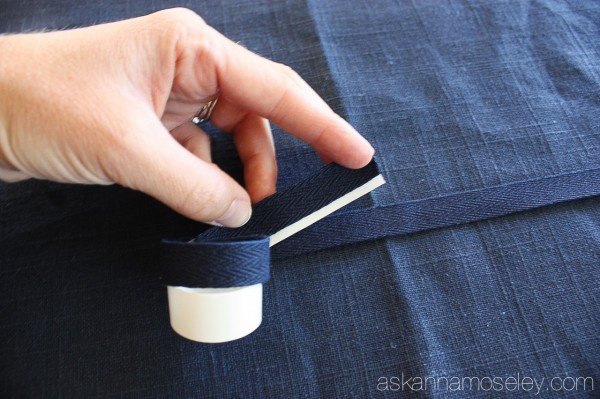
Next, run your fuse tape all along the backside of the ribbon. If possible, you may want to buy the same width fuse tape as your ribbon because it was a pain to cut off all the extra!
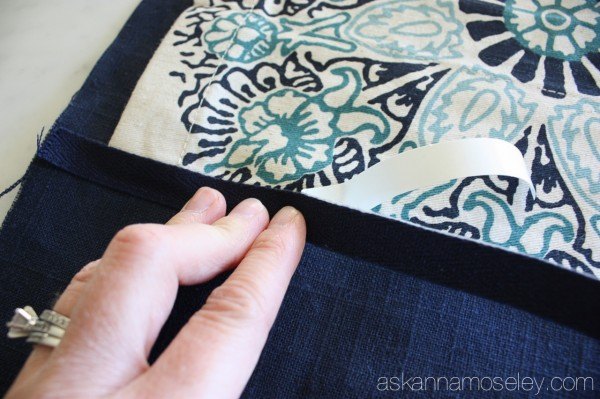
Now that you've attached the ribbon to the fuse tape, lay the ribbon out over the end of the drape, where the new fabric begins. The ribbon is going to cover the seam and make the two fabrics look like they were always meant to be together. Leave at least an inch on each side so you can fold it over to hide the edge, in the next step.
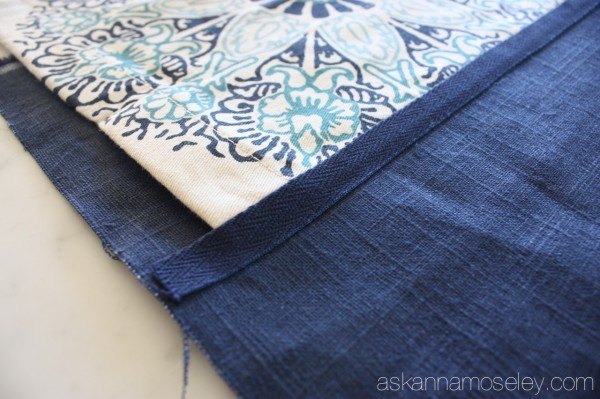
When the ribbon is in place, slowly pull the paper off with one hand, and press it into place with the other hand. Make sure the ribbon is attaching to both the new fabric and the drape to create the perfect seam.
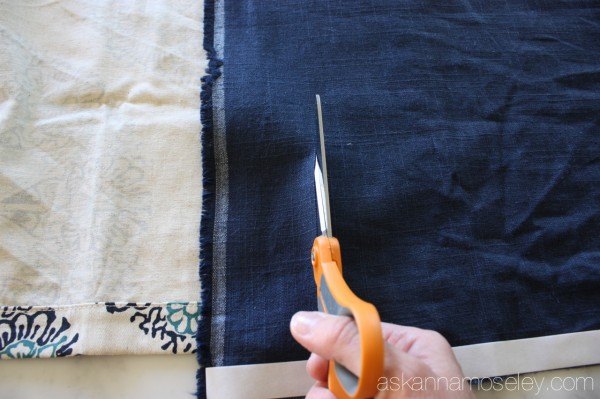
Next, flip the drape over so the WRONG SIDE of the fabric is facing up, and cut off the excess fabric at the top.
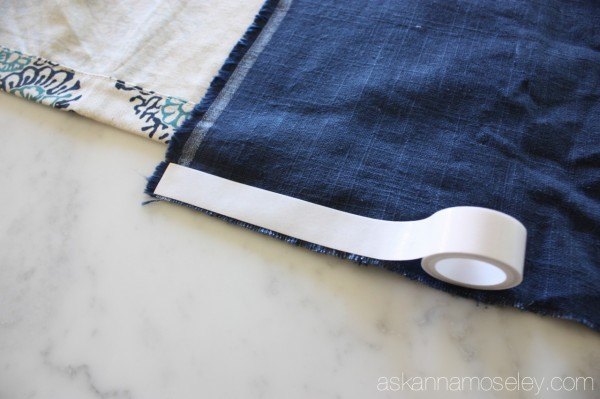
Run the fuse tape along the WRONG SIDE EDGE of the of the new fabric way down to the bottom, leaving a few inches at the bottom for the hem.
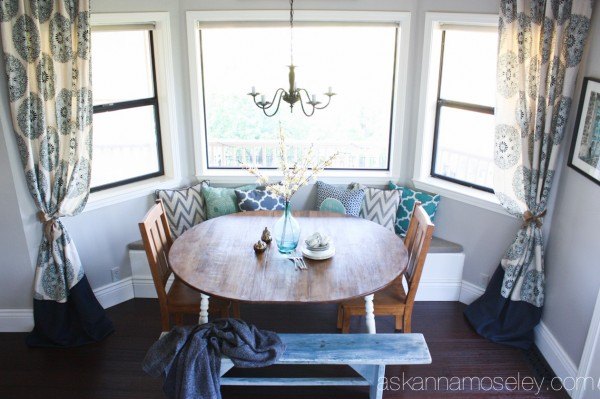
Next, head over to the blog for the final steps to finish creating your long, beautiful drapes that look like they cost way more than you actually paid for them!
Want more details about this and other DIY projects? Check out my blog post!
Comments
Join the conversation
2 of 9 comments
-
This is also an awesome way to add interest to plain drapes... just add the pattern to the edges... and a back up the center edge would look good too.
-
Have to get me some of that fusion tape. Oh the things it could do. Thanks for sharing.


Frequently asked questions
Have a question about this project?
why didn't you just lower the rod?
Where did you get the curtains? I just love that pattern, would go great in my bedroom.