


Rustic Cloth Ornaments: Woodland Style
It was so exciting to make this easy Christmas craft for the special "Home for Christmas" event!
This post is part of a HUGE Christmas blog hop, hosted by Hometalk.com and CountryLiving.com where home and garden bloggers from all over the world are sharing their brand new Christmas decorating ideas!
This post is part of a HUGE Christmas blog hop, hosted by Hometalk.com and CountryLiving.com where home and garden bloggers from all over the world are sharing their brand new Christmas decorating ideas!
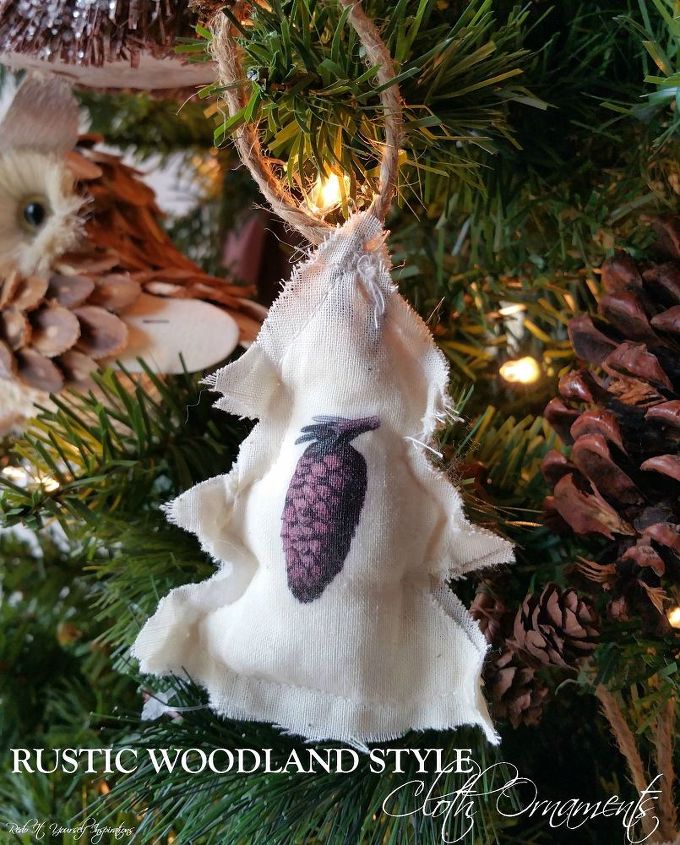
This project was FREE with scrap fabric, one sheet of iron-on transfer paper, and twine. All items that were on hand!
I'm sharing a very easy cloth ornament craft.
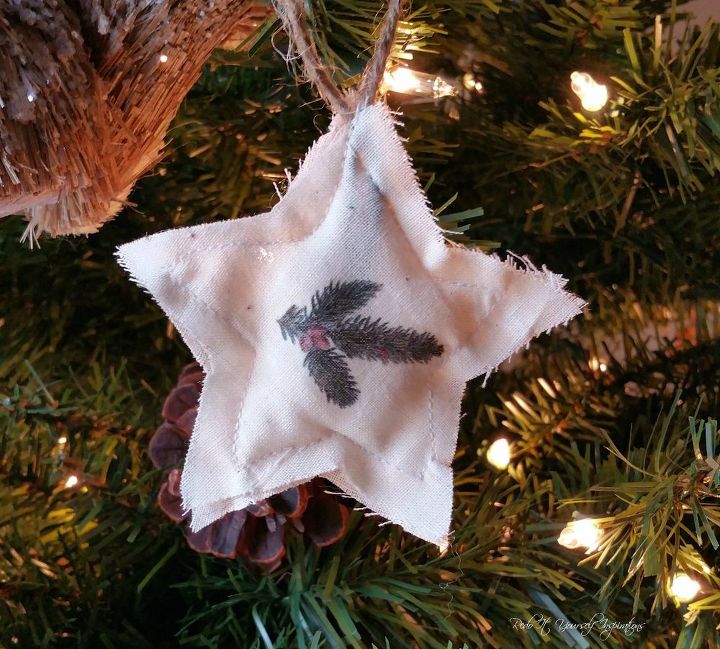
Once I adjusted the graphic sizes to fit within cloth ornaments approximately 3" wide, I was able to allow ten vintage images on one page. Then printed them out on a sheet of iron on transfer paper.

I used twine for a hanging loop, sewn into the middle of the front and back fabric pieces with polyfill stuffed inside. Just like mini pillows.
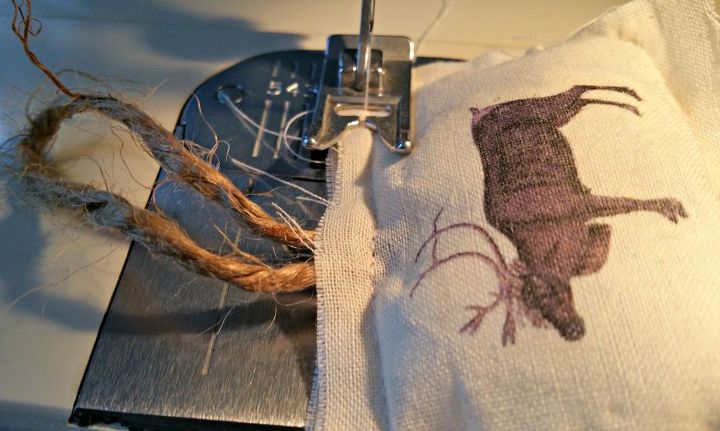
Then I allowed the edges to fray a little bit for a rustic look.
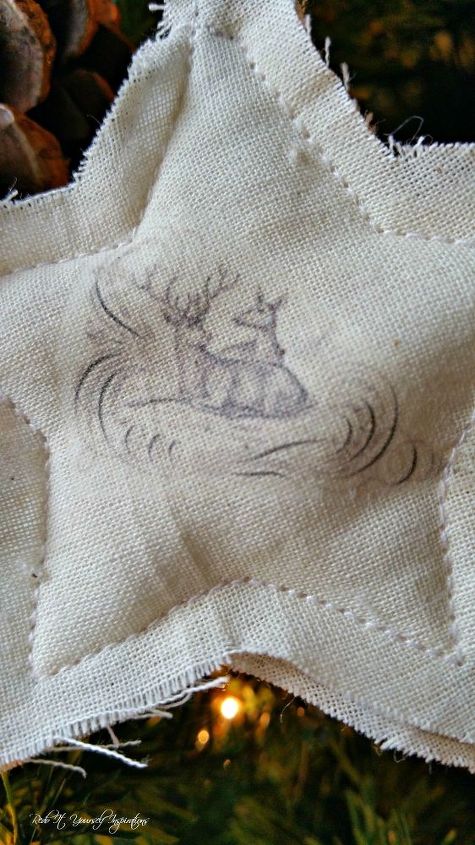
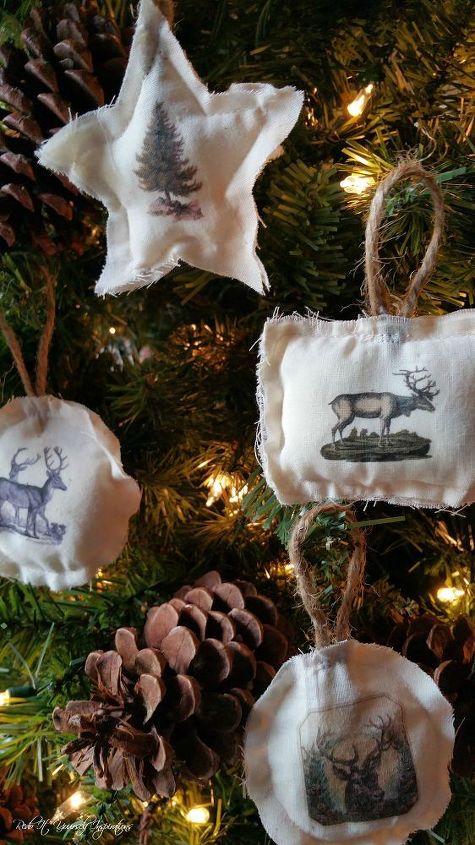
The vintage graphics remained crisp looking on the fabric.
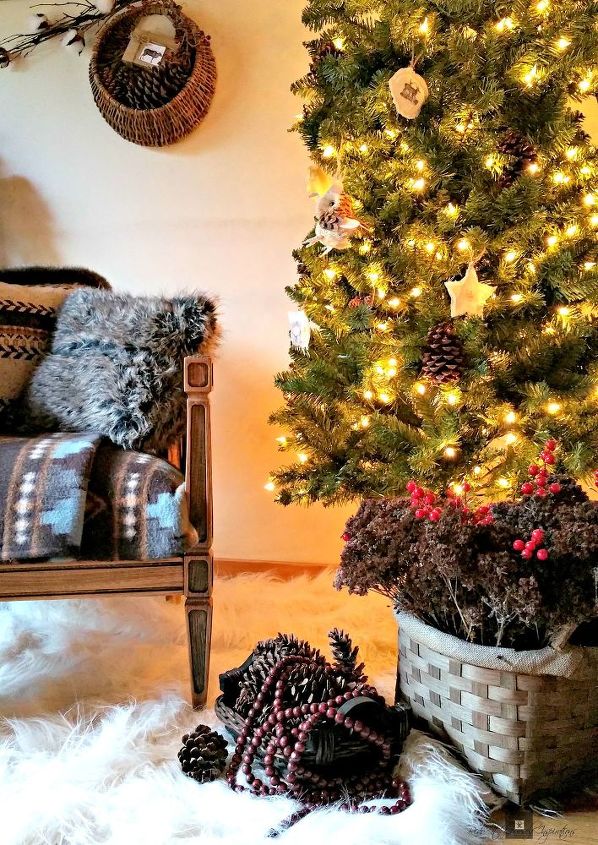
They go perfectly with the Christmas decorating theme.

Want more details about this and other DIY projects? Check out my blog post!
Comments
Join the conversation
2 comments
-
Aw I love those cute little ornaments!


Frequently asked questions
Have a question about this project?