


How to Create an Accent Wall in a Nursery
2 Materials
$50
2 Hours
Medium
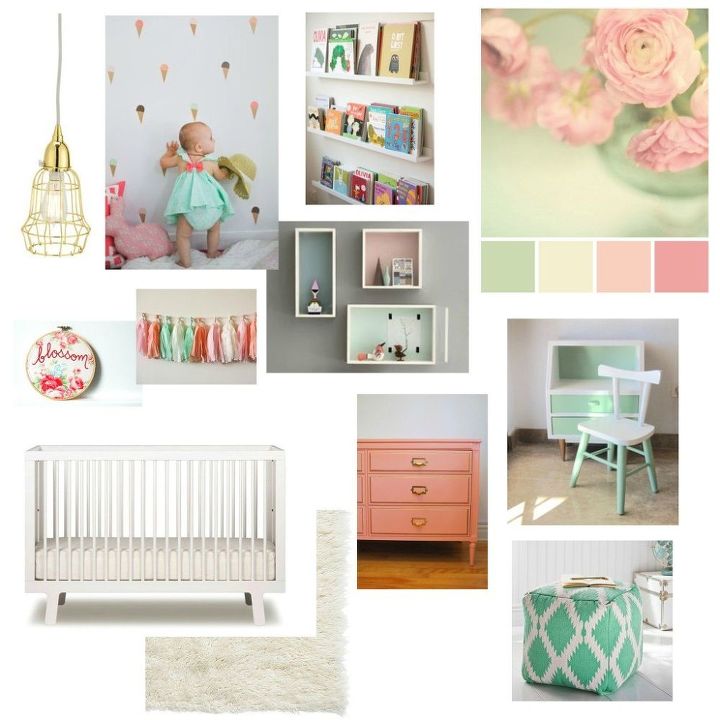
Maya's room has been steadily progressing. Let's dive in to the next project - how to create an accent wall in a nursery. We're talking pink and ice cream cone decals, folks. Holla!
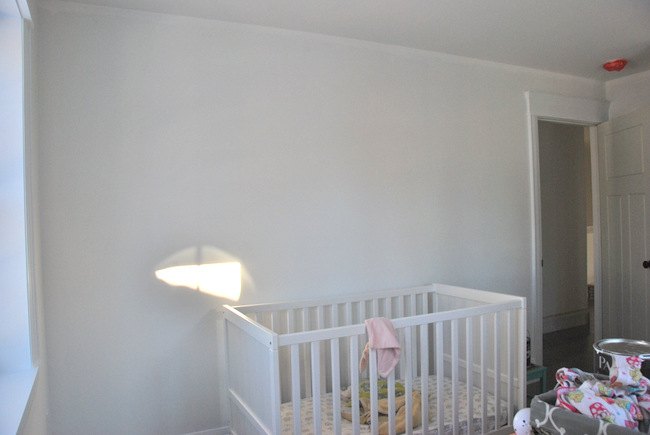
Before any of the fun stuff, I first needed to get the room painted. I LOVE myself some white walls with fun bright colours in accents, so I got to work painting the trim, baseboard and walls in a bright white - PARA Paint's "Whitewash White" - using an eggshell finish for the walls and PARA's door & trim paint for the trim. It's a really cool, bright white, which works in this space because we have two windows which let in tons of natural light.
I spotted the ice cream decals through my fave decals source, Urban Walls, and barely paused before I hit the purchase button. Seriously, how cute are they? I could die. I have used Urban Walls products in past projects and not only are the designs amazing, but the product is easy to use, good quality, and affordable.

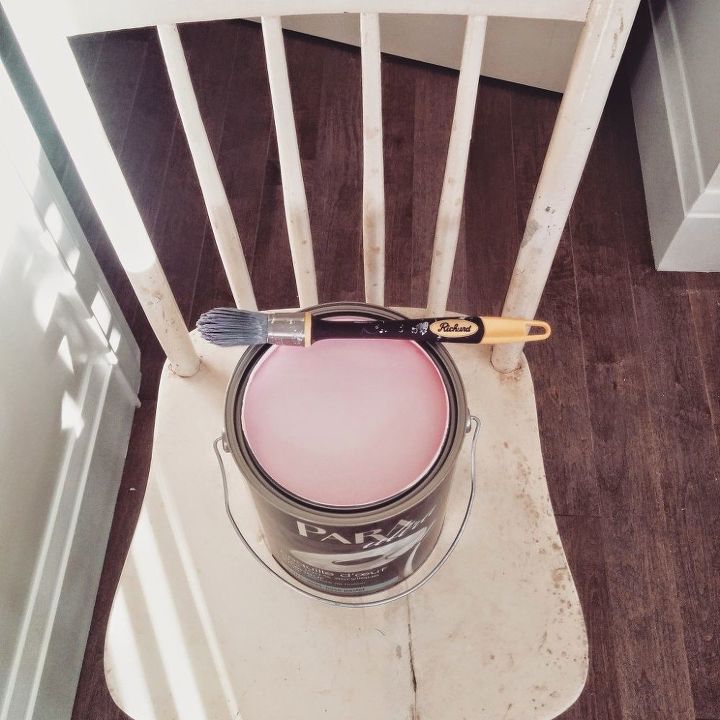
Originally my plan had been to put the decals straight onto the white wall where Maya's crib (and eventually bed) will go, but I had a sudden urge to throw some pink on that side of the room to balance out the pink dresser, which I knew would be on the other side. So, out came PARA Paint's "Flushed". This colour isn't for the faint of heart - it's a full on pink. And I love it.
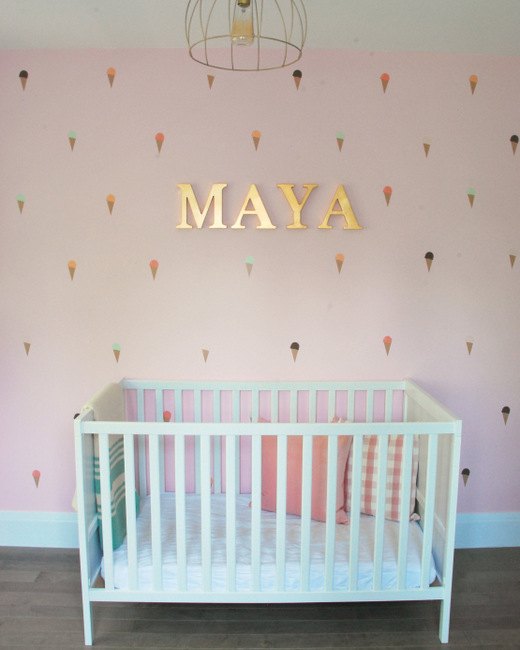
Decals time. They are individual rather than sheets, so you can choose exactly how you want your spacing to look like. To see how I spaced mine before attaching to the wall, click through to the post!

The result? SO FUN!!!! Oh my goodness I want to marry those decals. They are just the cutest. Head on over to the post to see it all!

Want more details about this and other DIY projects? Check out my blog post!
Comments
Join the conversation
2 of 12 comments
-
Very nice! Ug
-
Sorry, that last word was to be ...hugs, certainly not 'ug'!


Frequently asked questions
Have a question about this project?