


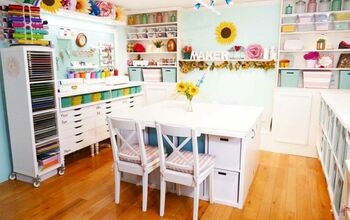
It's done! My craft & exercise room is ready for use. I divided the 9' X 9' room into zones, most of it storage.

by
Kelly S
$400
2 Months
Easy
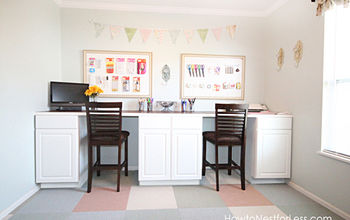
The before pictures are what happens when you use poly indoors, drop the can and decide to just store stuff. The after pictures show the 4 different zones in the room. I have a sewing and beading area, exercise area, soldering, drilling and painting area and a storage aera all in a 9 X 9 room. I painted the window area and closet 2 different shades of purple from the main room which is lavender, added crown molding which is the same color as the adjacent guest bedroom. We framed in the window, added trim all around, and new blinds because the old ones were too wide after we added the framing.
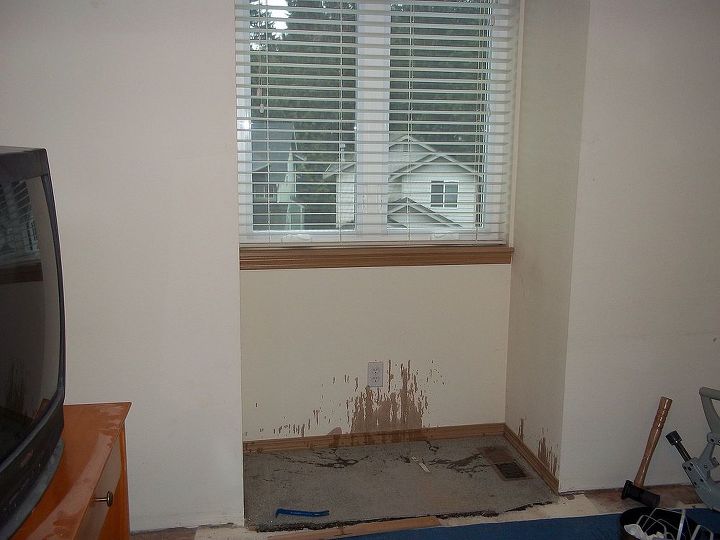
Nasty cheap carpet and the oops with the polyshades can. Plain old off white boring walls, cheap imitation oak window and baseboard trim. It has to go.
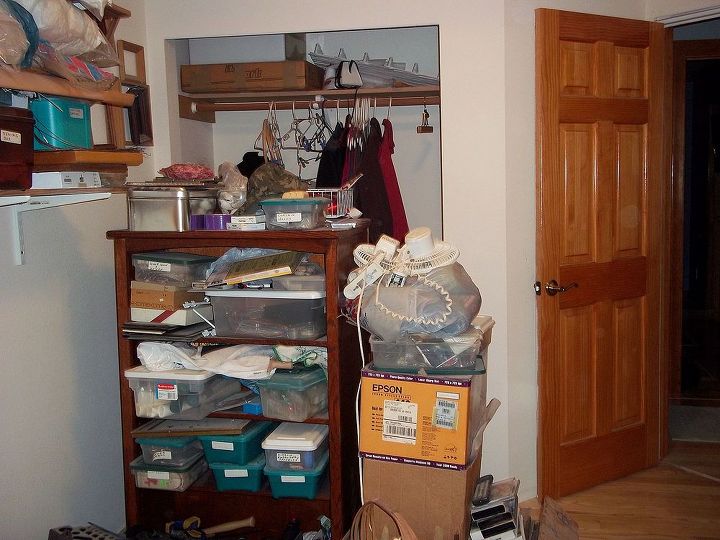
Overflowing bookcases and boxes. We donated 3 garbage bags and sent 3 bags to the trash. Some of the stuff was junk from over 30 years ago!
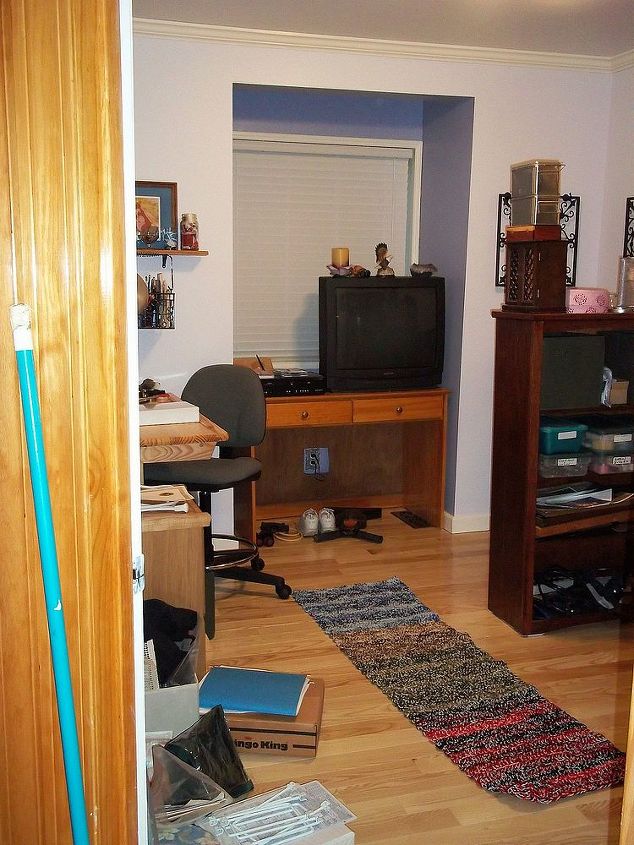
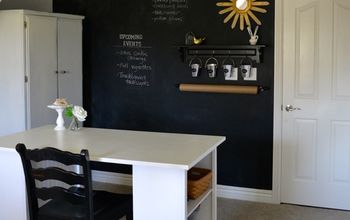
The sewing area where the chair is, the crocheted exercise mat I made in front of the TV with the equipment under it and part of the storage area. New hardwood ash floors. Yes you can install it yourself.

Storage area all cleaned up with room to spare. Picture frames are hanging on the wall waiting for me to make something to put in them.
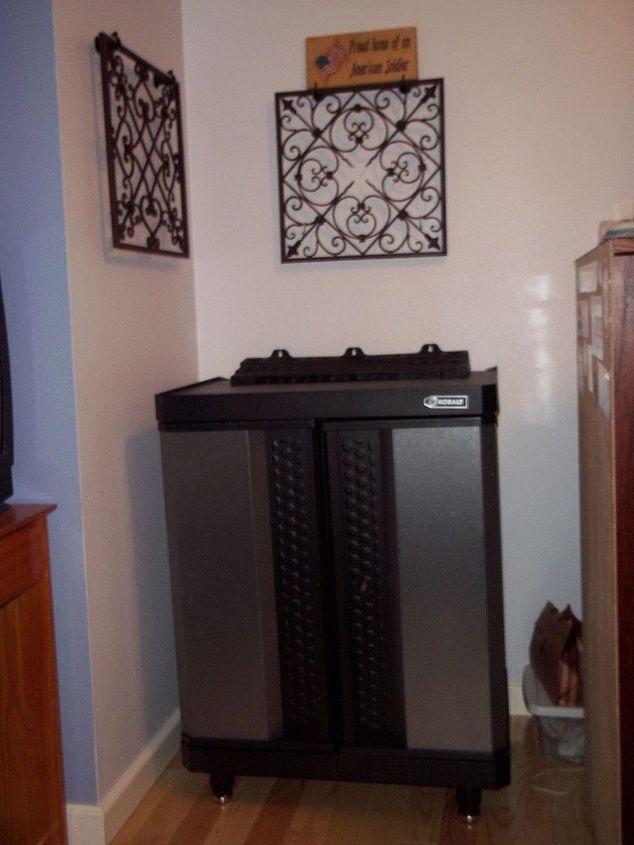
My new work bench for drilling, painting etc. It's behind the bookcase with the bins. The decorative grates will be used to hang instructions or ideas from.
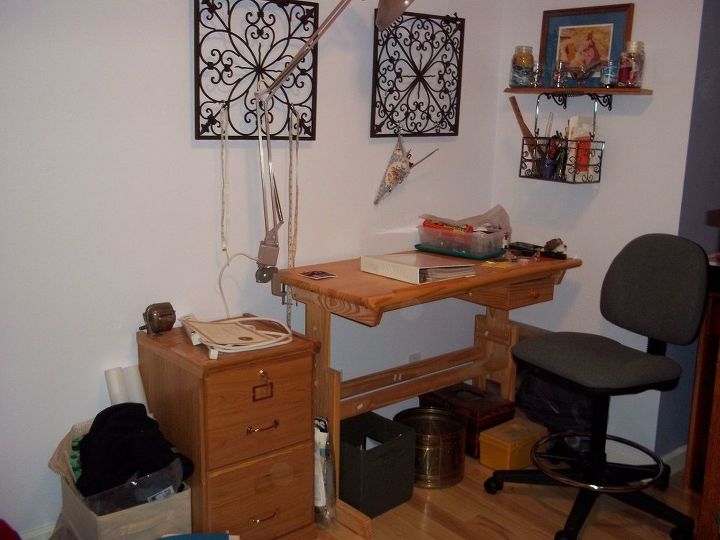
the sewing and beading area directly opposite of the work bench. I have my great grandmothers sewing cone hanging from one.
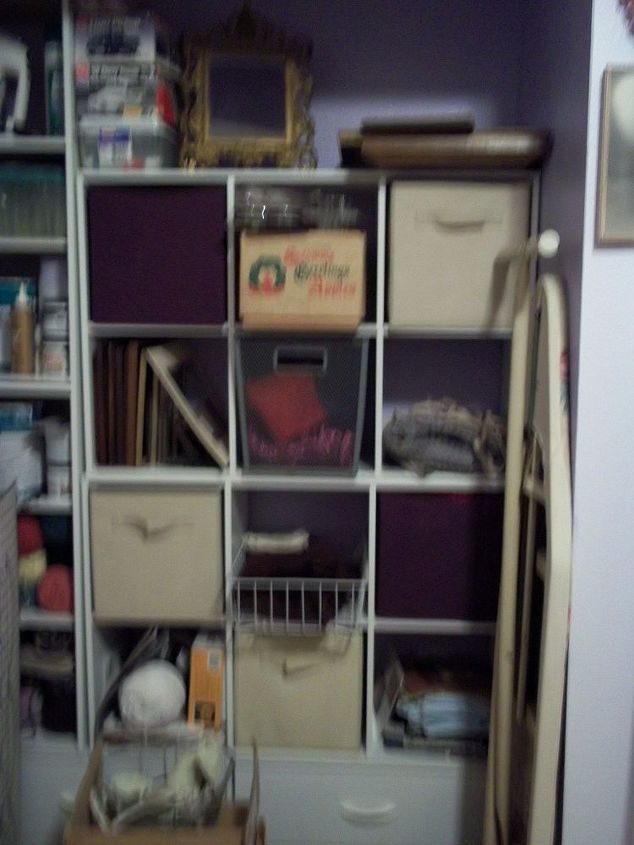
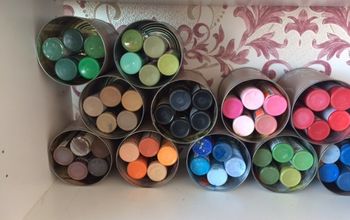
The closet storage area next to the bookcases. Yes, that's the paint for the room in 2 of the cubbies. Thank you closetmaid.
Comments
Join the conversation
2 of 4 comments
-
Awesome! turned out gorgeous!! im jealous!!!! i guess id better get busy on mine!!!!! lol
-
I recently read on Pinterest about using "sink grout...the soft plastic type" to make "lines" across the back of rugs that have lost their "non-skid" backing-- Thanks to Martha Stewart!! Might work with your mat to keep from sliding...


Frequently asked questions
Have a question about this project?