


A Hutch for My Nook

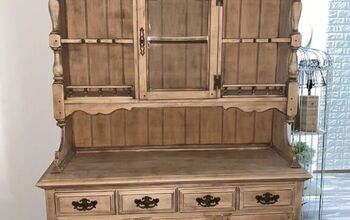
We removed a desk area with cabinetry in our kitchen when we did the update and wanted a nice piece of furniture to add color and functionality in that space. I hunted everywhere for something I would like but kept loving all of the pieces that were $1500-2500! I knew that would not work, so I started shopping consignment shops for something I could redo and found this beauty!
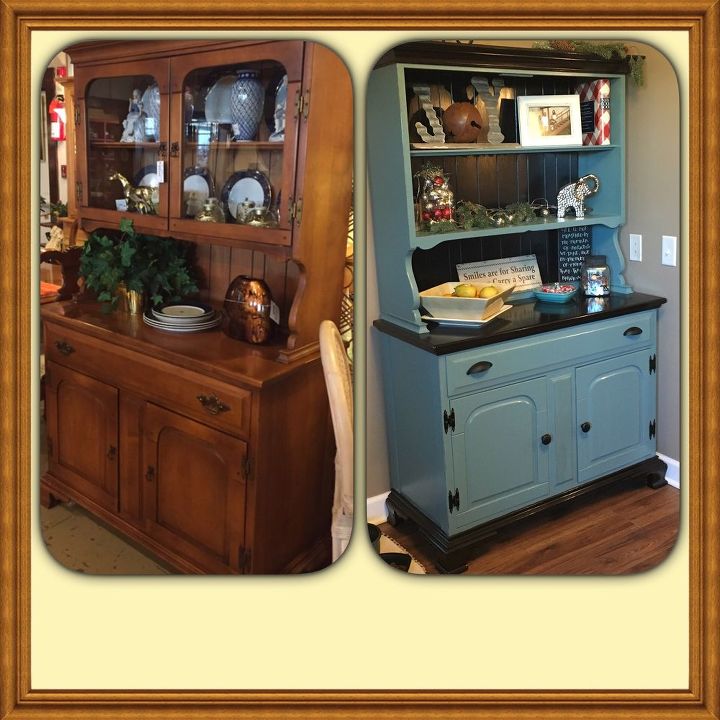
Before and after! A $250 hutch redone to add a pop of color to our kitchen!
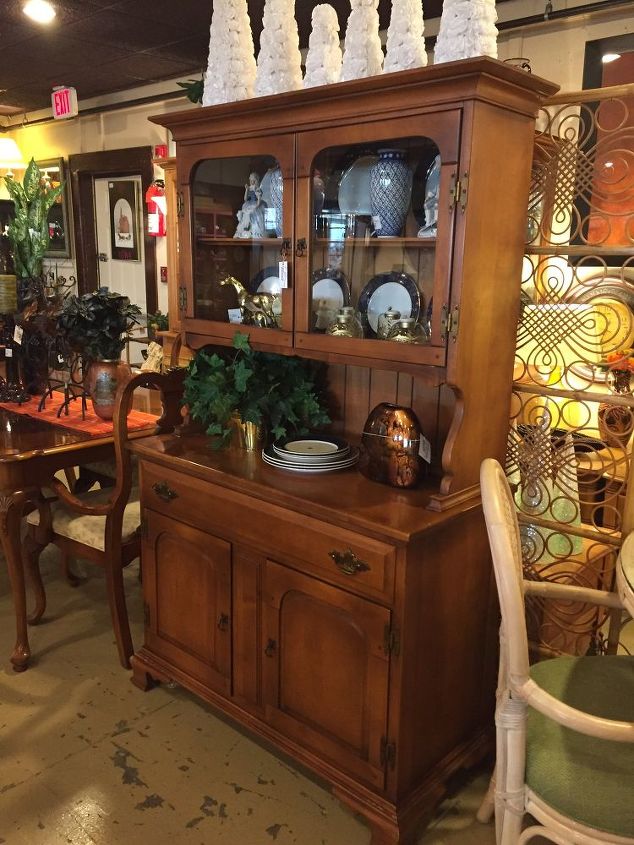
I LOVE the backing on this hutch and the doors and decided this was the one for me!
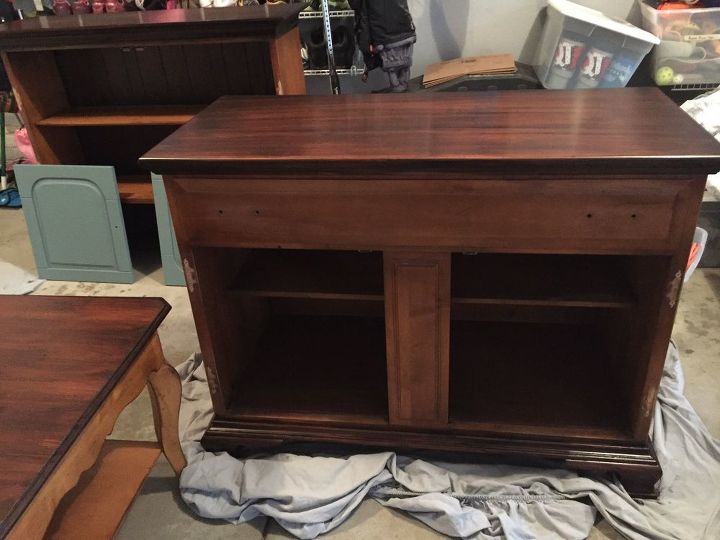
I started by removing all of the brass hardware and doors. It needed some sanding under where the hardware was so I lightly sanded the whole thing. I knew that I wanted a nice, stained top and accent areas. I didn't worry about taping because I knew I could paint over it. Again, I chose General Finishes Java Gel stain so that it would match our cabinets.
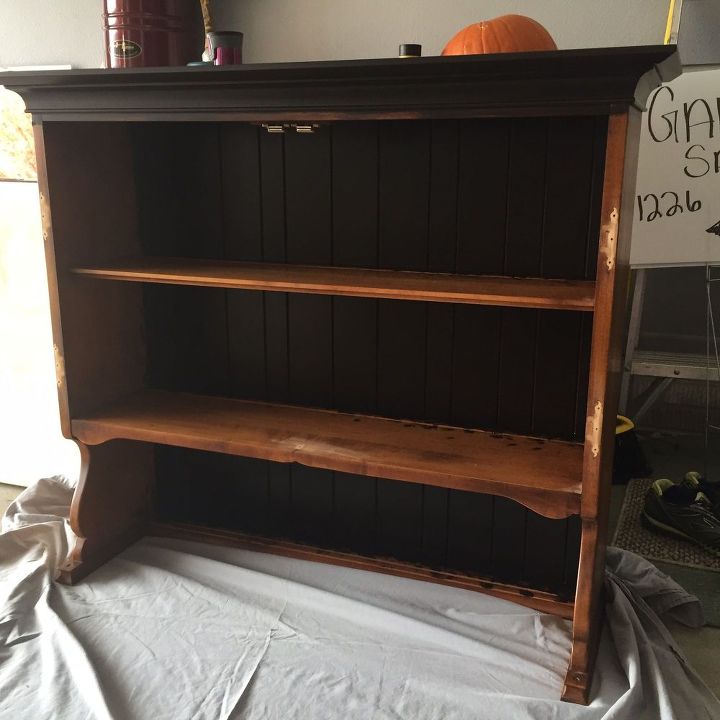
I also stained the bead board backing in the top of the hutch.
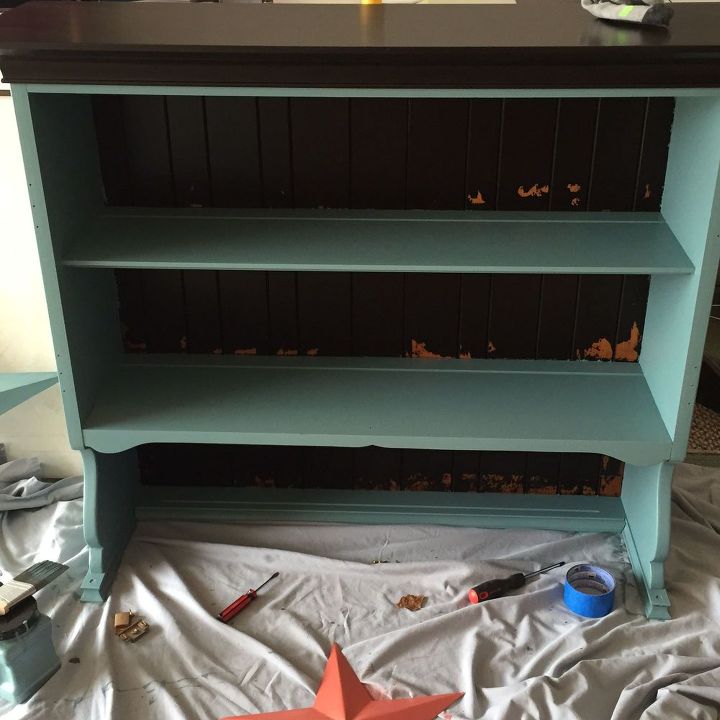
This is after the first coat of paint. Notice, I had taped off the stained areas and it did not fare well when I pulled the tape off! When we did our kitchen, I purchased black paint that matched our cabinets to paint the bead board we added to the back of the peninsula. When we did our kitchen, I purchased black paint that matched our cabinets to paint the bead board we added to the back of the peninsula. I ended up painting over the stain and it matches the stain perfectly!
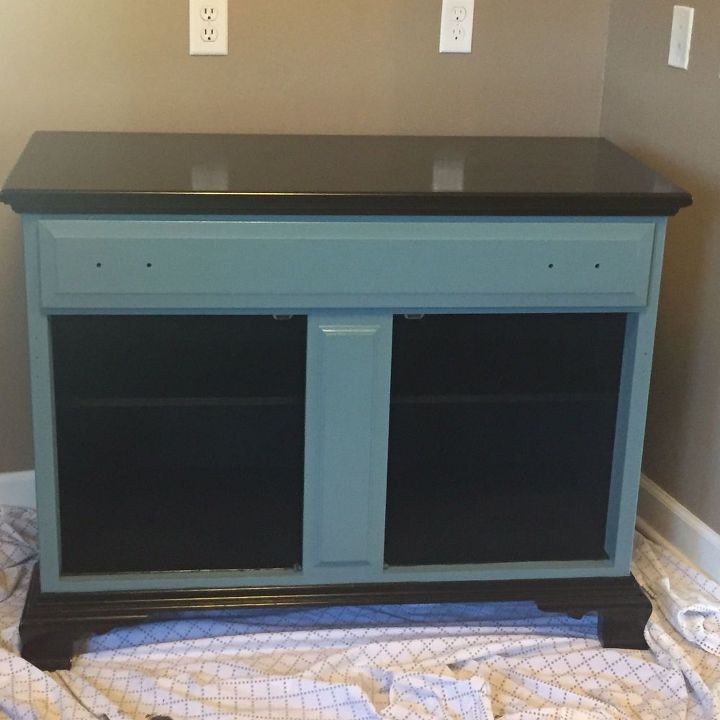
The paint that I used for this piece was chalk paint from a local vendor. It covered nicely, but if I had to do it again, I would use General Finishes Milk Paint. No, I am not a spokesperson for them! Ha! I just really love how easy their products are to use! This paint was extremely thin and peeled in some areas, but the GF Milk paint is thick and covers wonderfully and fast! This is the base after painting the inside and adding 2 coats of polyurethane.

This is the finished product! I sanded the edges a bit to age it and added new hardware from Hobby Lobby. GREAT place for knobs!! The top doors are finished, but I kind of like it better just open. For the hinges, I couldn't find anything to fit. I tried cleaning the old ones, but the bright brass was not the look I was going for. I found some black spray paint for metal and ended up just painting the existing hinges. So very happy with this fun pop in my kitchen! I've found some really cute teal bowls/accents at Gordmans that accent it nicely throughout the kitchen!
Comments
Join the conversation
3 of 143 comments
-
Really great job!! I love the color choices of blue with the black.
-
This is absolutely beautiful..you have chosen such lovely colours and handles to give that perfect retro look!


Frequently asked questions
Have a question about this project?