


Create These Unusual Easter Eggs By Using A Sharpie and Some Hollowed-out Egg Shells
Easy
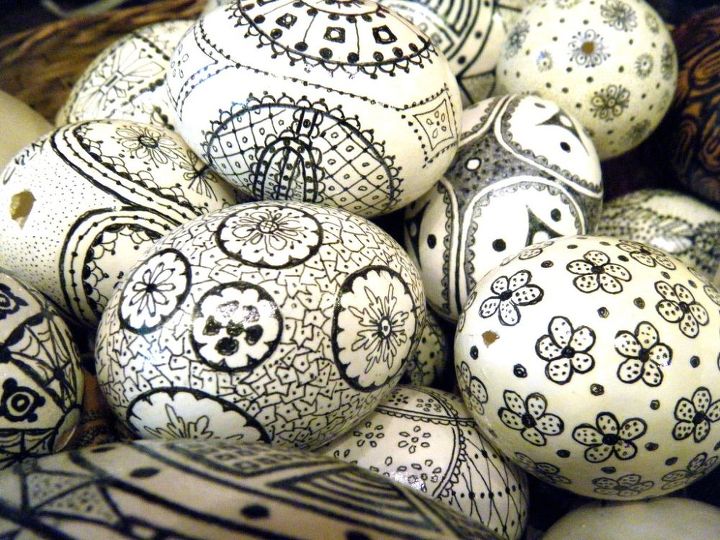
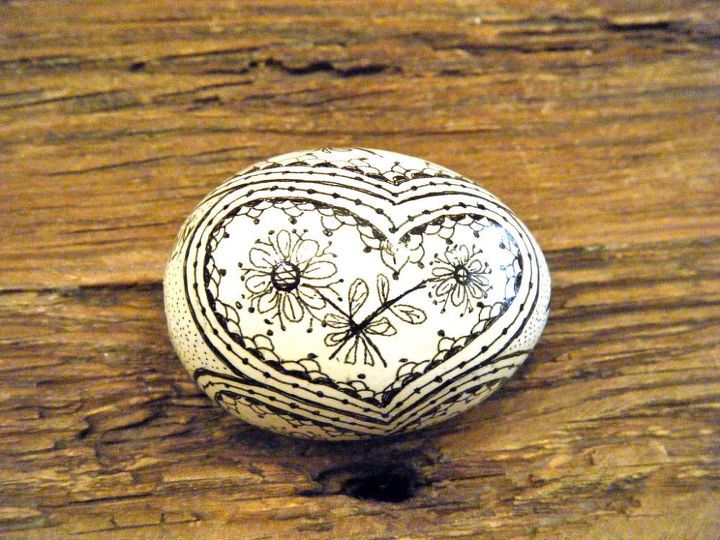
You don't need to be an artist to create these eggs for Easter. I saw these eggs in a little shop in Buenos Aires, Argentina and realized how cute and easy they are. This is how you make them: First, you need to empty the eggs out by putting a small hole in each end, and blowing the egg out. It is easier if you use a toothpick first to scramble the egg while it is still in the shell. Then think up some free-hand designs and draw them onto the egg shell. Then go over it with a Sharpie. Any color would work, but the black adds some drama. The last step is to cover them with a clear sealer to add some sheen and to prevent smears. They are the perfect activity for the kids. Go here to see some more designs: http://the2seasons.com/2013/03/21/create-these-eggs/
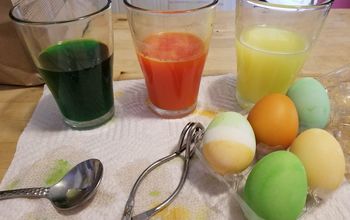
1. The first thing you do is hollow out some eggs. Just put a small hole in both sides. Insert a toothpick to scramble the egg some. That will make it easier to blow out.
2. Then gently blow threw the hole, and the egg will come out the other end. After you have washed and dried them, you can create a design by first drawing it on in pencil or by free-style using a fine-point Sharpie
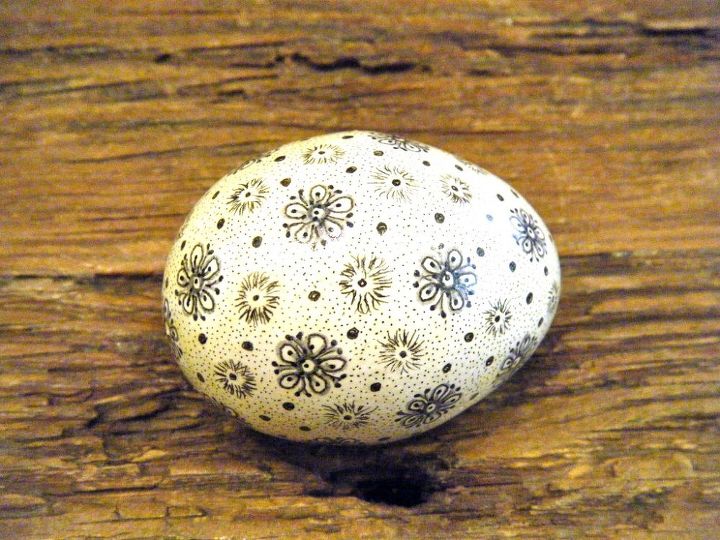
3. The design can be as simple or as intricate as you want. You can also use Sharpies in pastel colors. When you are finished drawing, apply a sealer to add some sheen and to prevent smears.

Want more details about this and other DIY projects? Check out my blog post!
Comments
Join the conversation
2 of 13 comments
-
I did this several years ago. But I spayed a clear coat on a few, and it made the sharpie run, and smear... spread out... I was most unhappy.
-
I think I'll do this, but using the faux eggs for greater strength and ease of storing!


Frequently asked questions
Have a question about this project?