


I Sawed a Christmas Tree
The other day I was in our kitchen pantry where we also keep some of our tools and I happened to notice our two hand saws hanging on the wall and I thought to myself.... hmmmm... they kinda look like a Christmas tree.
At least they did to me.
At least they did to me.

Now those two were saws that we actually use so I went out into my greenhouse stash to find the rusty and crusty saw that I thrifted this past summer, and what do you know... I actually found it. lol.
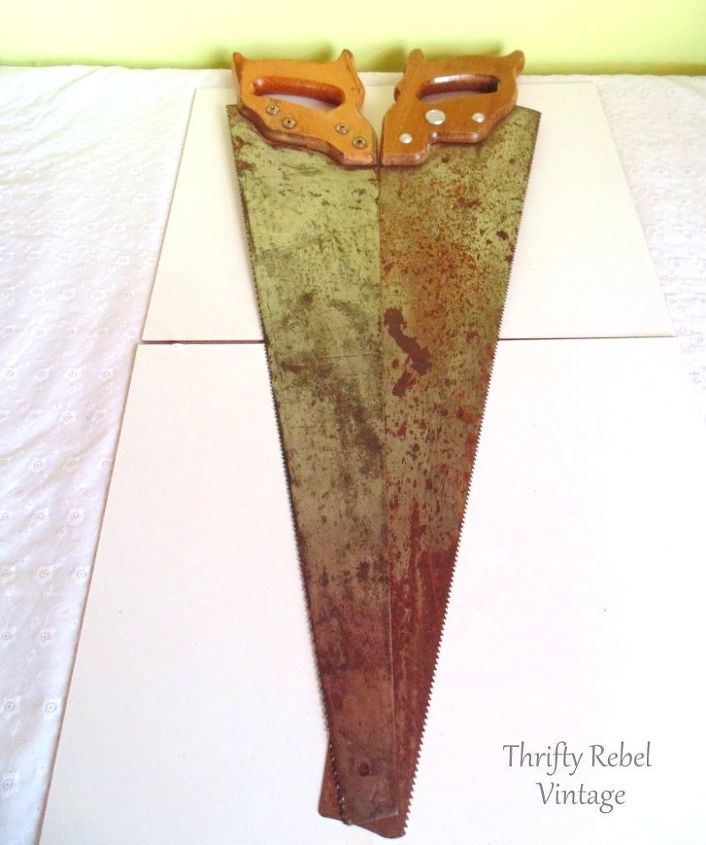
But I still needed another one with a similar size and shaped handle, so off to the ReStore I went and thankfully I found one there for just $3.

I taped the two saws together, teeth sides out, in the shape of a tree using metal duct tape. That's the real duct tape used to tape around heating ductwork.

I went into my costume jewelry stash and found some faux pearl necklaces to drape across the saws. The teeth really do grab them nicely.

but I quickly changed my mind to pink, since it's my favourite colour.

Then I added some small pink glass ornaments that I had leftover from my folding ruler tree, that I posted here a while ago.

Not too many... but just enough to make it pretty.

To hang my repurposed saw tree I tied jute through the holes at the tops of both saws and tied a loop, and the star is taped on using the metal duct tape.

Want more details about this and other DIY projects? Check out my blog post!
Comments
Join the conversation
4 of 74 comments
-
That is really adorable! Like the way you think!
-
Now that's creativity. Love it.


Frequently asked questions
Have a question about this project?