


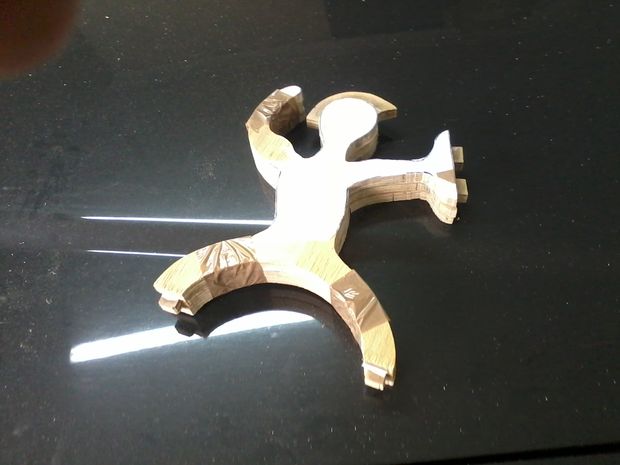
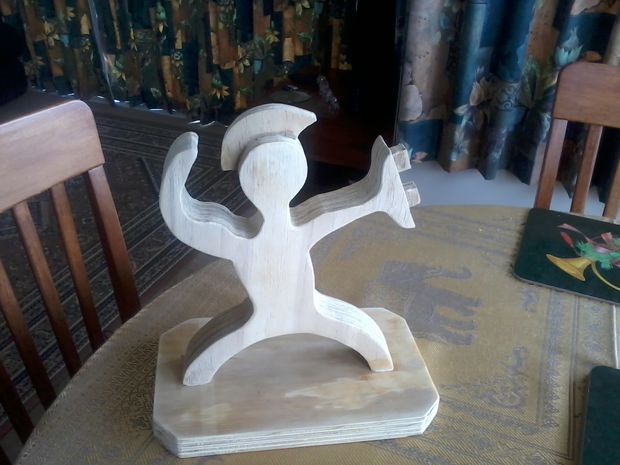
Spartan Knife Block

I saw this Knife Block on the web and thought it looked cool. However the maker had used all sorts of tools that were way out of my reach (CNC mill,Laser cutter etc). So I thought I would see if I could make one using tools that the average handyman might possess. There was a bit of experimentation involved and a few lessons learned along the way. If (and it is a big if) I ever make another I may do it differently. I gave this one away afterwards!
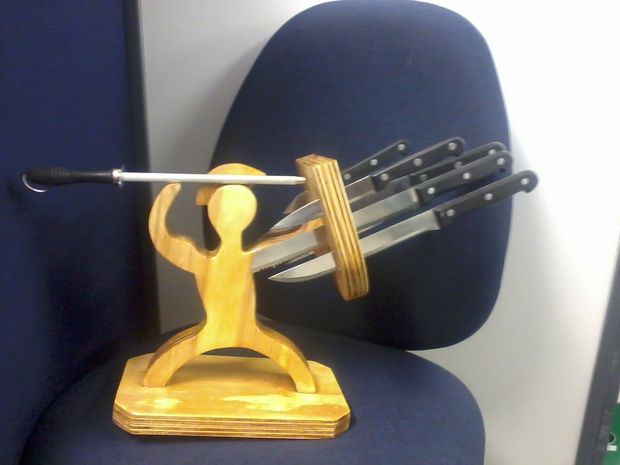
The original idea and plans for this were by Christian Kneull of Estlcam.com
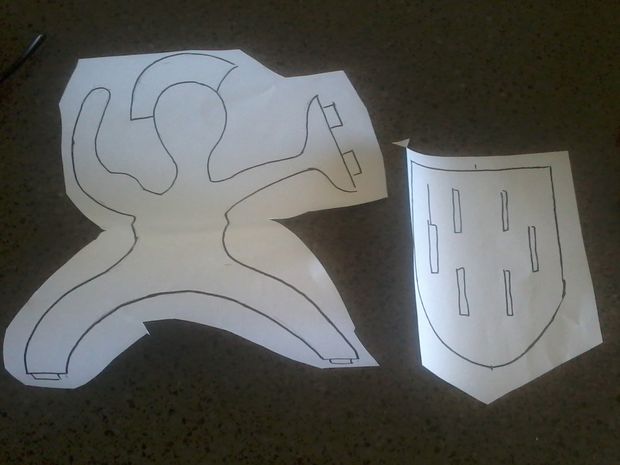
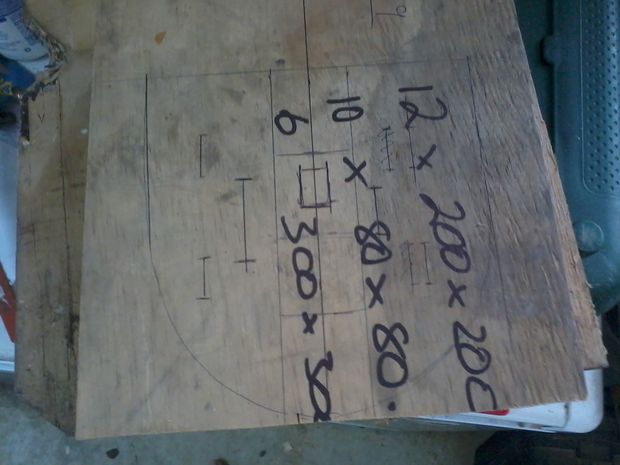
The Design

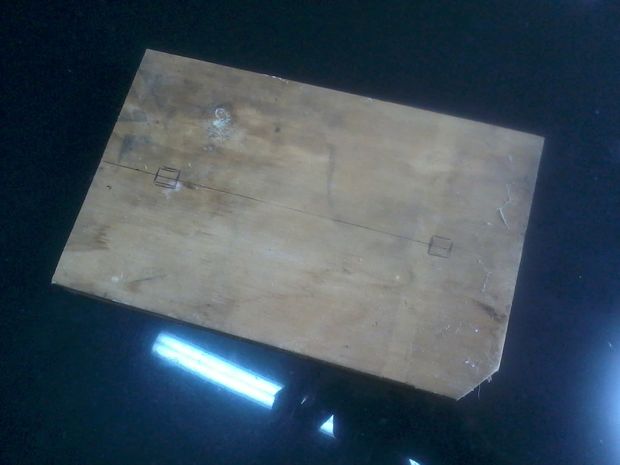
The Wood
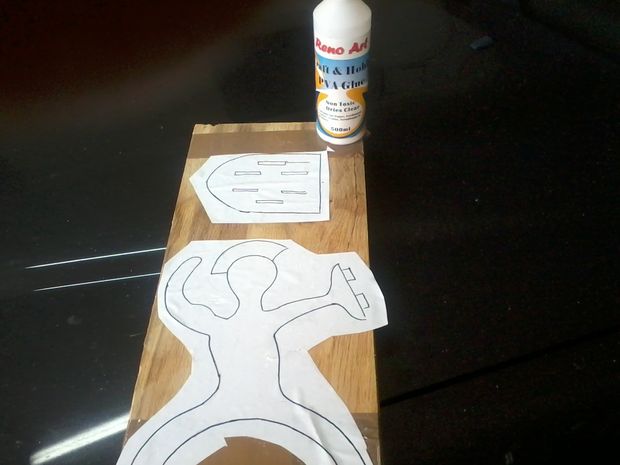
Stick them down
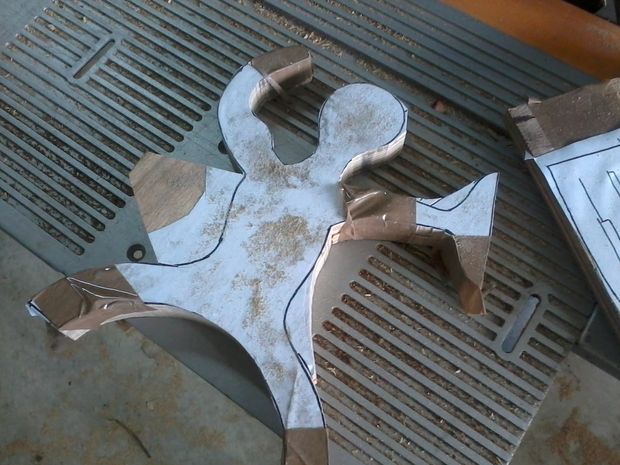
Cut it Out
Glue them all together
The Base
The Shield
Ready to Assemble

Insert the magnet

Cut Slots and Add knives
Comments
Join the conversation
4 of 42 comments
-
That is really cool ...I like that ...you did an awesome job ....
-
You did a great job!
Whoever you gave it away to Got a Blessing!
I love the fact that it is an unusual knife holder.


Frequently asked questions
Have a question about this project?