


Easy DIY Paisley Quilled Monogram

by
Susan Myers
Coming up with things that look expensive out of things that just plain aren’t is kind of a hobby of mine. I love monograms and they make great gifts. So with that in mind, I decided to create a monogram out of cardboard and add a quilled twist to it.

This project is surprisingly simple and cost just pennies to make!
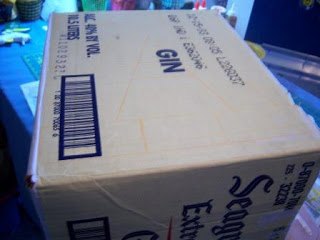
I located an old box that has been sitting in my attic for years.
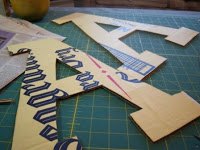
You can either print off a template using any font on your computer, or do what I did and just freehand it with a straight edge. I tried to use up as much of one side of the box as I could because I wanted the monogram to be large. Cut out your letter with a craft knife. Flip your box over and using your cut out monogram, trace the letter again and cut out a second, matching piece. -
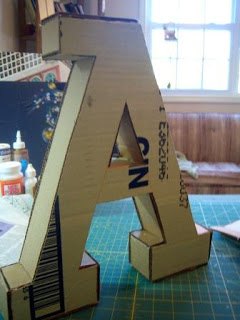
Lay one piece down and start cutting 2″ wide sections of cardboard to create the sides. I started in the center, measuring the length and cutting the cardboard to match, gluing each section with hot glue. Once the center was done, I glued the front of the monogram to the back, matching the edges. This does not have to be entirely perfect as we will be using paper mache to clean up all the edges.
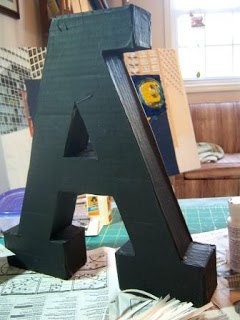
Paper mache the edges of the letter. (You can find the full details on how to paper mache this project at the link below). Once dry, paint the letter black.
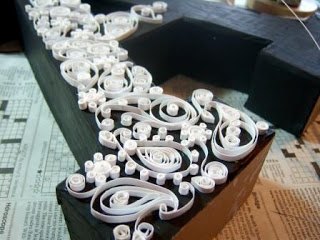
Cut the white cardstock into 1/4″ strips. Create the paisley design using a quilling tool. I used basic quilling techniques on this project, consisting of loose spirals and loops. You can find the full details along with a link to my beginners quilling tutorial on the link below.
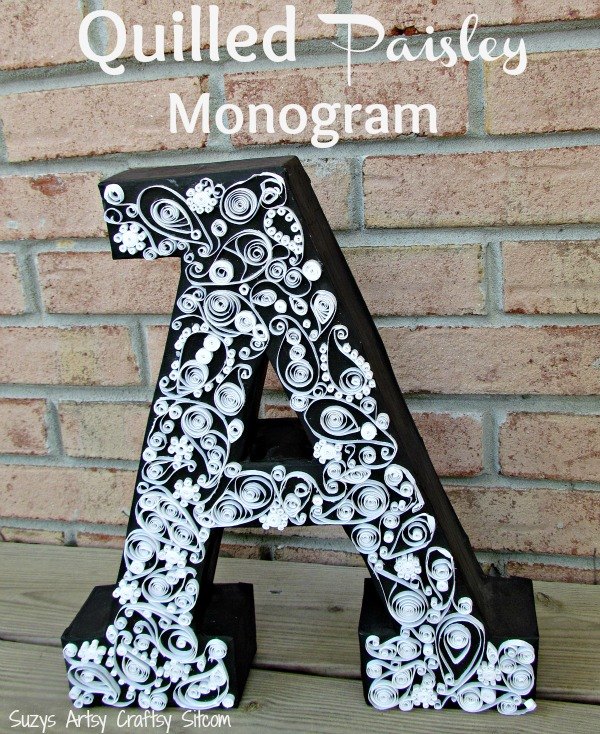
This paisley monogram makes a wonderful gift!
Want more details about this and other DIY projects? Check out my blog post!
Comments
Join the conversation
2 of 29 comments
-
This looks lovely and obviously doesn't cost much :) Love the quilling on it - it makes it look extra beautiful - thanks for sharing :) I shall be 'bookmarking' this for future reference :)
-
whoa!! this really is fun


Frequently asked questions
Have a question about this project?