


DIY Miniature Tiny Trailer Dollhouse

$120.00
Medium
I saw this listed online as a DIY Kit and couldn't stop thinking about it. I decided to buy it as a little Christmas gift to myself.
At first i thought i would make it and display it in my craft room/office but when the kit arrived i knew i wanted this as a display piece for my wall unit in my heart room.
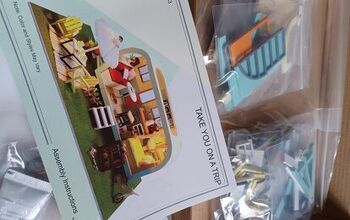
When I opened the box I thought "oh my, what did I get myself into?". There are literally 500-600 pieces to this kit. You even have to make the lights and chandelier. To top it off, the instructions were in Chinese. I basically had to wing it.
At first i thought i would make it and display it in my craft room/office but when the kit arrived i knew i wanted this as a display piece for my wall unit in my heart room.
When I opened the box I thought "oh my, what did I get myself into?". There are literally 500-600 pieces to this kit. You even have to make the lights and chandelier. To top it off, the instructions were in Chinese. I basically had to wing it.
My Tiny Trailer
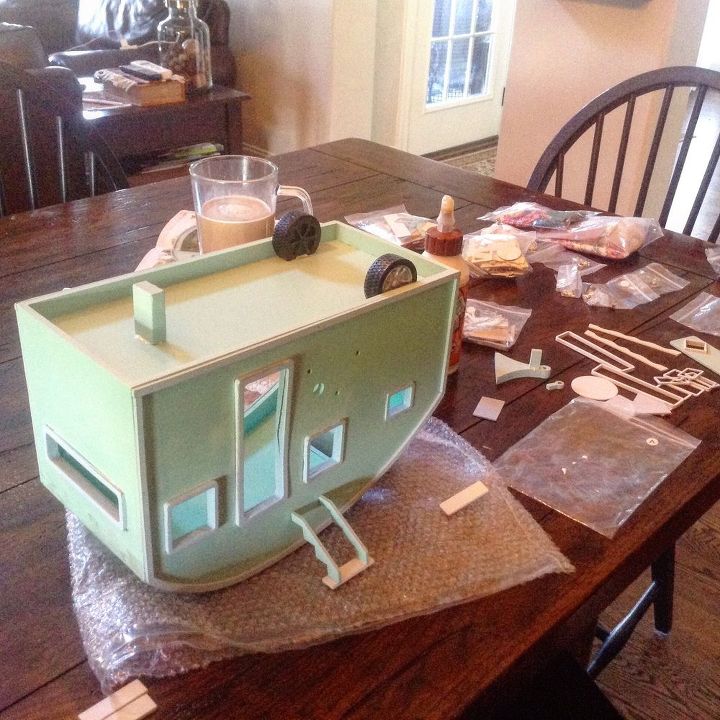
The only piece that came complete was the empty shell of the trailer. nothing was attached. and of course, the door and window frames didn't fit so everything had to be sanded. There are literally 500-600 pieces to this kit. And they state fun craft for children. NO WAY!
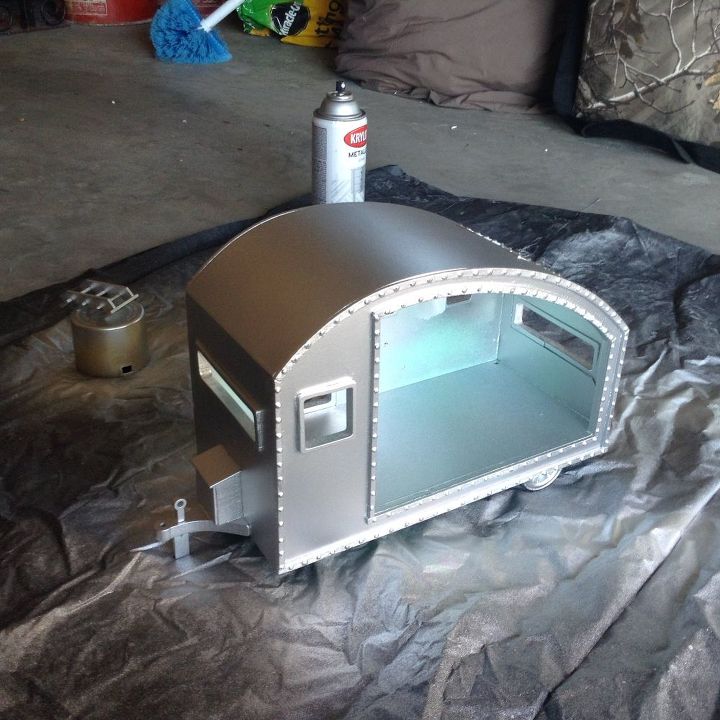
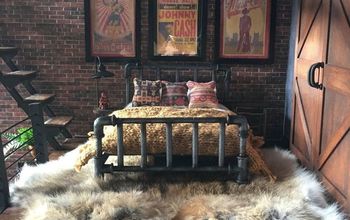
Once I finished assembling the basic trailer I decided I wanted to give the whole project a more rustic feel since my Hearthroom is a mix of Industrial and Rustic decor. I decided to paint the trailer silver with Krylon spray paint. The paint was great because it dries to the touch in 15 minutes.
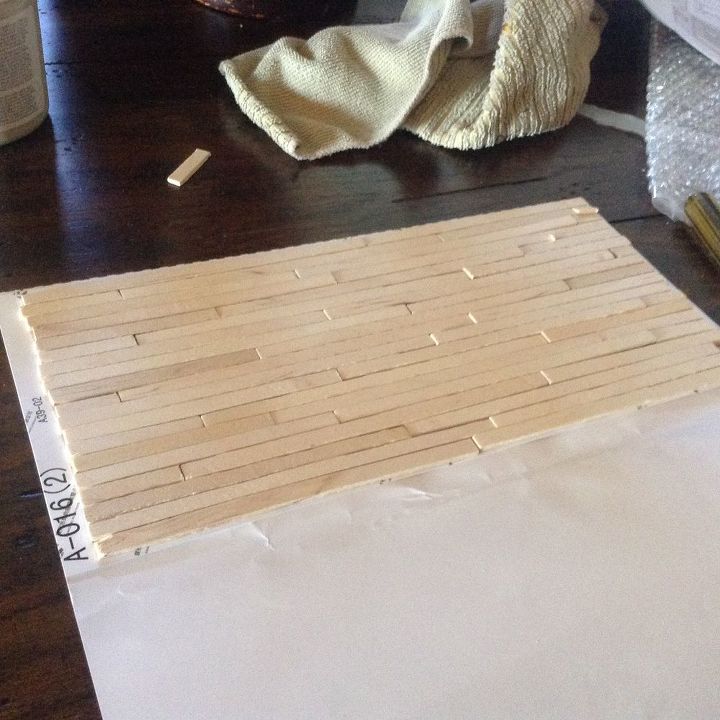
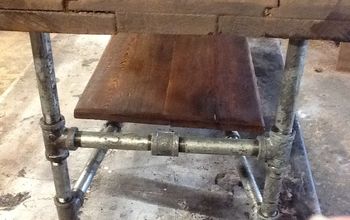
I used a heavy duty scissor to cut the wood stirrers for correct sizing. I also used the paper flooring to measure for size.
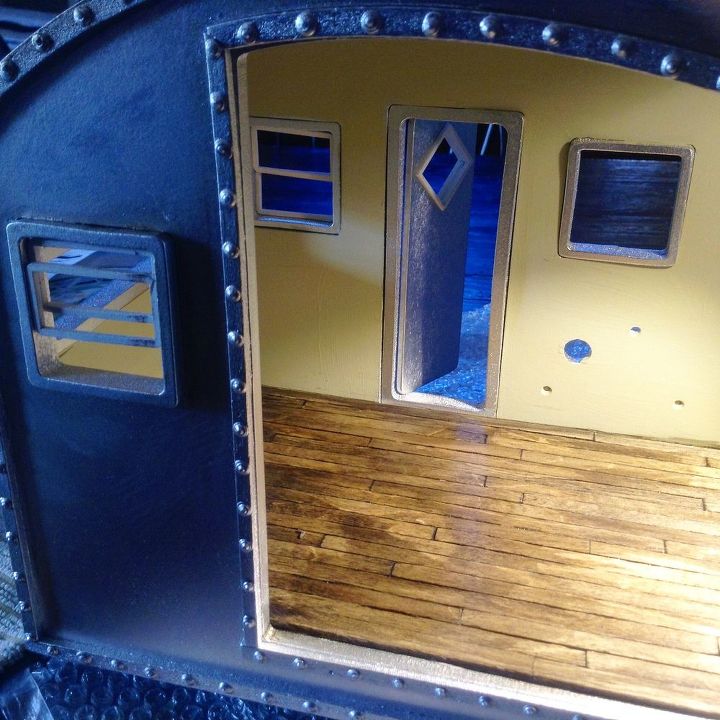
I glued in the slats with Gorilla wood glue. Once that was dry I sanded the floor to get it as smooth as can be. I then used American Decor wood stain which is great. It has no odor and dries very quickly. I didn't want to deal with poly for the floor but I still wanted it to shine so I decided to use Sculpey Gloss Glaze. This was great too because dry times are short allowing me to continue to work.
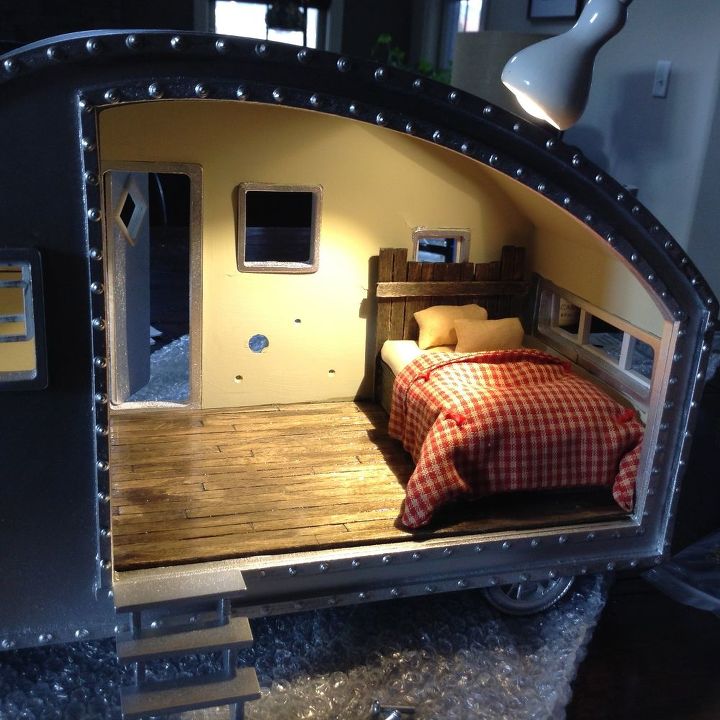
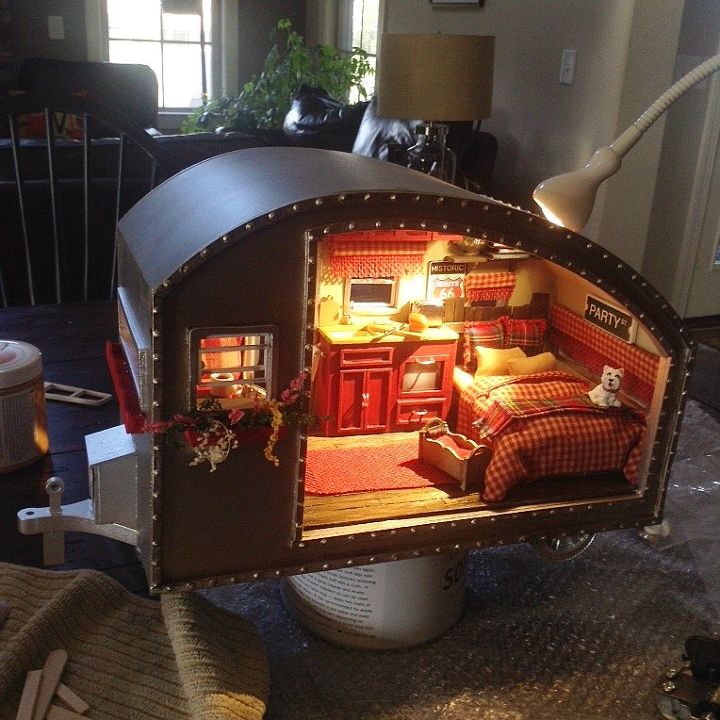
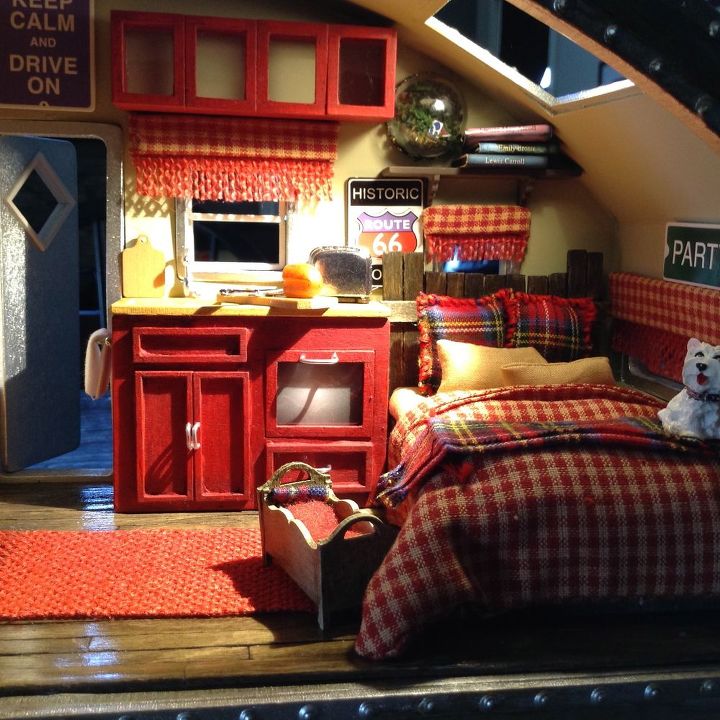
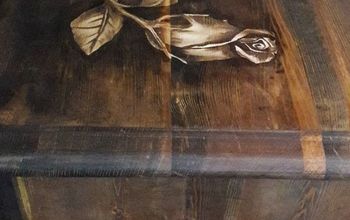
If you compare the original pic on top of post to my version you will see the headboard on the bed is different. I wanted to create my own look. I once again used the wood coffee stirrers to create a rustic headboard. The bedding I also made. the kit provided all the fabric but I went to Joannes and purchased 1/4 yard of a couple of fabrics to give my own unique spin.
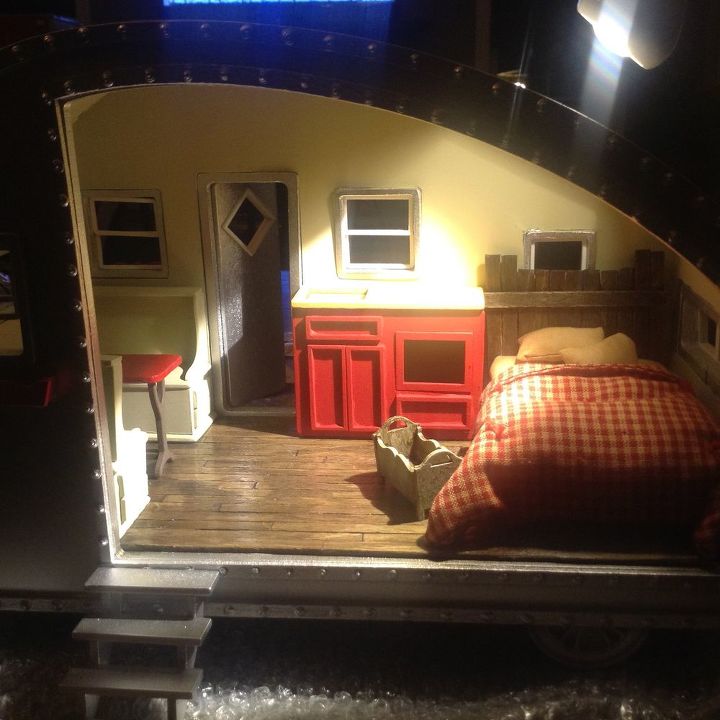
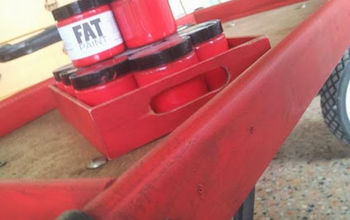
I started to assemble some of the furnishings and used chalk paint to get the coloring I desired. The coloring on everything is this kit is soft pastel. This kit is time consuming and I ended up pulling a muscle in my neck for constantly bending down, working on this for an entire day.
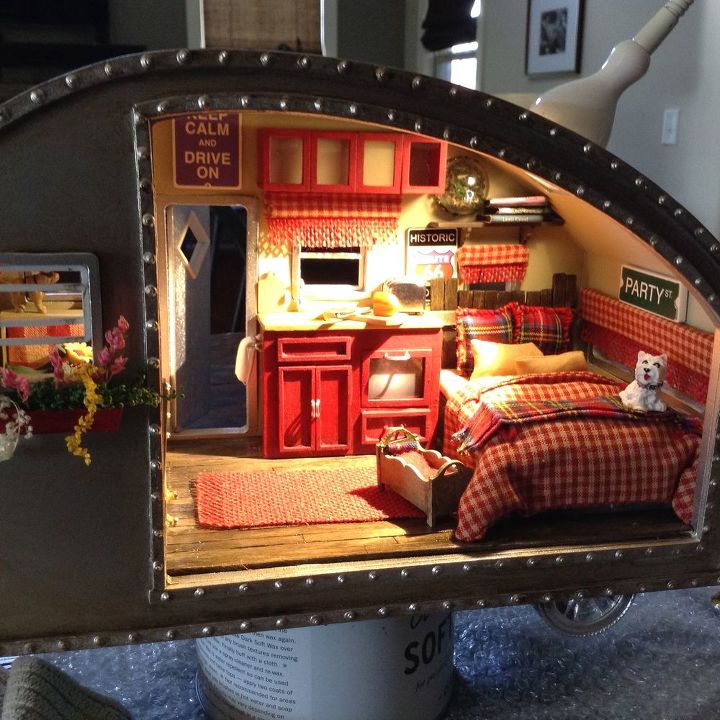
You can see in this picture that I was starting to refine the interior. I purchased Scrap Book signs for the interior, made handles for cabinetry, made my own window treatments, added flowers to the flower boxes, and purchased some extra miniatures from Hobby Lobby to add little touches. I'm still a little stuck on the interior lighting and have to finish the outdoor furniture but this really is an adorable kit. You can let your imagination go wild if you are creative and patient.
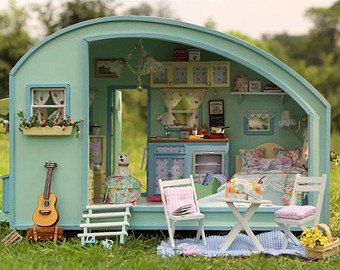
The original Kit
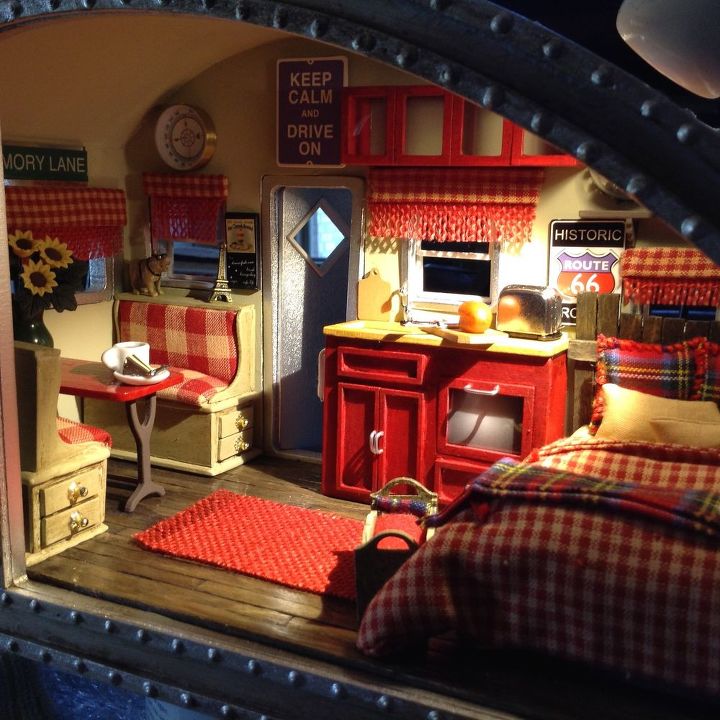
A couple of close ups
I still have more work to complete this DIY Mini Tiny Trailer but I highly recommend this kit for any miniature enthusiast. It makes a great winter project and you can totally customize it to your liking.


Comments
Join the conversation
2 of 214 comments
-
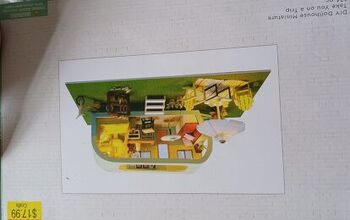
Here's the one I bought it has 174 PC an lights runs on batteries, I opened it saw all the pcs an closed it back up lol
-
Here's the onside of the box


Frequently asked questions
Have a question about this project?
All instructions are in Chinese - how do I get the English translation ?
What did you use for the "rivets"
Love the rivets around the trailer how were they made thanks love your version!