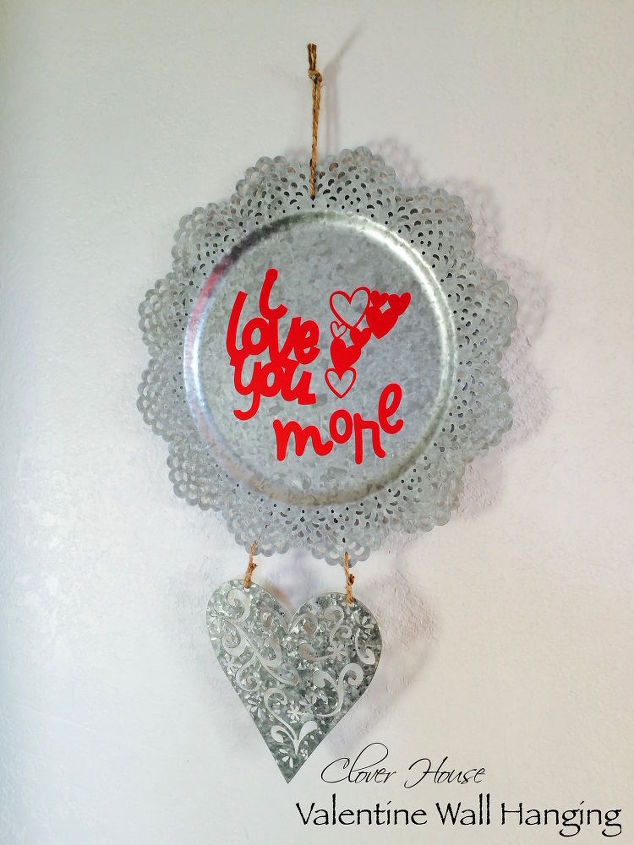
Valentine Wall Hanging Using a Plate Charger

DeeDee
by DeeDee
$10.00
30 Minutes
Easy
I was at Michael's the other day and I saw this galvanized plate charger and inspiration struck! I've been seeing this saying all over Pinterest and I thought it would be fitting for a Valentine's Day project.
I also found this sweet little galvanized heart at Michael's too. I almost couldnt wait to get home and start creating! LOL!
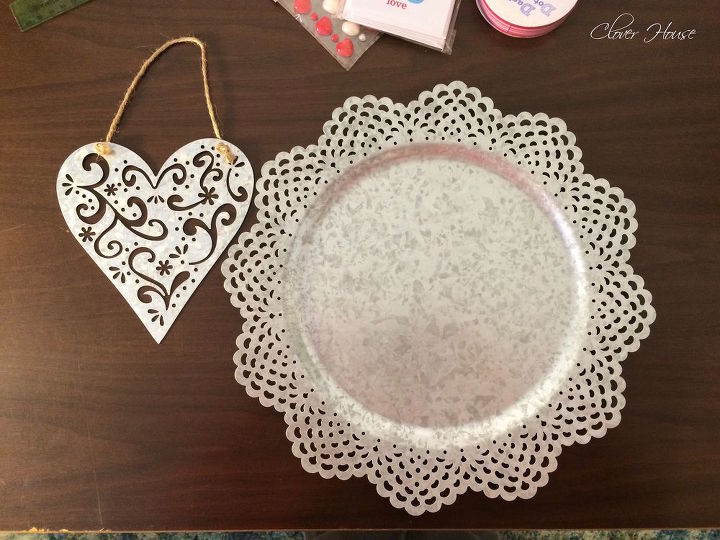
To re-create this project, you will need the following items:


White card stock - scrap pieces are best


1 galvanized plate charger - $5.99 at Michaels


1 galvanized heart - $1.99 at Michaels


Red Vinyl - about 12" will do - I get mine at Expressions Vinyl


Vinyl transfer paper - about 6" will do - I get mine at Expressions Vinyl


Cricut machine - I used an Expressions machine, yes I'm kickin' it old school here! lol!


Wild Card Cricut cartridge - its OLD, so I don't know if you can still find it or not


Twine for hanging
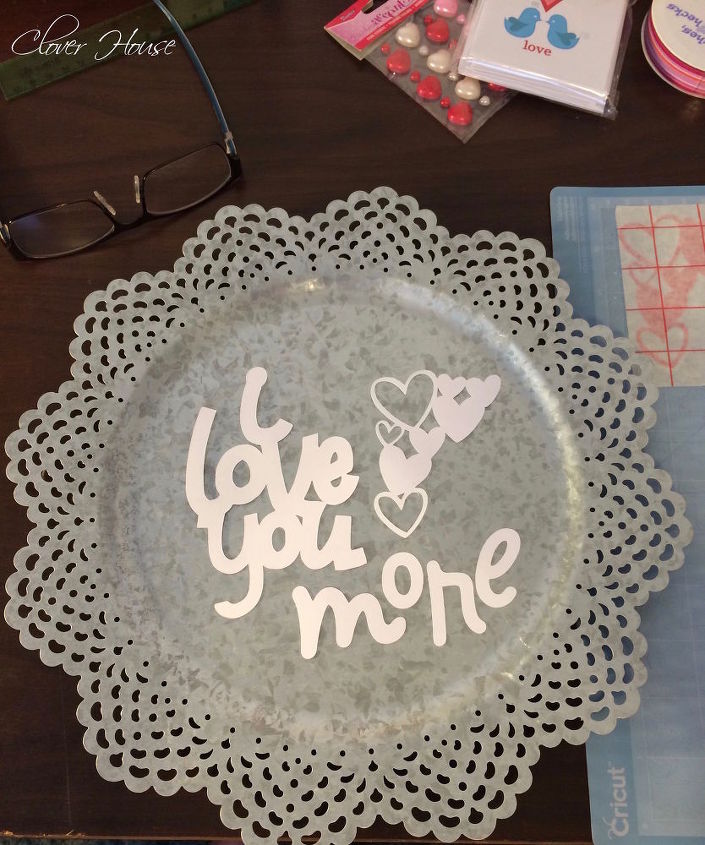
When creating with my Cricut I always cut out a "test run" with a scrap piece of card stock so I can see what the final project will look like. At that time I jot down notes on settings and sizes so I can repeat the same for the final cuts.


Using the Wild Card Cricut Cartridge


Page 55 in the manual, "F" button on the key pad, you will find the phrase I LOVE YOU, I cut it at 23". No, that's not a typo, I really had to make it that big to fit this project and no, its not really 23" in size when you cut it out. That's a weird quirk with this cartridge. IDK? You'll see I have to adjust sizes as I go on. That's why I always do a "test run".


Page 67 in the manual, "N" button on the key pad, you will find the Icon for the heart cluster using the shift key. I cut it at 5".


Page 68 in the manual, "M" button on the key pad, I cut a lower case "m" at 5".


Page 50 in the manual, "O" button on the key pad, I cut a lower case "o" at 4".


Page 45 in the manual, "R" button on the key pad, I cut a lower case "r" at 4".


Page 44 in the manual, "E" button on the key pad I cut a lower case "e" at 4".
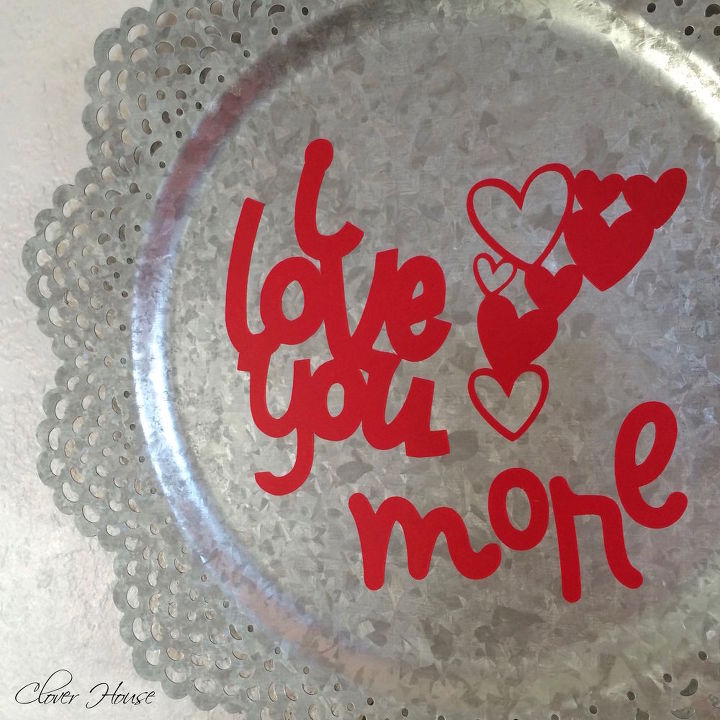
I think this turned out so cute! It was really simple to do after I got all the sizes of my wording figured out. Best of all, it was an inexpensive craft to do AND none of this is permanent so you could change it up for your next holiday if you wanted to.


Please visit our blog for the rest of the steps/details and my secret to transferring the vinyl from your cutting mat to your project perfectly!
DeeDee
Want more details about this and other DIY projects? Check out my blog post!
Go
Frequently asked questions
Have a question about this project?
Comments
Join the conversation
4 of 8 comments
Next