


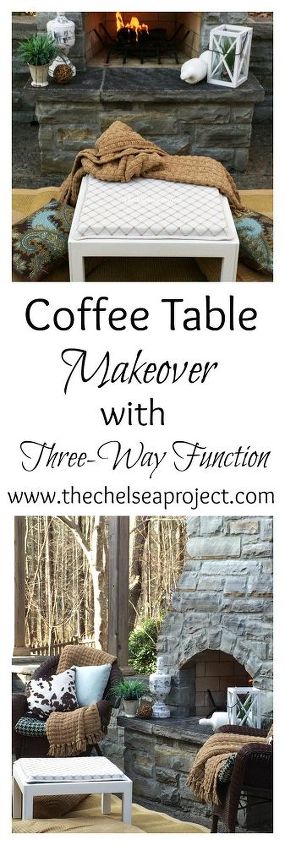
1960's Coffee Table Makeover #shadesofwhitefurniture
For this redo, I wanted a piece that would work indoors or outdoors and could be dragged around to practically any place on the patio or any room in the house. Hardworking and multifunctional. That's the motto for furniture around here. And, here's how it came together.

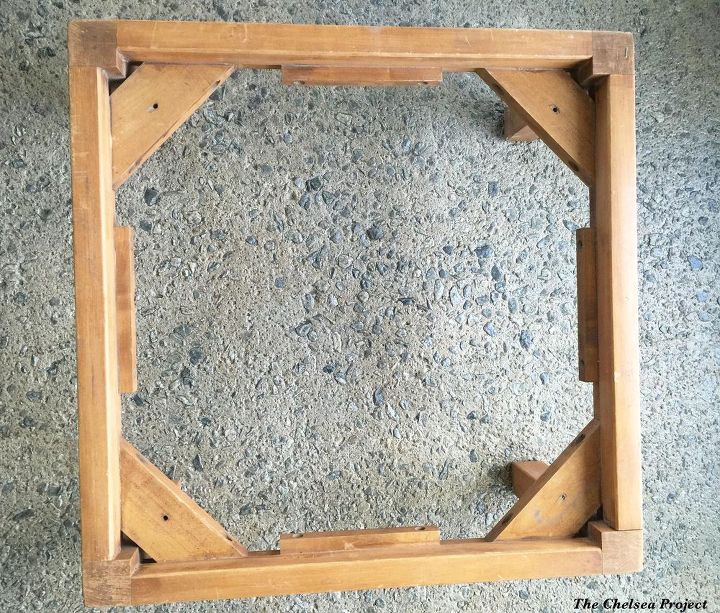
I started with this sturdy frame that measures 24-inches square. My hub's father made it in the 1960's and it had been stored in a pole barn for at least 15 years. Words cannot describe how dirty it was. Let's just say it looked like it had been dipped in chocolate (dirt) and rolled in fine coconut (spider webs). I truly wish that I had a picture of the frame when it was found.
After a thorough cleaning with soap and water followed by a good sanding to remove the splitting coat of shellac, a bottom was cut out of 3/4-inch thick MDF. Photo #1 illustrates the large gap that occurred from the cuts. To rectify this problem, lattice molding (Photo was cut to slide along the edges and cover the gaps. The molding was glued to the MDF (Photo and then gaps were sealed with caulk and wood putty. Weights were set on the molding (Photo until all of the glue, caulk, and wood putty was dry.
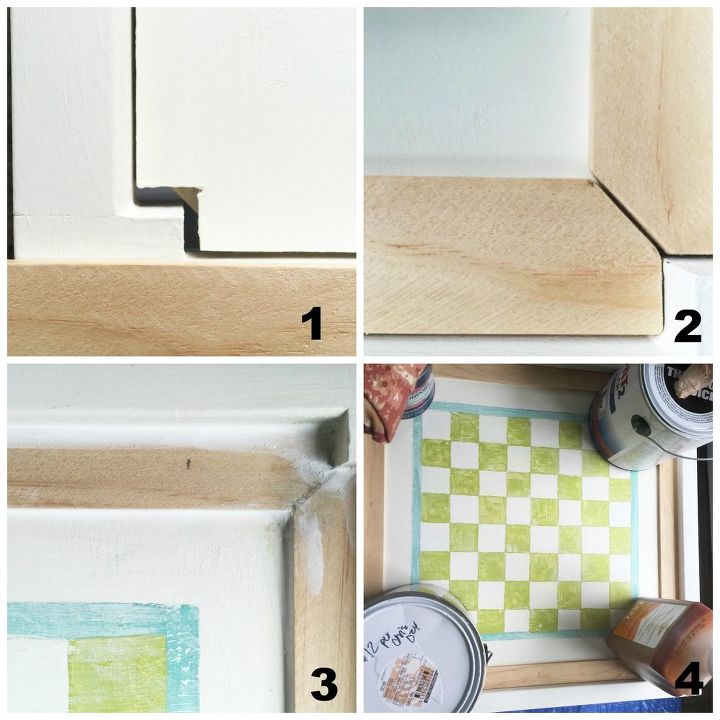
Once the lattice molding was dry, the entire top was resanded, touched up with more wood putty, allowed to dry, and then resanded again. The last step was to prime and then paint the entire piece with two coats of chalk paint made with SW Dover White latex paint. This was when the first checkerboard disappeared ( and a new checkerboard with a different design appeared in its place (
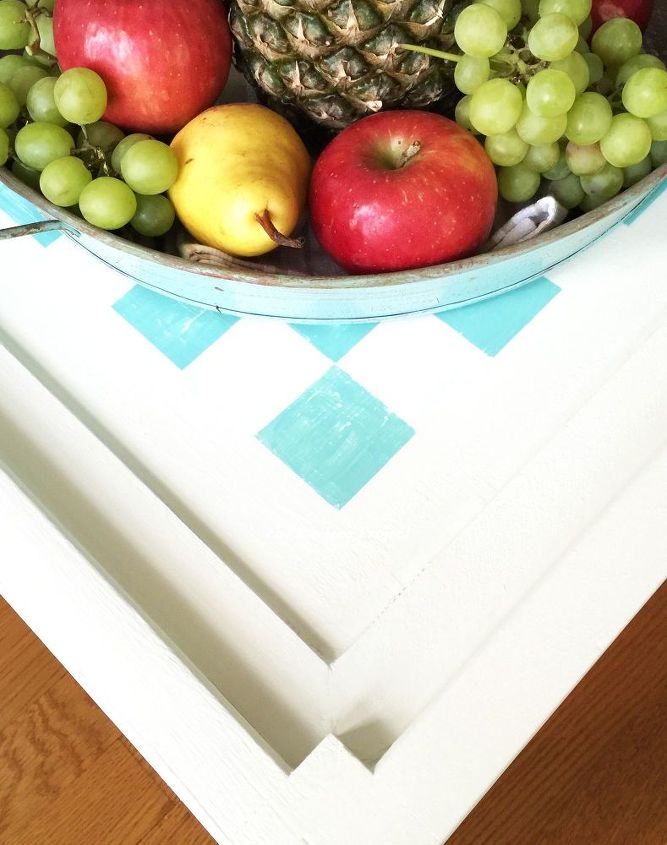
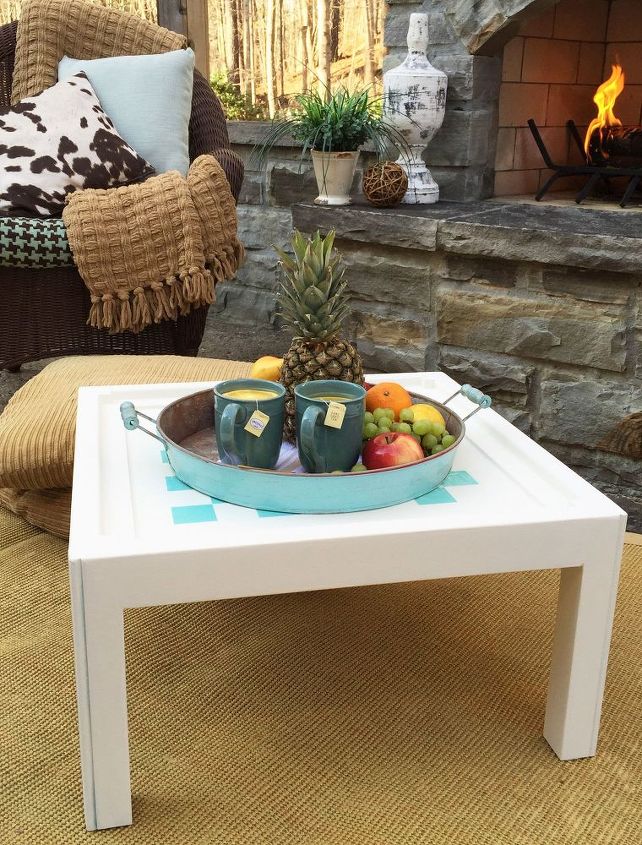
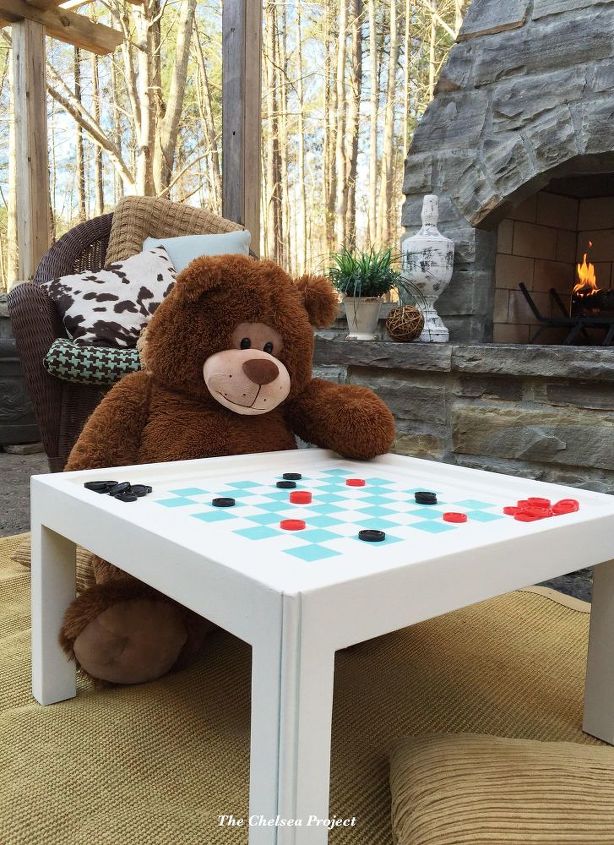
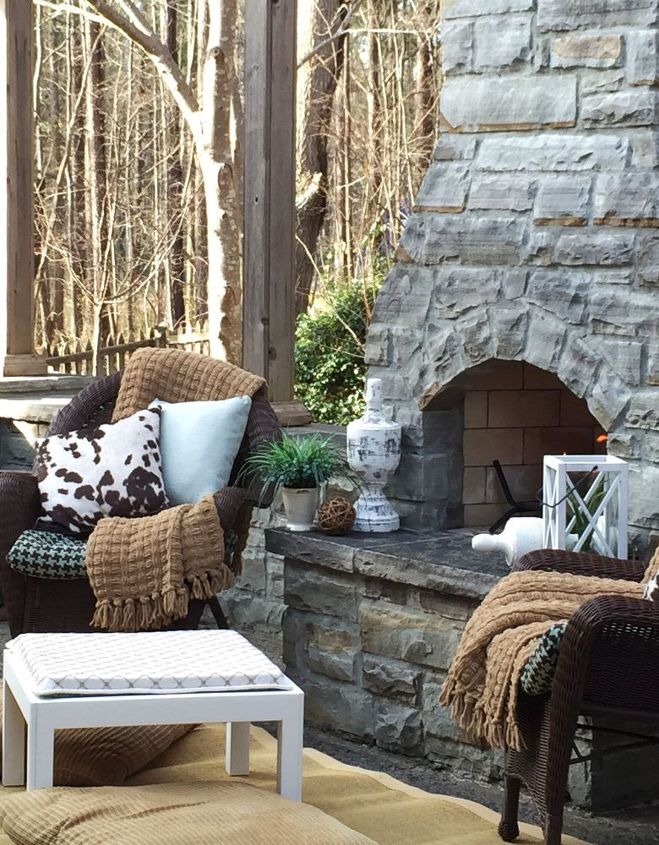
The result is sort of a rustic-modern table with a beachy vibe. And, we love it.......as a serving table...
.....a game table...
....or a sitting table...
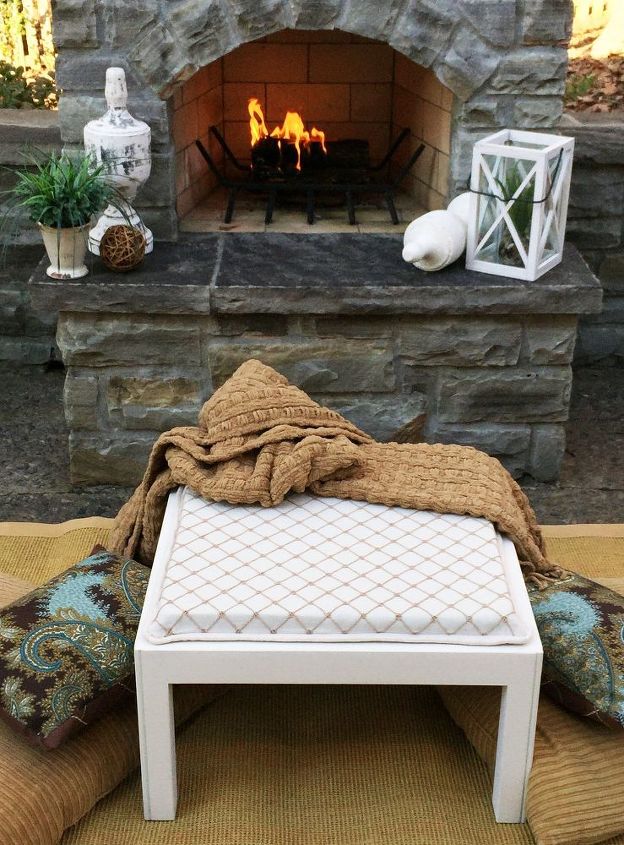
...with a reversible cushion.

Not bad for a homemade coffee table frame from the 1960's, scrap wood, leftover paint, leftover cushion foam, and a little rogue thinking. I did have to buy the fabric, but it was on sale...plus I had a coupon. LOL..
For more information about other DIY projects in this patio tour, please check out these HOMETALK posts on my profile: (1) How-to rust a thrifted tray (2) How-to makeONE-HOUR, NO-SEW slipcovered cushions (located in the brown chairs), and (3) How-to refinish a weathered bench (below).
For more details on this piece or 19 other pieces (tables, chairs, chests, and buffets) all refinished in SHADES OF WHITE by the please visit my blog at the URL below.
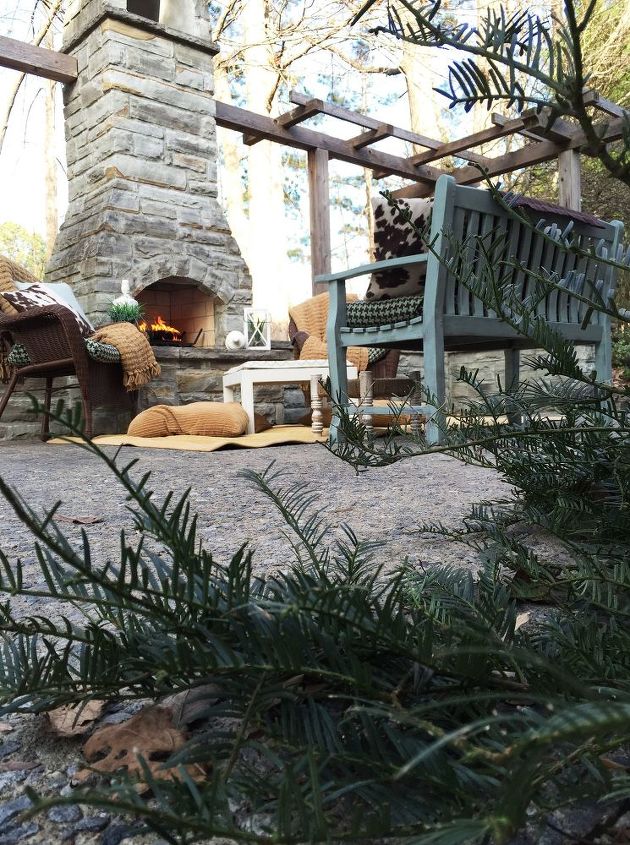
And, as always, it is a pleasure to share projects with you. Hope you enjoyed this winter patio tour. More patio ideas are coming as we move closer to spring.

Want more details about this and other DIY projects? Check out my blog post!
Comments
Join the conversation
5 comments
-
This is fab and I love the photo of the big bear playing chess! So cute! hehe.
-
Very nice repurpose. The game table photo is the best.


Frequently asked questions
Have a question about this project?