How To Organize Your Mail With A DIY Mail Center

1 Day
Easy
For many homes, paper clutter is a major issue. Stacks of bills and junk mail pile up quickly, taking over counters, tables, and even bedside tables. Fortunately, you can make a DIY mail center to get rid of paper clutter and get your mail organized quickly and easily.
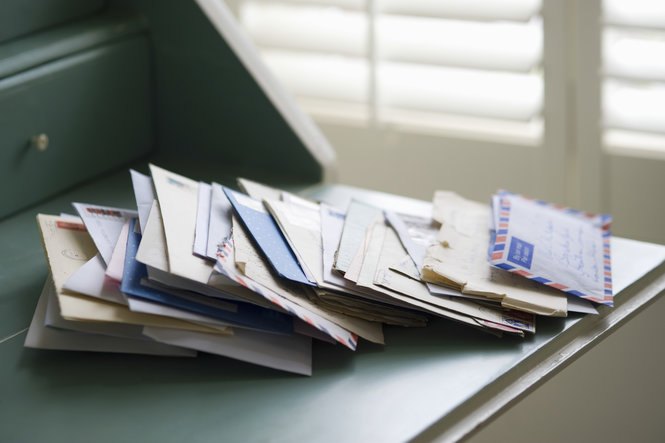
STEP 1: ORGANIZE YOUR CURRENT MAIL
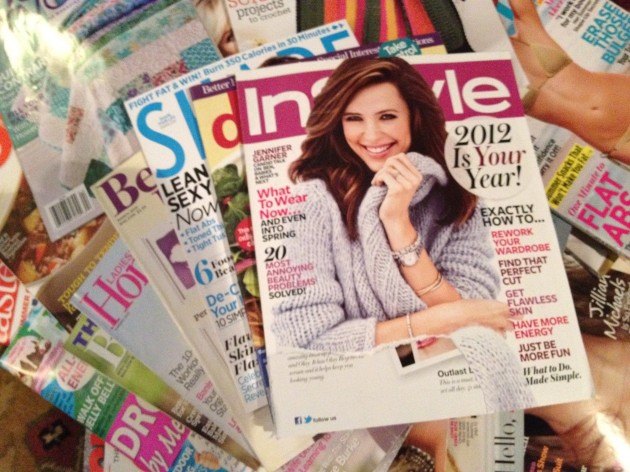

Before you start designing your DIY mail center, you need to take a look at the mail you already have piled up. Go through it carefully and separate it into piles that make sense to you.


If you have multiple people living in your home, you may want to separate the mail into piles for each person and an extra one for junk mail. If you get a lot of bills, you may want to separate your mail by type of bill.


Determine what makes the most sense to you so you'll be more likely to stick with it.
STEP 2: UNSUBSCRIBE


If your paper clutter is due to excess magazine subscriptions and junk mail, you'll need to unsubscribe from these companies as soon as possible.


Go through the catalogues and junk mail you get most frequently and choose only your favorites to stick with. Then, you can either call each company yourself to unsubscribe, or you can visit 41pounds.org and sign up to have them take you off the mailing lists. 41pounds.org is a site dedicated to helping you get free of junk mail while helping the environment by reducing paper waste.
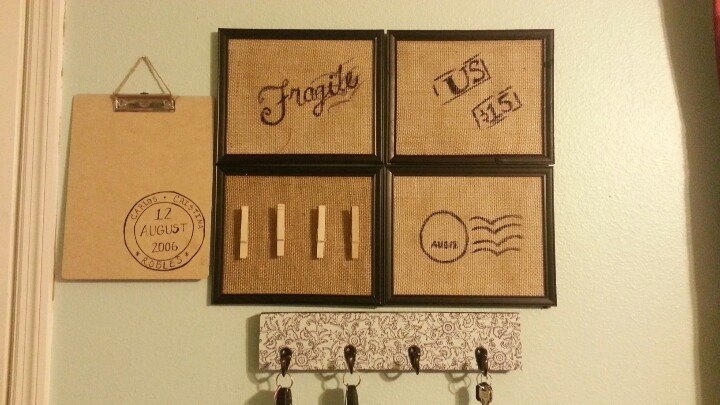
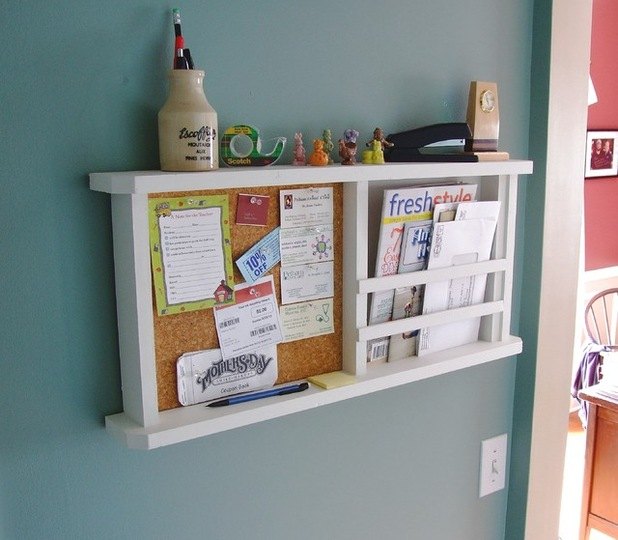
STEP 3: CREATE YOUR MAIL CENTER


Now that you have your mail sorted and your junk mail reduced, you can design your mail center. The great thing about a DIY mail center is you can completely customize it to fit your needs and your style.


If you love upcycling objects, you can repurpose an old window shutter to use as your mail center. Or, you can purchase new mail slots to hang on your wall and label them for a fresh, organized look. Make sure you have enough slots for how you want to separate your mail.


If you want to create a mini command center with your mail center, go ahead. Once you get your mail center up and running, you'll be sure to feel instantly more organized and clutter-free.
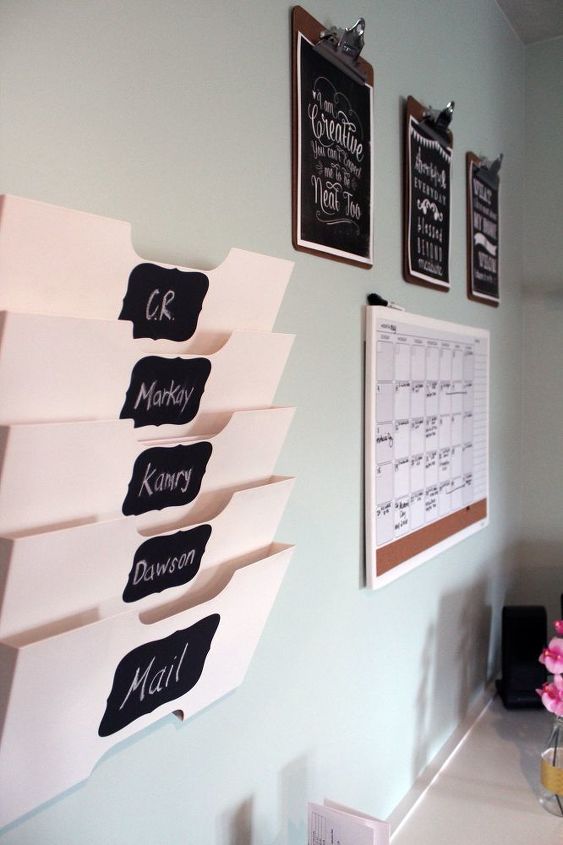
STEP 4: CUSTOMIZE IT


To get your mail center to truly reflect your sense of style, you need to put a little bit of yourself into it. If your favorite color is blue, use blue slots.


If you prefer traditional symbols, use an old mailbox or make your own mailbox to add a decorative flair to your mail center. There are many different ways to get your mail organized, but once you find a way that works for you, you'll be happy you made your own mail center.
Meredith - Arts & Classy
Want more details about this and other DIY projects? Check out my blog post!
Go
Frequently asked questions
Have a question about this project?
Comments
Join the conversation
 1 comment
Next