


Share some {love} with your blah bookshelves!

Don't let this Valentine's go by with out loving your home just a little bit more!
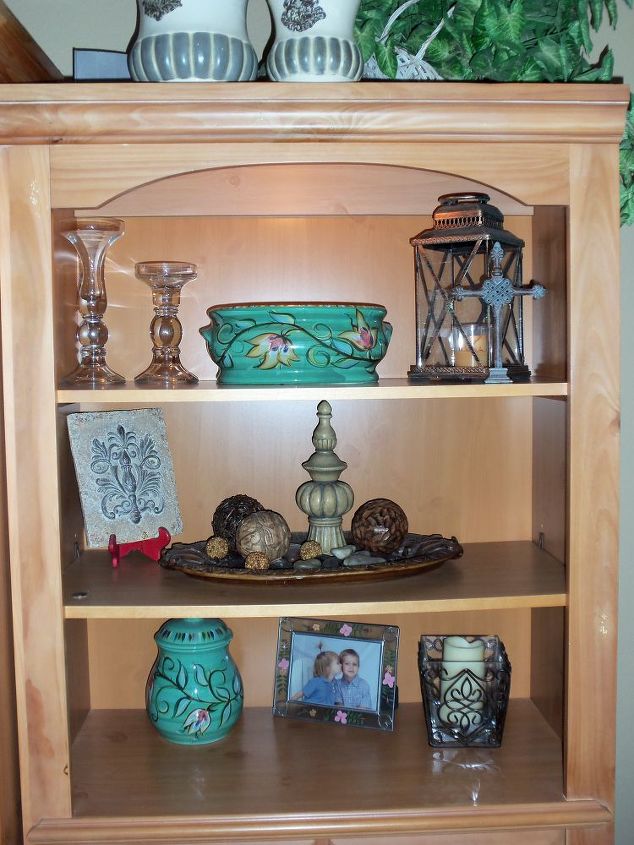
I was really getting tired of the way my bookshelves were looking. Here's one side of my unit. OK, nothing exciting...actually kinda boring. It needs changing! So here we go!

First step was to clean off the shelves and remove the adjustable ones to give more room to work
I went to Lowe's and looked around. I found this great prepasted paper with a Spanish tiled look to it. I was so excited to get started, I neglected to REALLY follow the directions {I guess there are directions for a reason}. The first section I eyeballed the measurements, as you can tell it was a little short. {ugh}
Knowing I am not a perfectionist {no Martha's here}, I let it go {plus I know I am going to cover it}.
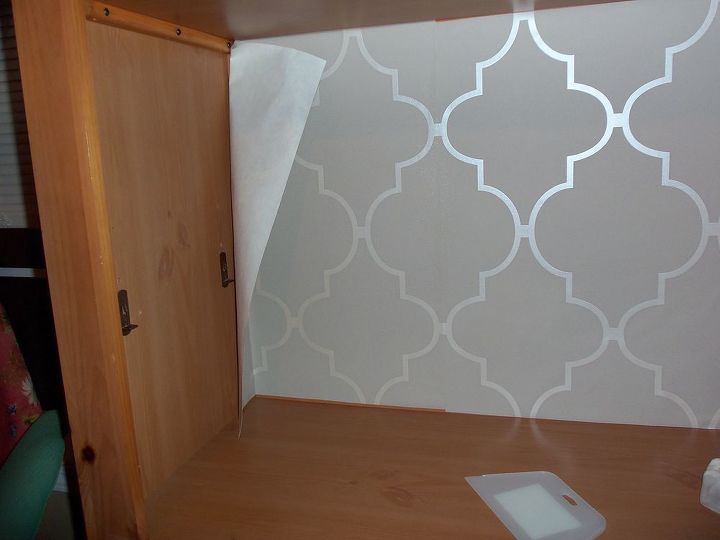
YIKES! I really didn't measure correctly here!~
I went looking for my straight blade and of course it was no where to be found. My 12 year old son aka McGyver has done something with all of my tools. I eventually found a dull blade and went to cut the edges. Here's a hint...use a sharp one, it makes for better cutting.
So I had to go pick up the kids and when I returned the paper had bubbled a bunch even after smoothing down. {I guess there is really something to directions about waiting 5 minutes to let the glue preset}
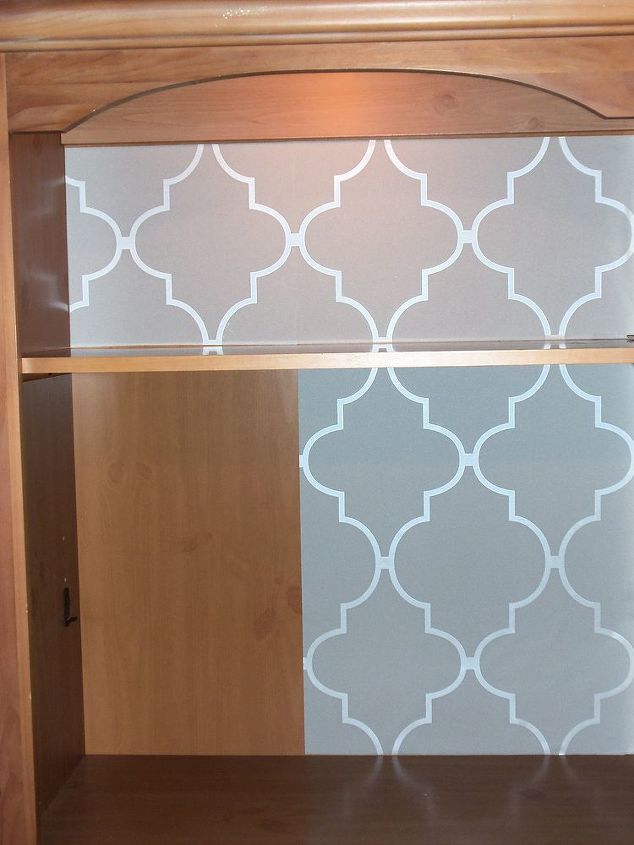
Rewetting and reapplying..we were off again to the next shelf area
Ahh....see what the right tools and following directions can do for you? It is going up much easier now.
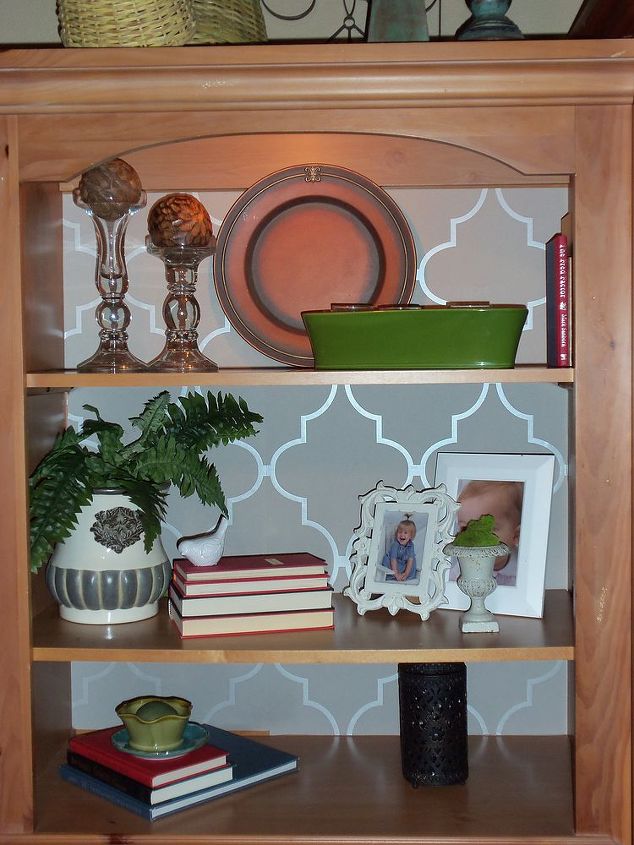
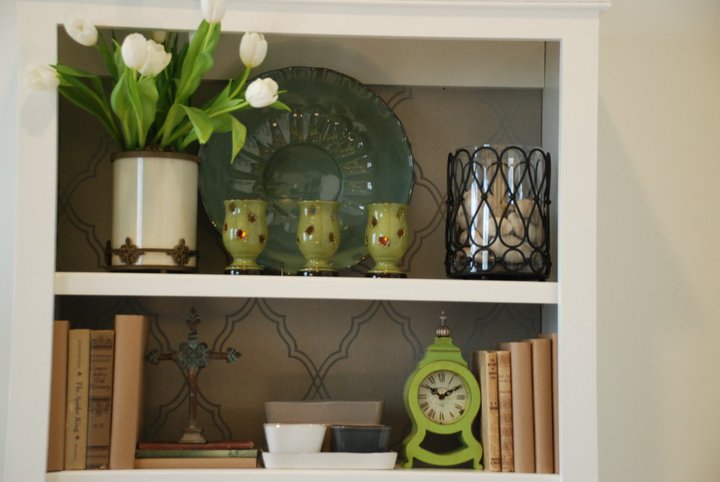
Here are the shelves put back into the unit. Because I have two shelving units with a large piece containing the TV inside, I really want symmetry.
I was recently told that books are not for bookshelves. {what?}Yes, there are books placed on the shelf, but I took the covers off and used the pages to show instead of the spines. Also, you can see that I have turned to the pages side of the books so the coloration was uniform.
Starting from the sides, I used larger items working towards the middle. While adding color, I placed my pieces in odd numbers.
I have 12' ceilings in my living room so I definitely needed height on top.
Stepping back several times, I took my time at styling. I tried several different pieces and tweaked it until it felt right.
This was my muse.
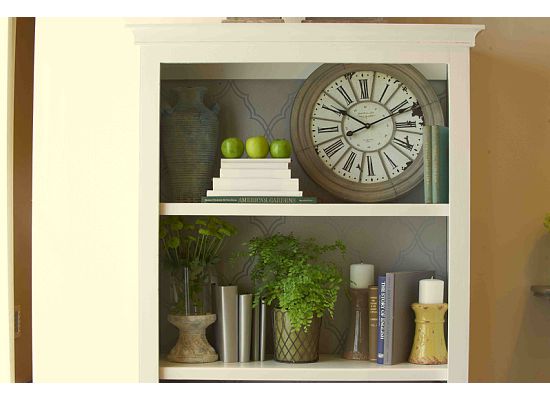
Another view.
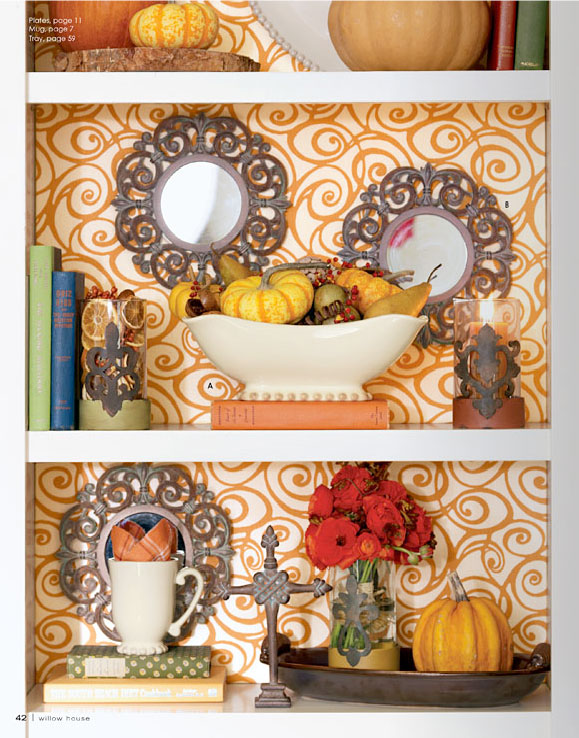
Now here's a B-O-L-D statement.
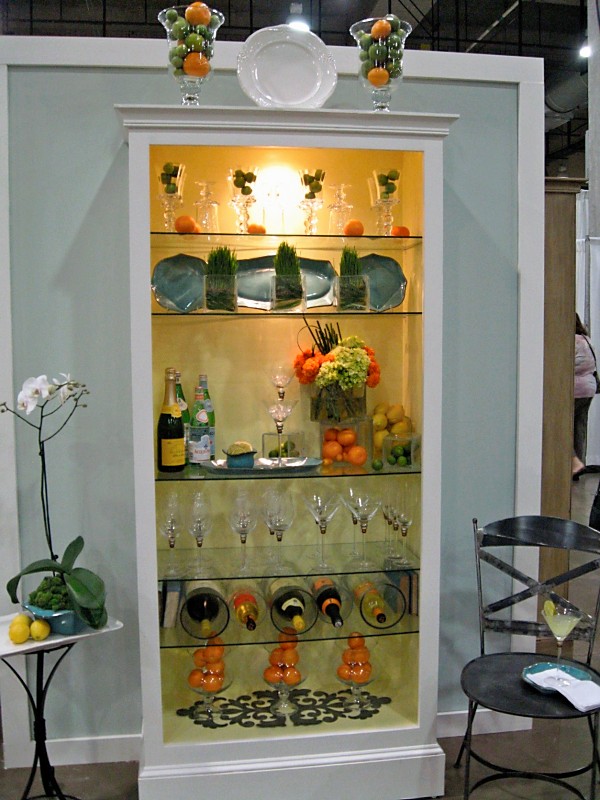
Here's a look with a painted background. Very upscale.
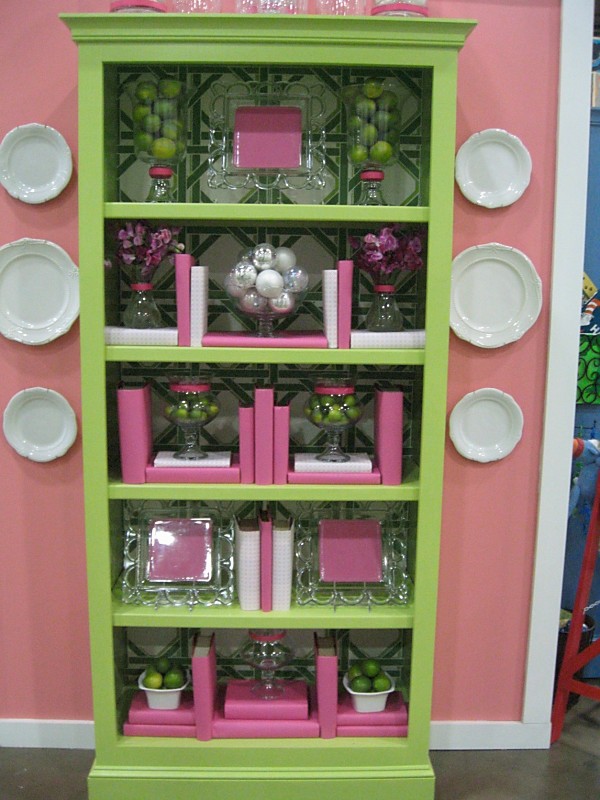
Pretty in Pink...also notice the placing of the books and the paper covers. This would be great in a girl's room.
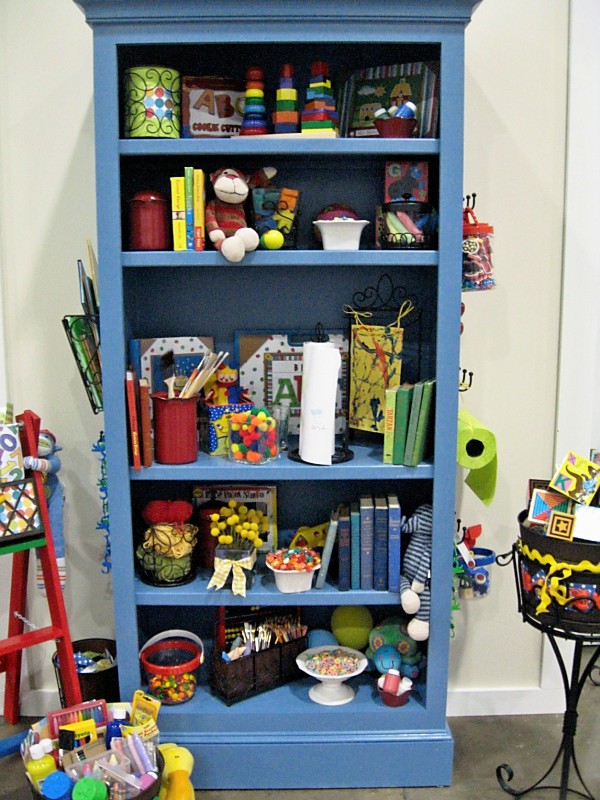
Fun for kids.
Comments
Join the conversation
2 of 13 comments
-
Thank you for all the {love} you are sending my way!
-
what a great idea


Frequently asked questions
Have a question about this project?