


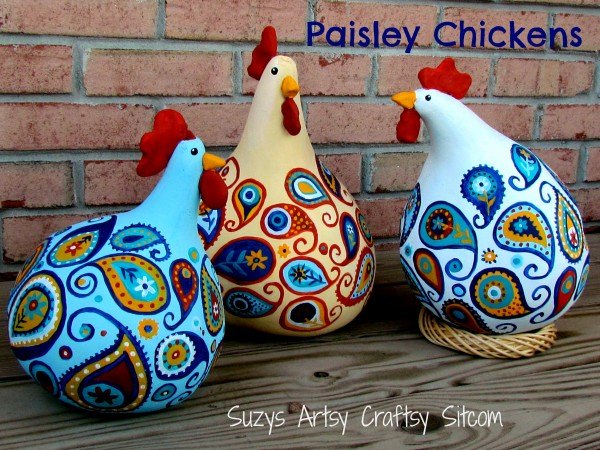
How to Make Paisley Chickens!

by
Susan Myers
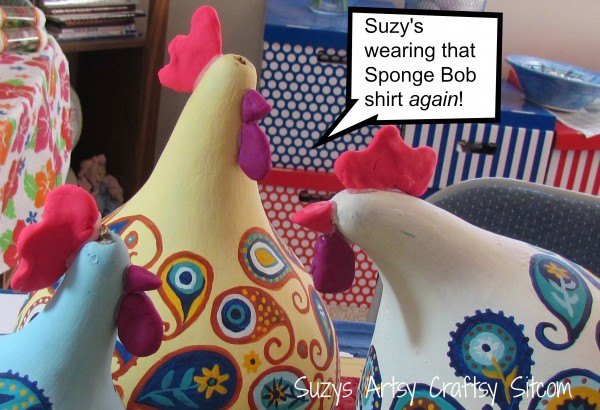
Did you know that Paisley Chickens are known for their gossip? They actually have personal subscriptions to the National Enquirer! Hmmm... I guess we have something in common! Anyway, just in case you would like your own gossiping bunch of paisley chicks, I will show you how they are made!
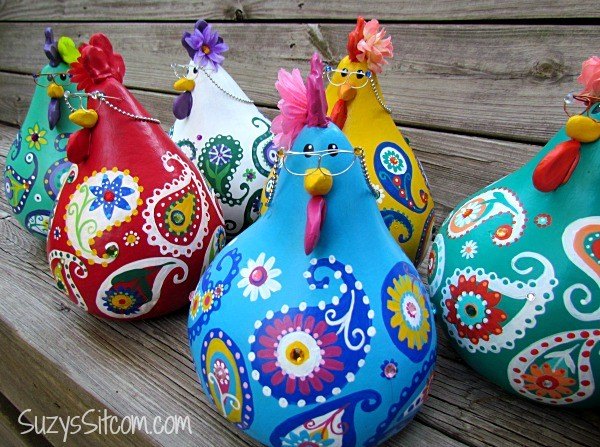
I ended up with a nice supply of dried gourds, so I whipped up a whole batch of paisley chickens. These make fun and colorful decorations!
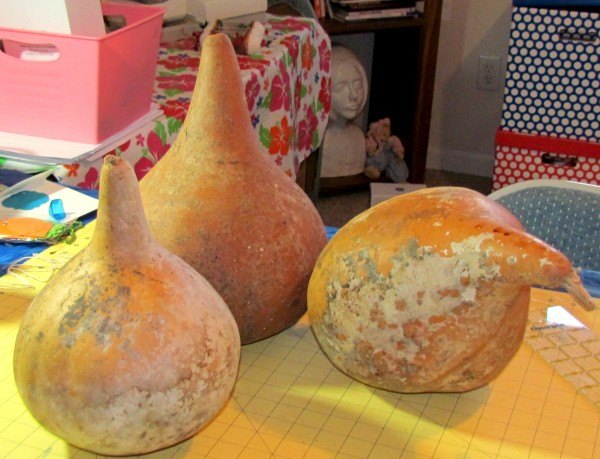
Our fabulously dressed chickens started out as these lowly dried gourds. Well, everyone has to start somewhere, right? These dried gourds have been sitting in my stash for several years now, just waiting on the right idea to come along. In order to prepare them for painting, I scrubbed them each with a non-abrasive scouring pad. It is good to use some bleach in your water to stop any of the molding that is going on. A simple method is to spray them with bathroom cleaner (that has bleach in it) and then scrub them.
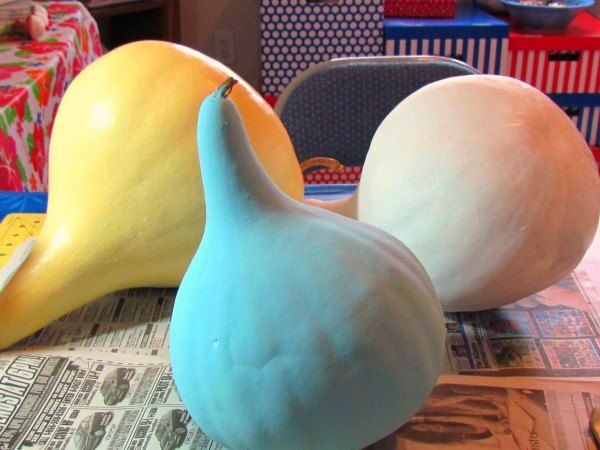
Because my chickens need to go together as a group, I chose a color palette that I would use on all the chickens. My colors for this project are light blue, dark blue, gold, white, teal, and brick red. I began by painting a base coat on each gourd, one light blue, one white, and the third- I added some white to my gold and painted it a light gold. It took about three coats to cover the gourds well.
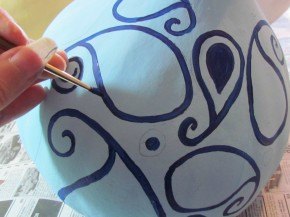
Drawing paisleys is a simple process. They are basically tear drop shapes with a curl at the top. I sketched different sized paisley all over the base of the gourd, turning some upside down and some sideways for variety.
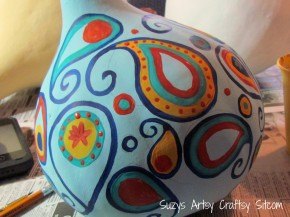
I then started filling in the paisleys with color. Each paisley is totally different from the next. I did not go by any pattern or design, just filling them in as I wanted.
I used polymer clay to create the comb, beak and wattle for each chicken. Don't you just love that word, wattle? Anyway, the process is to shape the clay how you would like it, then put it in a 200 degree oven for about an hour to dry. Once the pieces have cooled and hardened, they were then hot glued onto the gourds. I then painted the comb and wattle with the brick red, and the beaks with gold.
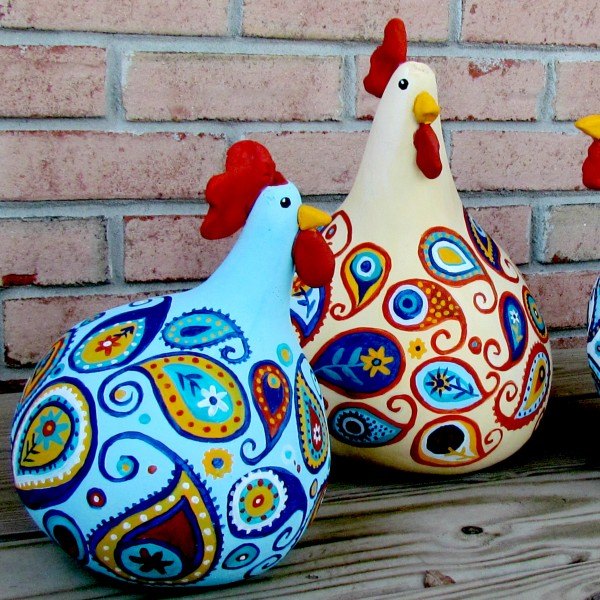
A dot of black paint creates the eye. Add a smaller dot of white for a highlight. The final step is to add two good coats of Krylon clear matte acrylic spray to protect the paint. And then they are done!
The finished chickens will definitely add a bit of color and fun to your decor! For more photos, detailed instructions and links to my Etsy shop where I sell these fun birds, see the link below!
Want more details about this and other DIY projects? Check out my blog post!
Comments
Join the conversation
2 of 306 comments
-
what a completely fun project. in the fall i will do this one. the glasses take the chicks to a new level...lol
-
These were so cute, I had to make one for one of my best friends. From gourds I had grown a couple of years ago. She liked it! .


Frequently asked questions
Have a question about this project?