


Look what a little paint can do for a boring bookcase.

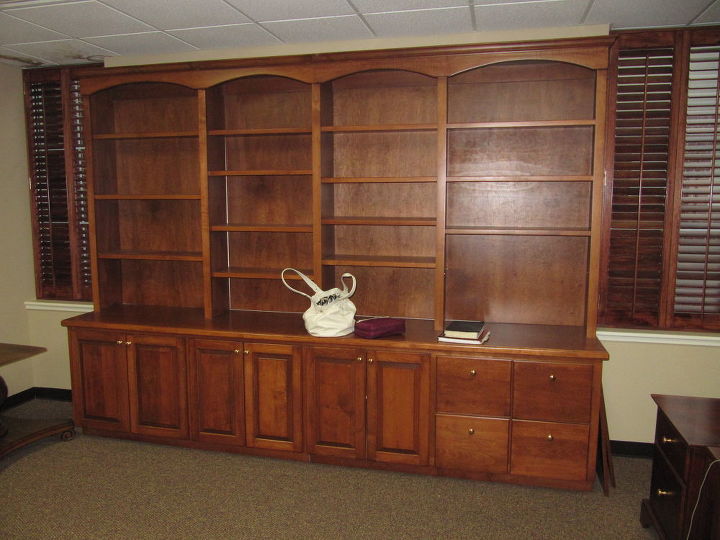
BEFORE: Plain & ugly & boring.

AFTER: See what a little black paint & new knobs can do.
Comments
Join the conversation
2 of 67 comments
-
Wow! Looks like new build. Great job!
-
First this must have been a timely job and it's absolutely lovely. It looks so different and classy. You win the prize!!!


Frequently asked questions
Have a question about this project?