


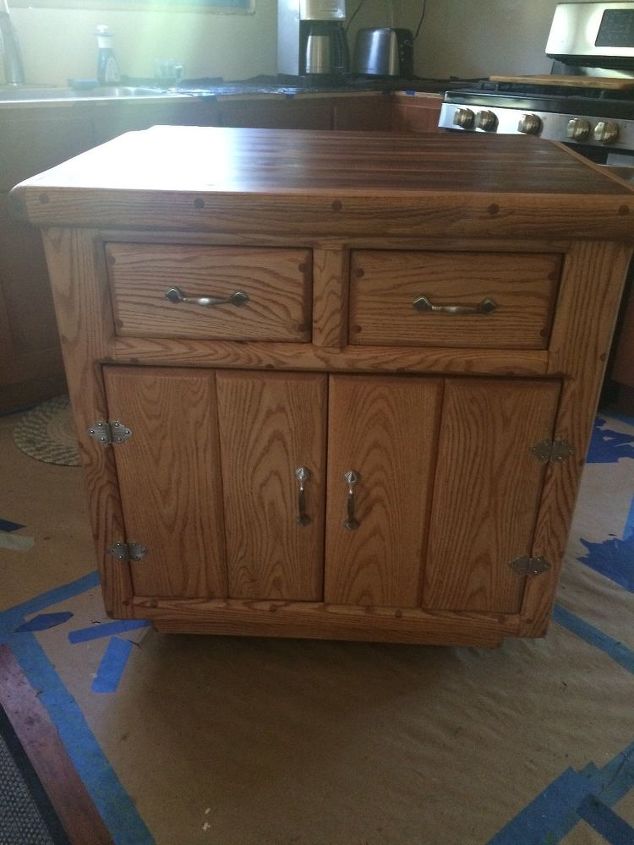
A Little and Thrifty Kitchen Island on Wheels

Easy
I redesigned my kitchen last year and while I was waiting on the back ordered pantries (5 months, the literally, SLOWEST boat from China!) I decided I needed a little project to keep me busy. Since the matching island cabinets and countertop was quoted another $700 and it was a little too big for my purposes, I decided to start haunting the thrift stores again.
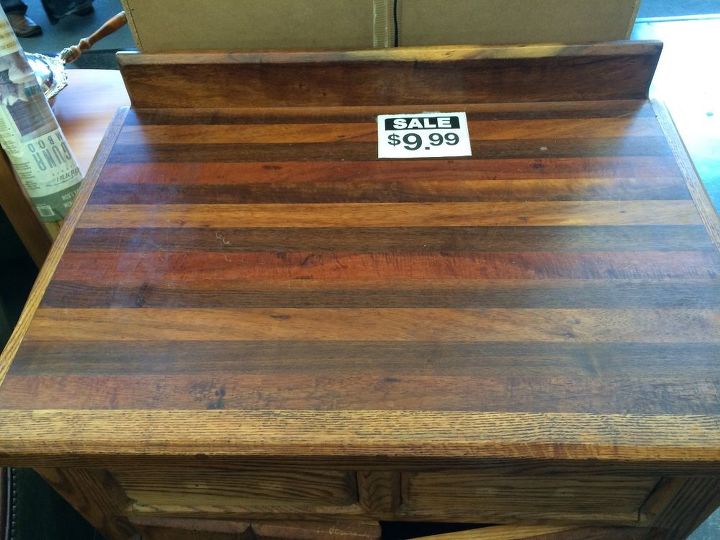
So I found this little gem for $9.99 plus I was "offered a senior citizen discount" (UGH! Didn't even now about this, but of course I took it! HAHA!), this solid Oak, handmade cabinet was mine for a mere $8.00!
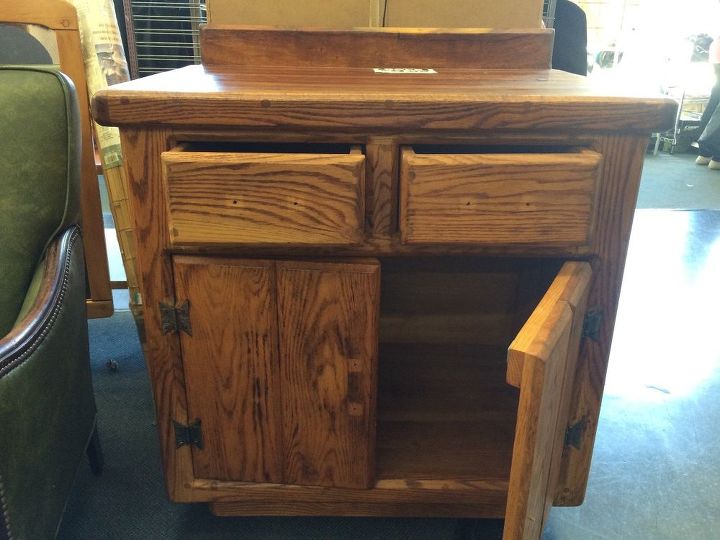
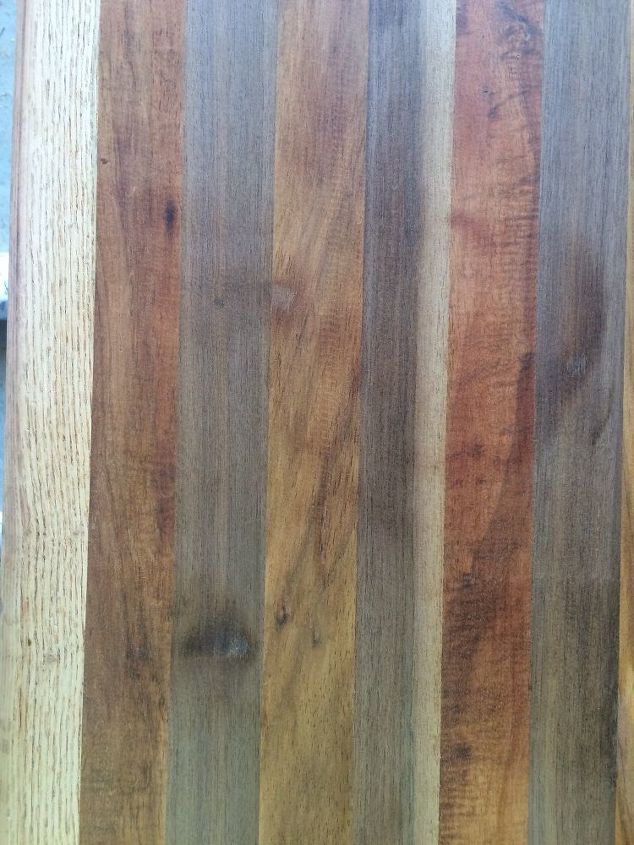
As you can see the top was solid mixed woods which could easily double as a cutting board. It also had a small - for lack of a better word - 'backsplash' built onto it. It obviously was built to be up against a wall because the back of the cabinet was plywood.
Got it home and sanded every inch of it. Took off the remaining old hardware (hinges). I took off the "backsplash", laid it flat and used some wood biscuits, glue and two giant clamps to create on overhang on the back side. I covered the plywood on the back with some of my old cabinet oak veneered scrap I had in the junk pile. Below is a clearer idea of the woods on the top of the cabinet.
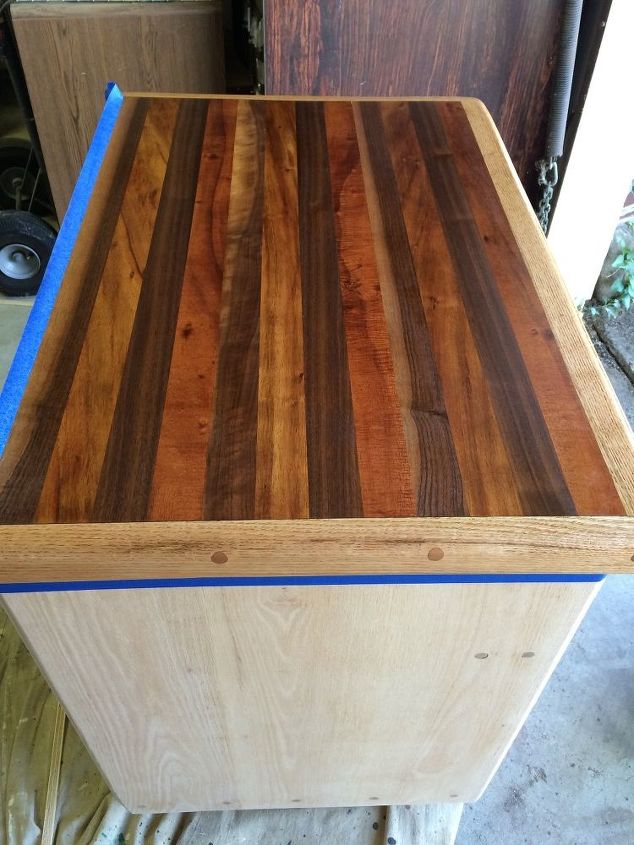
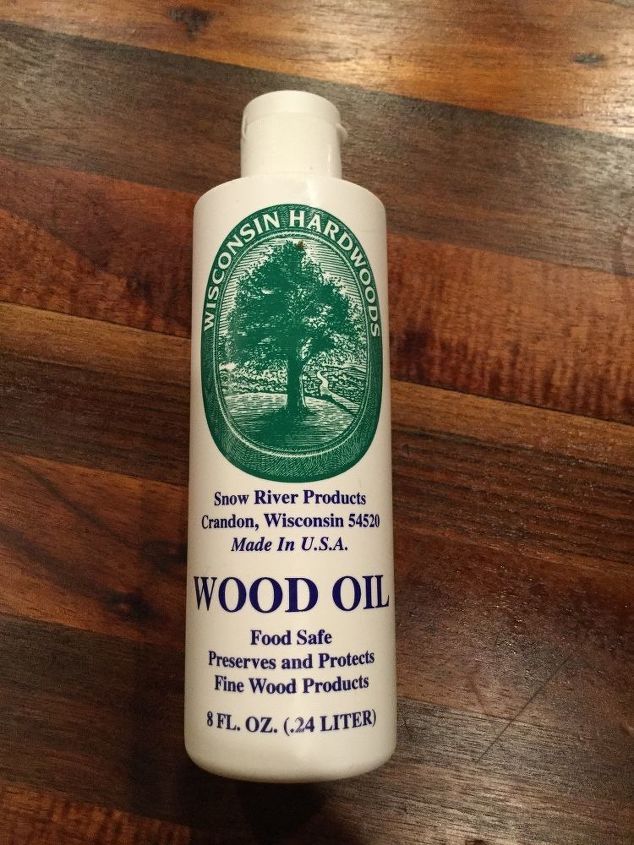
Since I may want to use the top as a cutting board I didn't finish any of it but instead just give it a little food safe wood oil. The rest of the cabinet I left natural and polyurethaned it. You don't need this specific kind, just something that is Food Safe will suffice.
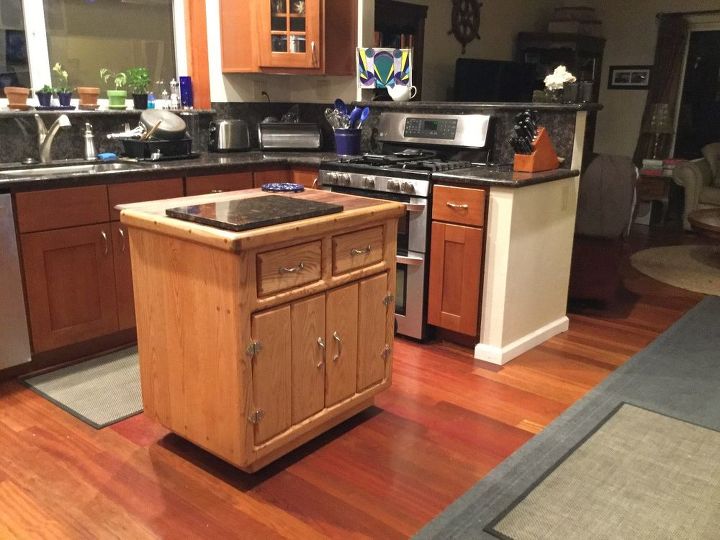
I finally added some 2x4's under the skirt of it and screwed on some wheels (no need for locking wheels since this piece weighs quite a bit) and voila! My little Kitchen Island I can move to wherever I most need it for less than $25!
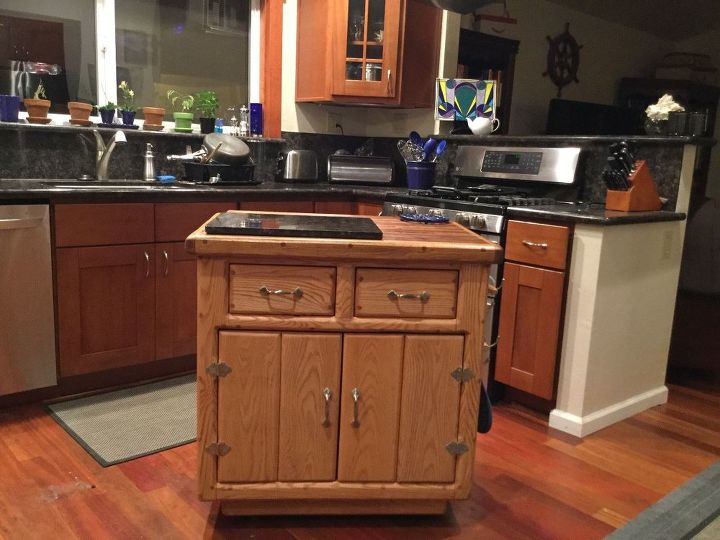
As you can see, I have a block of granite that the granite guy made for me that I use for a cutting board. Not in any hurry to resend the top anytime soon!
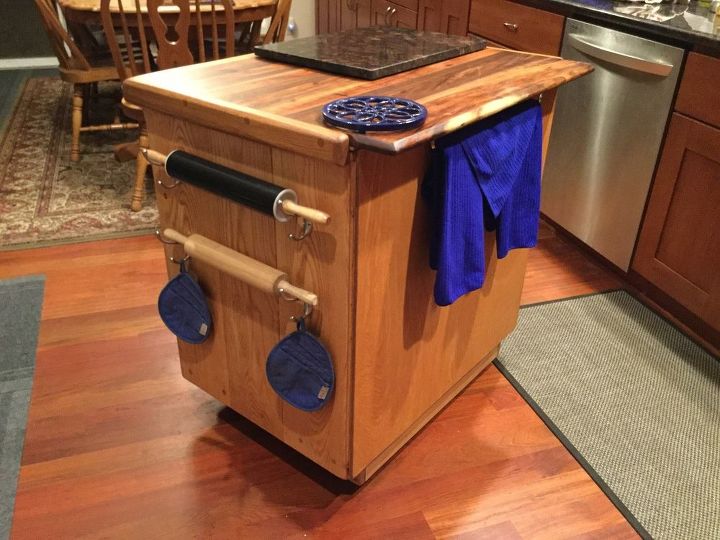
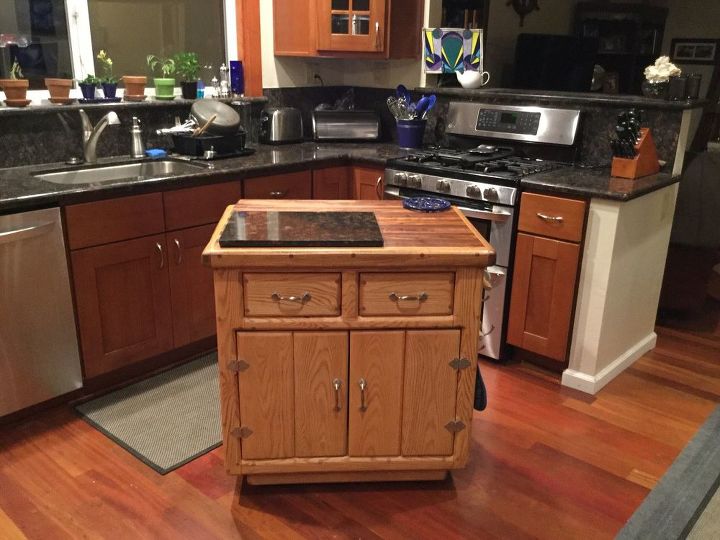
Easily moveable and quite convenient. Plus I keep all of my baking utensils and accessories in it so I'm not searching all over the kitchen for a 1/3 measuring cup!
Don't be afraid to try things like this! Heck, for the money I spent on this cabinet, I could have totally screwed it up and had to burn it in my fireplace and STILL saved money rather than buying a box of wood from the grocery store!
Comments
Join the conversation
2 of 124 comments
-
I know right?!? I haven't seen that good of a deal since, but hellif im not still looking for a new project!
-
Living where I do, I was amazed at the price too! I'm now looking for a new project, but only on Sundays/over 50 day. (Hee hee hee) Lots of fun to figure out how to make it work in my Hous.


Frequently asked questions
Have a question about this project?
What a find! I need to shop at the thrift stores in your area , none of the ones here ever have anything like this,
I have a kitchen an Dinning Room both side by side.
My Pantry Cabinet tall dark wood, kitchen Cabinets.
I want to Brighten up my kitchen thinking using white Chalk could I do that make my kitchen Brighter???