


My $58 Kitchen Island Makeover

$58
2 Hours
Easy
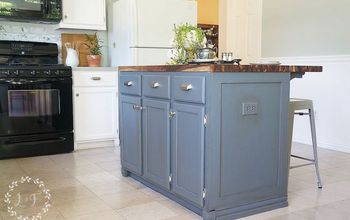
We have had this kitchen island for about 15 years. I have been looking for a new one for the last couple of years and Friday night it came to me that maybe what we have is just the right size for our kitchen and it just needed a facelift.
Armed with new resolve, I decided to give our little helper a new look.
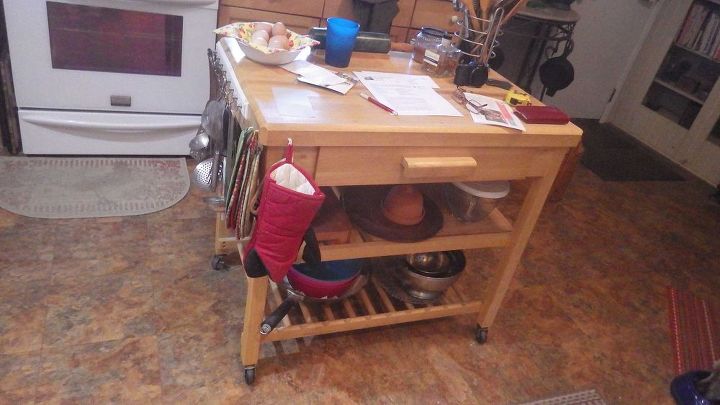
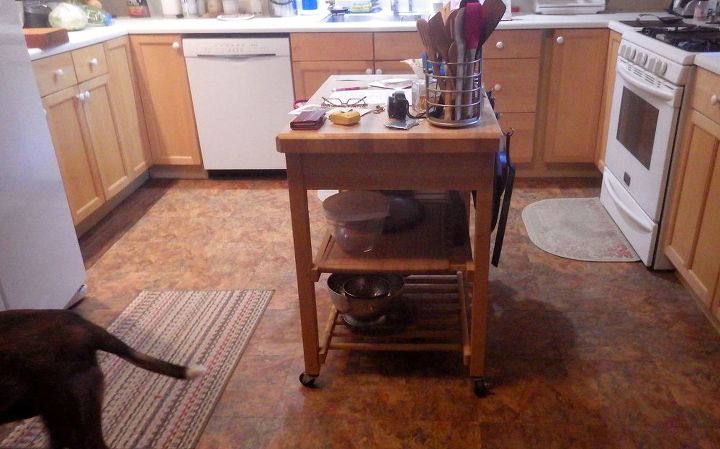
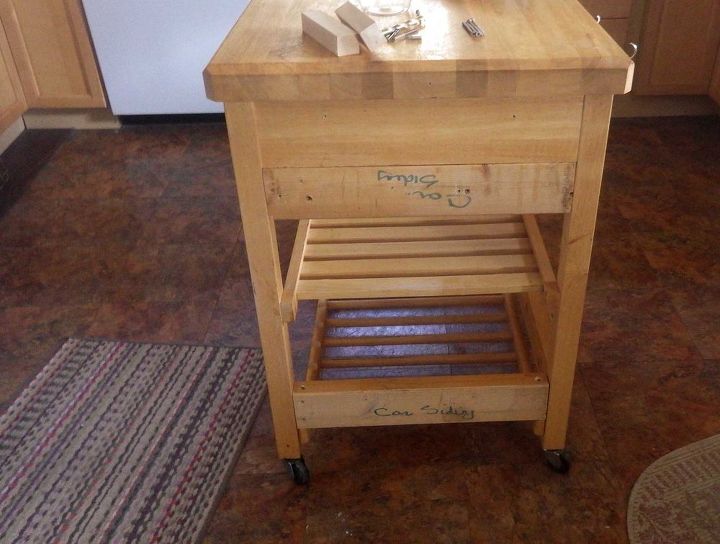
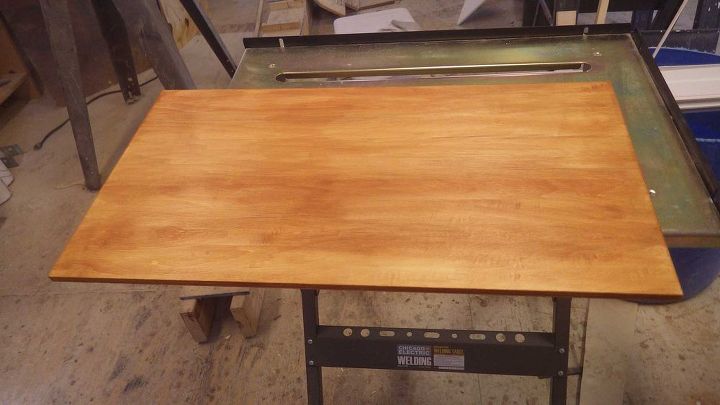
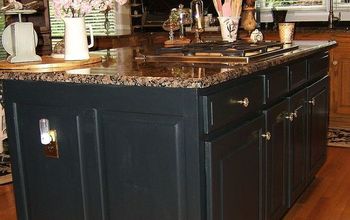
This is what it looked like "before.
Just your average kitchen island. About 32" long and 21" wide.
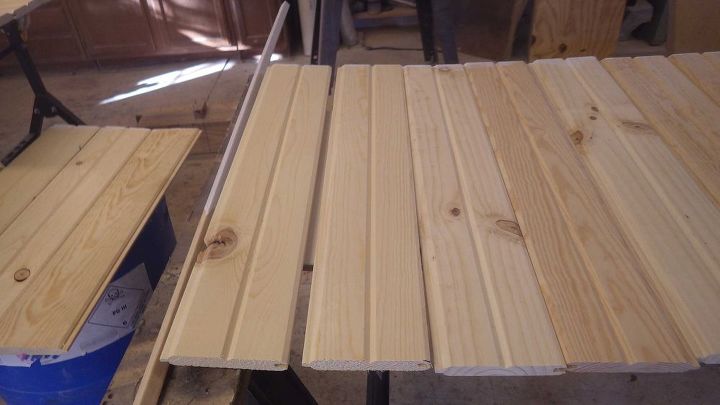
I laid the pieces out in my husband’s workshop and set about painting them.

While they dried, I added support pieces to the ends and back of the island so I would have something to support the car siding when I nailed it on.
I used 2x4's for the supports and finished the tops, bottoms and sides that would be facing in to the interior of the cart. I used spray lacquer.
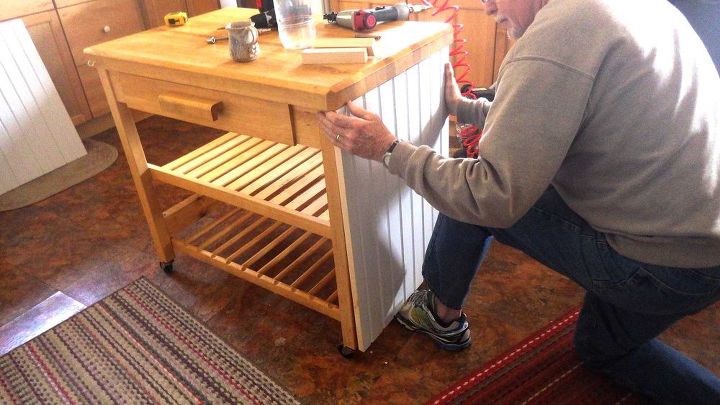
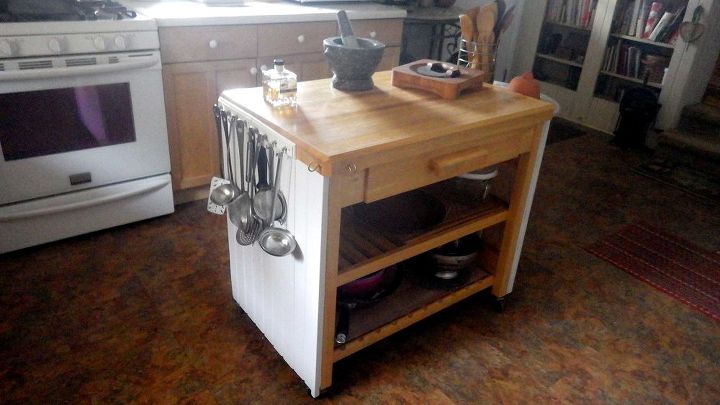
That done, I re-measured each end of the island and then put the car siding together, trimming the end piece so that it fit perfectly. Then I spread Gorilla wood glue on the support pieces and air-nailed the pre-built panels to the supports.
Thank you to my husband for helping make sure everything was square and even!
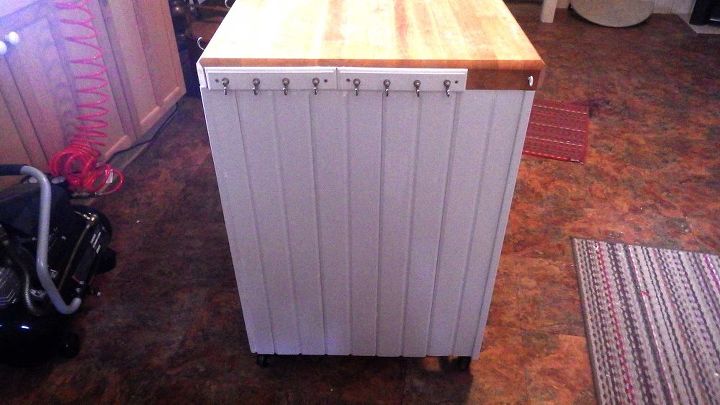
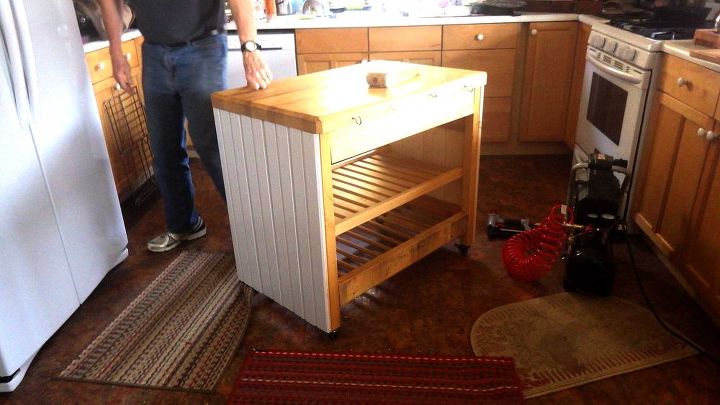
Once we had the ends done, we completed the back. I only needed corner moulding on the front corners because my husband helped me cut these pieces so well that they came right together on the back edges – thank you DH!!
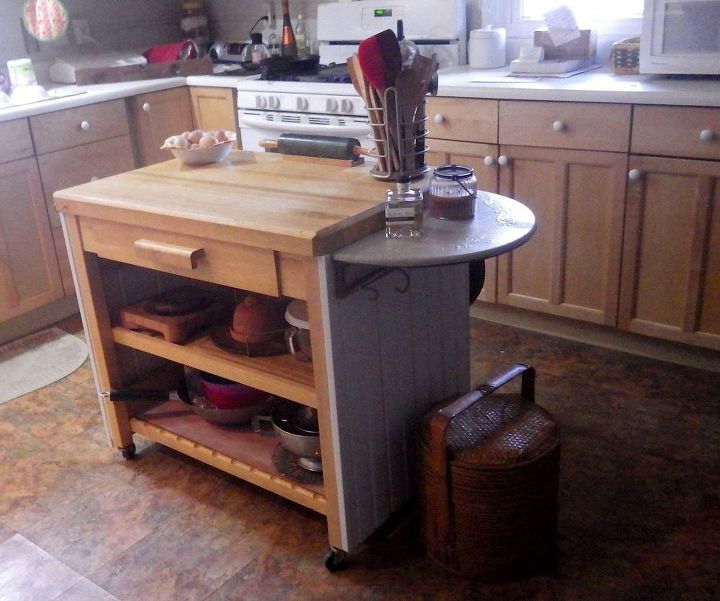
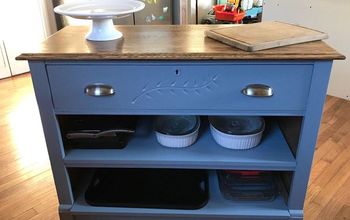
I decided that I needed a shelf bottom on the lower section to help keep dust at bay so I cut a piece of ¼” plywood and stained it maple. Way too dark!!! I grabbed my inexpensive white acrylic and made a glaze and glazed the maple to take some of the orange look away. Worked out pretty well.
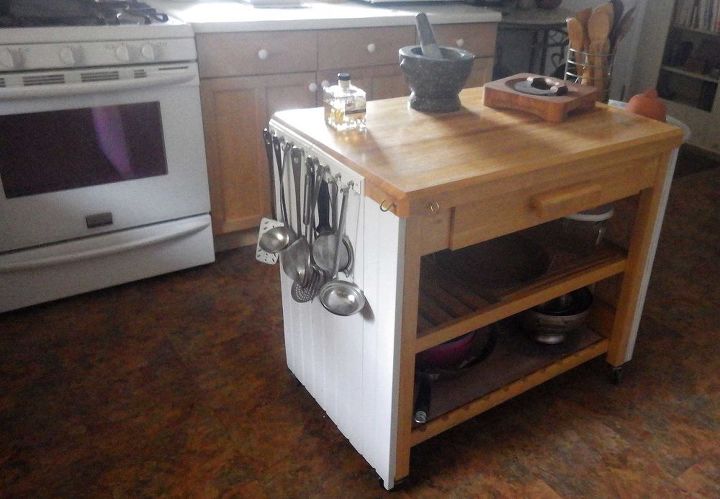
All in all, I spent $58 for the car siding (cutting was free), ¼” plywood, paint, and moulding. The project did not take long at all once the pieces were painted and dried.
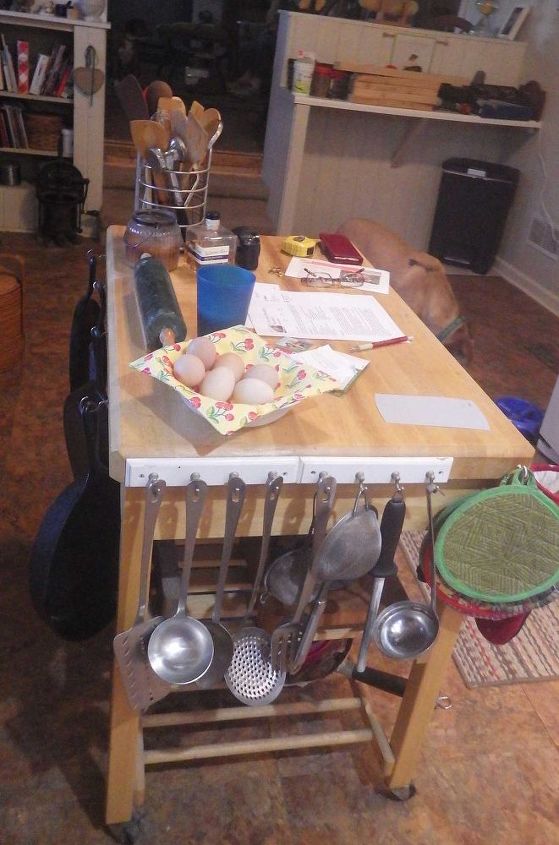
In the background you can just see the coffee station. It is a bronze wrought iron with granite shelves. Next - the floor!! And then cabinets and then.....
Comments
Join the conversation
2 of 19 comments
-
Going to redo my island as well! Good idea! Thanks, I like yours! Hugs
-
Why is it called"car siding" never heard that term before - just looks like regular tongue and groove wainscoating to me?!


Frequently asked questions
Have a question about this project?