


Paislies Inside of a Paisley Pebble Mosaic

by
Kathi
18 Months
Advanced
Flowers and circles too!
I have been collecting rocks my for as long as I can remember. Moving them from house to house was something I had to do myself. After all I could not expect my husband or anyone else to move over a thousand pounds of rocks!
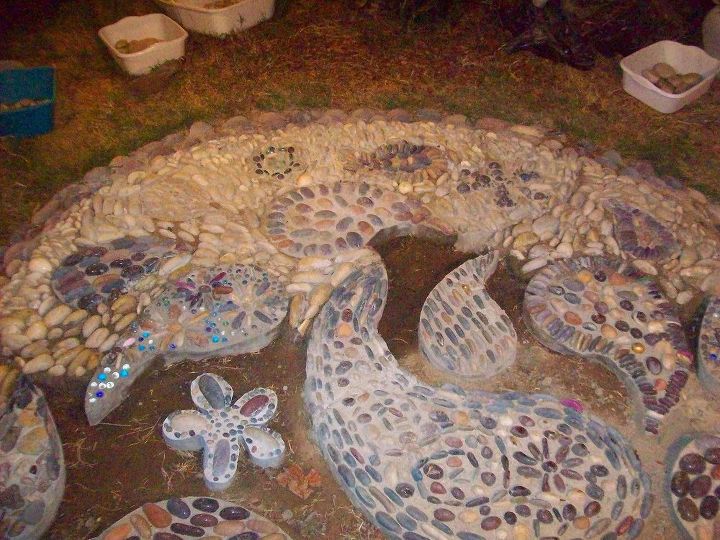
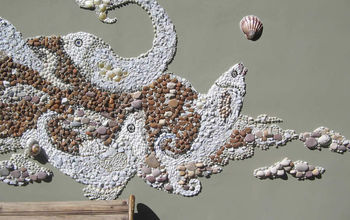
Now I've been in this house for 20 years and had been moving the rocks from location to location but I needed to find them a permanent home. I saw the work of Jeffery Bale http://jeffreygardens.blogspot.com/2011/08/building-pebble-mosaic-stepping-stone.html and fell in love with the idea and decided to do a paisley shape with paislies, flowers, and circles inside of the paisley.
The first thing you need to do is to clear and level the ground. I am good at clearing, not so good at leveling!
My next step was to define the shape by outlining with 3 rows of rocks.
I have been collecting rocks my for as long as I can remember. Moving them from house to house was something I had to do myself. After all I could not expect my husband or anyone else to move over a thousand pounds of rocks!
Now I've been in this house for 20 years and had been moving the rocks from location to location but I needed to find them a permanent home. I saw the work of Jeffery Bale http://jeffreygardens.blogspot.com/2011/08/building-pebble-mosaic-stepping-stone.html and fell in love with the idea and decided to do a paisley shape with paislies, flowers, and circles inside of the paisley.
The first thing you need to do is to clear and level the ground. I am good at clearing, not so good at leveling!
My next step was to define the shape by outlining with 3 rows of rocks.
Only photo I have that shows the 3 rows
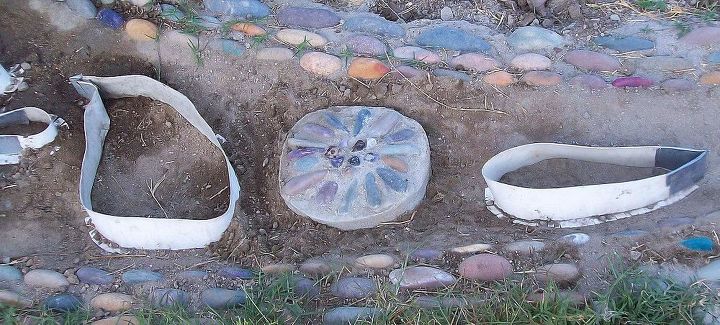
I found an unused roll of vinyl flooring in the trash and decided to cut it into strips and use the strips to create the different shapes. I scored the vinyl an inch or so to create a foot that I nailed into the ground.
This is a good photo show the foot nailed int
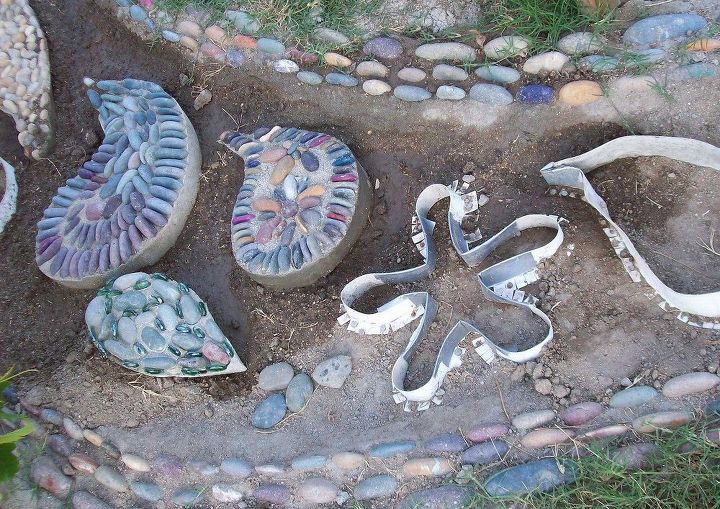
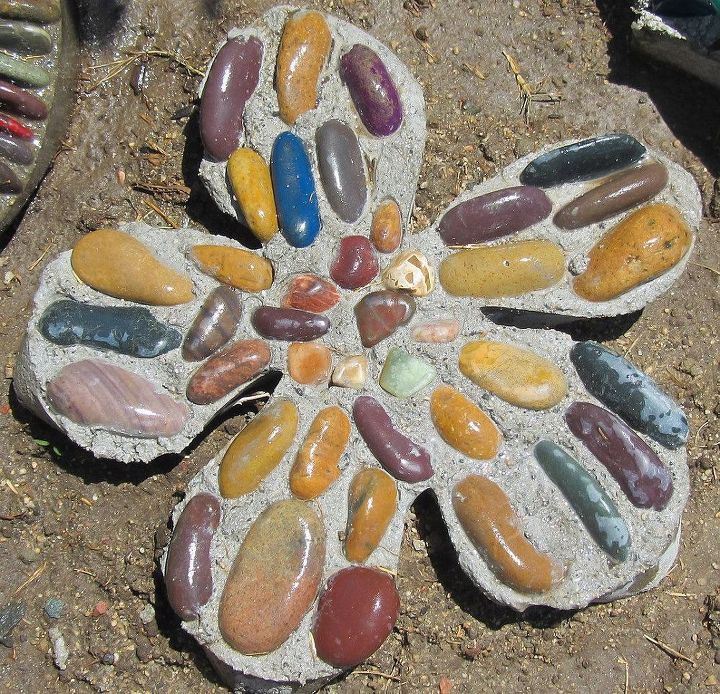
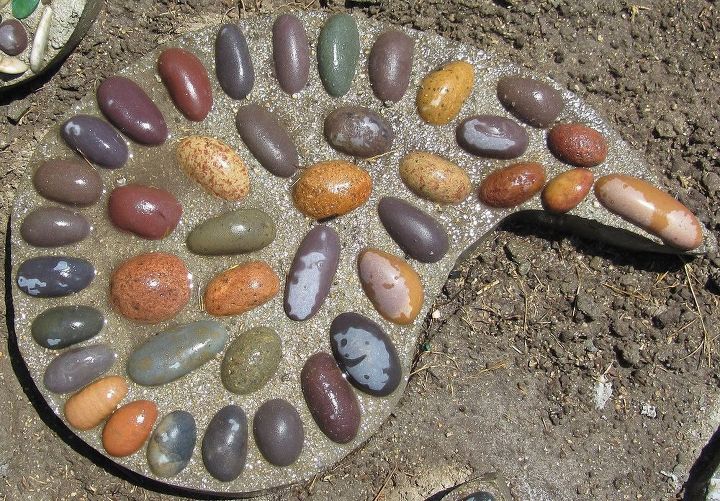
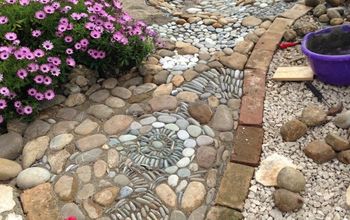
You need to have a plan for each shape and rocks picked out a head of time, then I mixed the mortar, scooped the mortar into the shape and placed the rocks.

Once the shapes had hardened I could actually move the smaller ones around to the best spots.
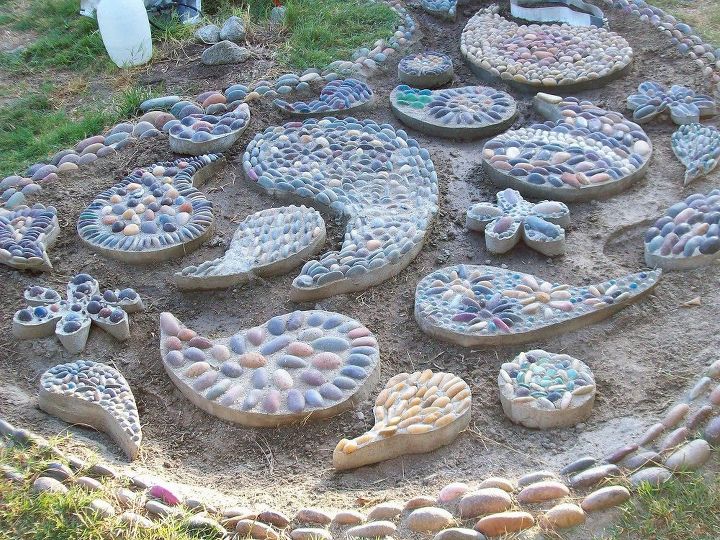
I had most of the shapes done at this point and decided to work on the background.
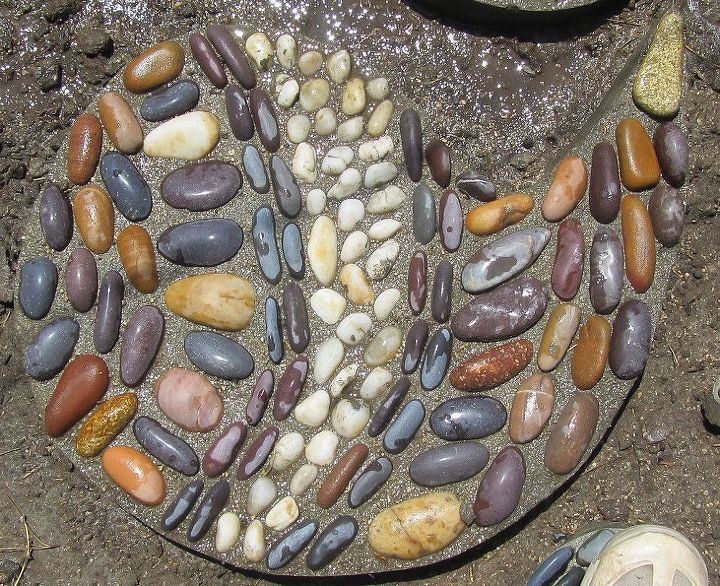
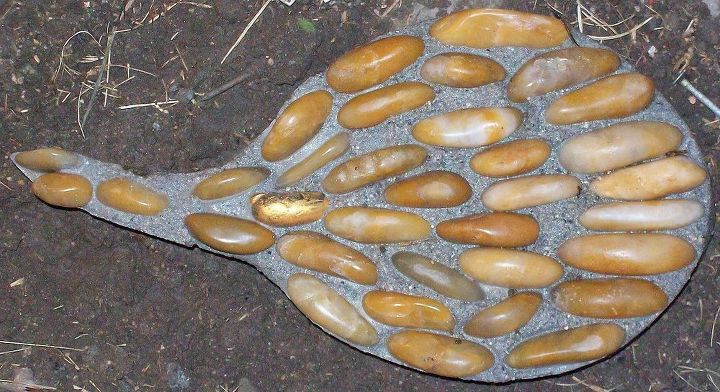
For the background I worked in a kind of color wave, starting with white rocks moving to light yellow, then yellow, yellow-orange, orange and so on.
I had a lot of white rock!
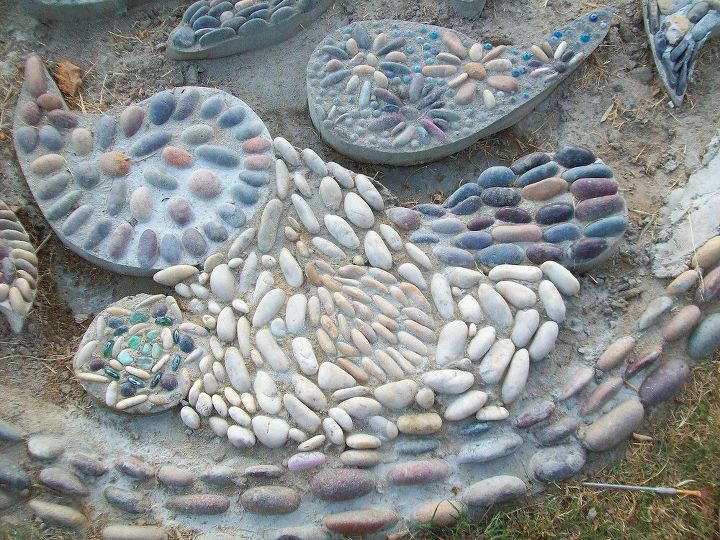
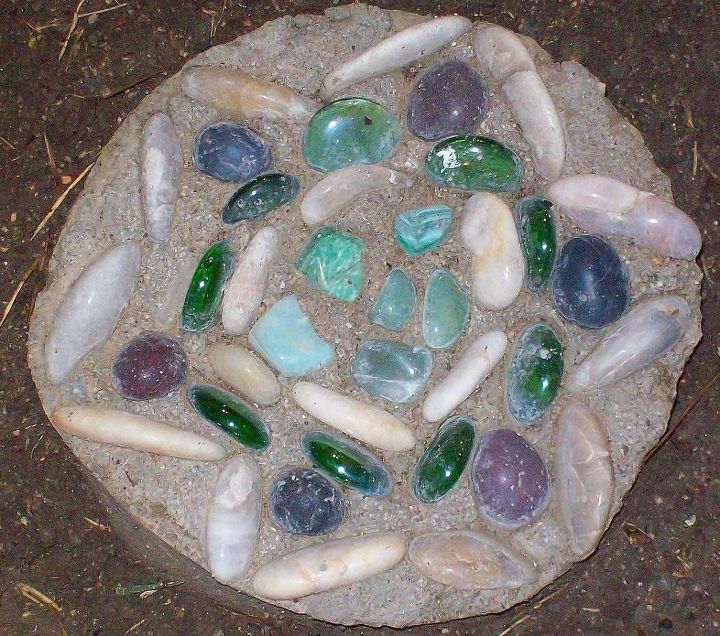
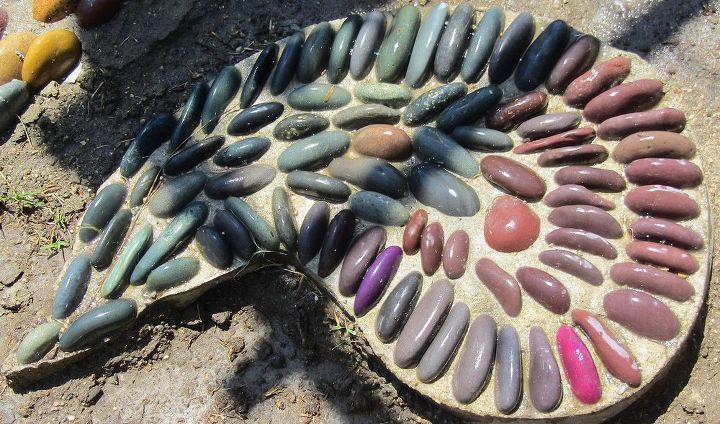
Here are some of my favorite paisley, flowers and circles.
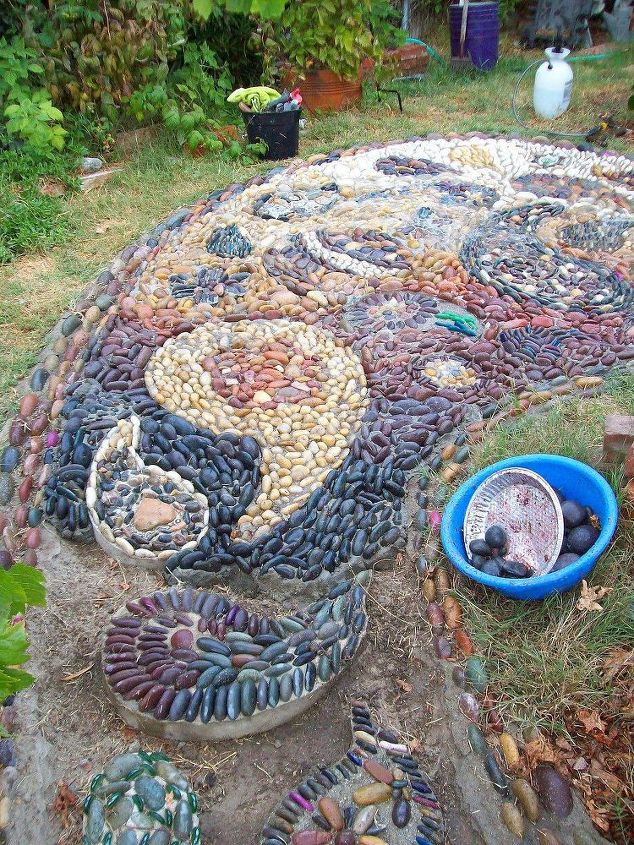
Getting close to being done. Background color in working into blue/green.
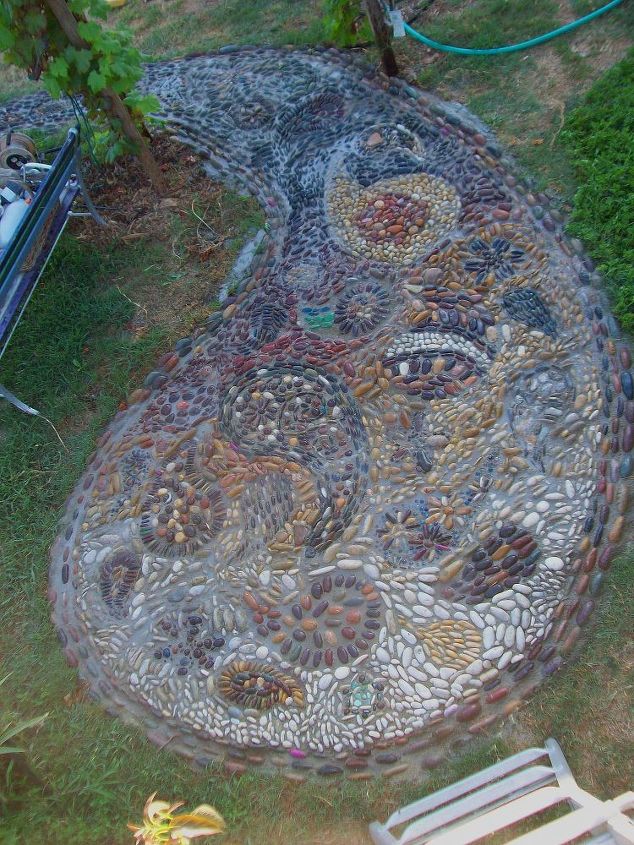
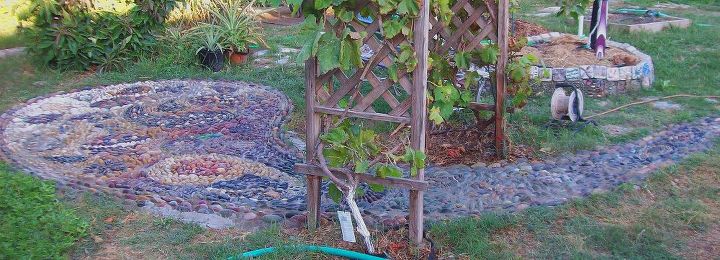
The paisley measures 7' at the widest point by 18' so it is difficult to get a photo of the entire Paisley.
I did end up going to my favorite spot (on the south coast of California) to get more rocks and I also purchased some finding a couple of places that had 75 lbs bags presorted by size and color.
Comments
Join the conversation
2 of 11 comments
-
Thank you all for the wonderful comments, I am truely thankful for your praise.
PS Sally, I live in Rossmoor California 90720
-
I agree with the holy cow comment! This is beautiful!!


Frequently asked questions
Have a question about this project?