


Bedroom Before & After at the Flip House Plus a $10 Thrift Store Desk
Check out my bedroom before and after at the plus a $10 thrift store transformation and a project using some leftover wood from an old door frame! Plus vote for your favorite $10 thrift store challenge project. Click on the blog post url for deets.
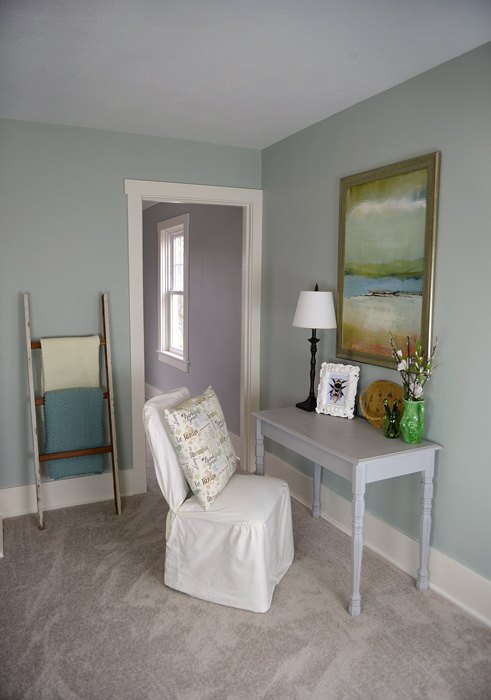
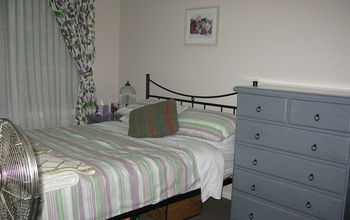
Here's a sneak peek at the after!
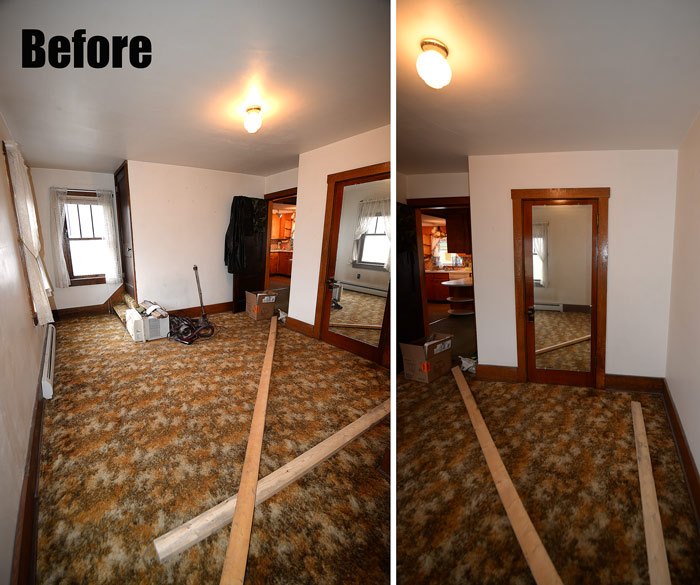
I have been working overtime at the flip house, which means I'm here to share with you another before and after. This bedroom at the flip house - especially the carpet - used to be a total nightmare. Now it makes me smile every time I look at it.

The main work I did to renovate this room - besides replacing the flooring - involved texturing the walls and ceiling; rebuilding the interior of the closet; painting the walls, ceiling and trim; and decorating.
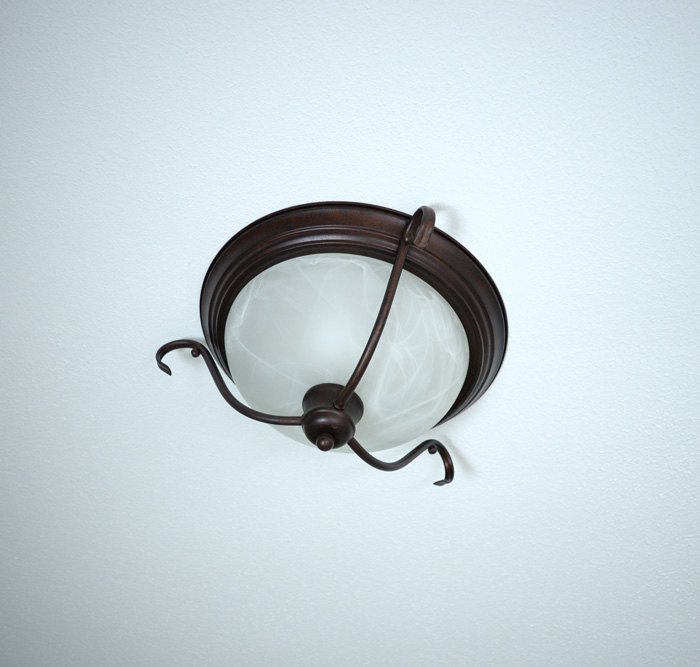
I painted the ceiling white and added an inexpensive 50s-style fixture to match the period of the home.
After texturing, painting, cleaning, replacing the light, outlets and switches, and having new carpet installed, I was ready to add the finishing touches to this room. My budget - as always - was extremely tight, so I stuck with no and low-cost furniture and decor options.
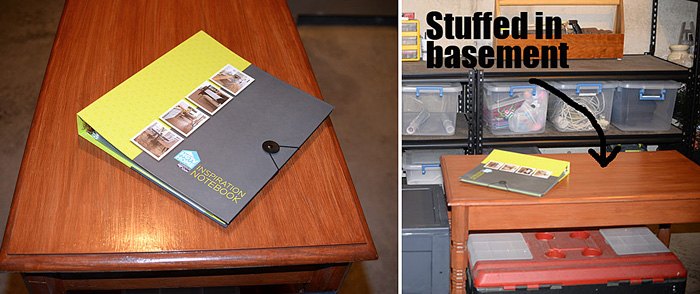
I found a cherry table for under $10 at a thrift store awhile back. When I bought it, I wasn't ready to refinish it yet, so it went to the basement.
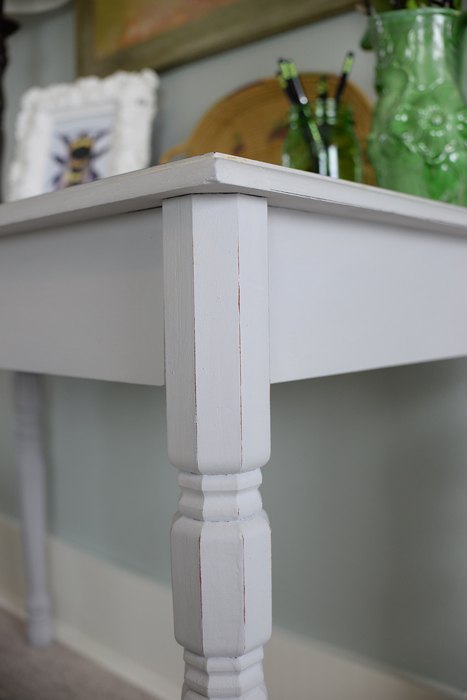
This table looks so good now in the flip house I'm relunctant to let it go with the house. The coolest part about this project is that it was super easy - and quick. All told, it took about two hours of work total. Seriously.
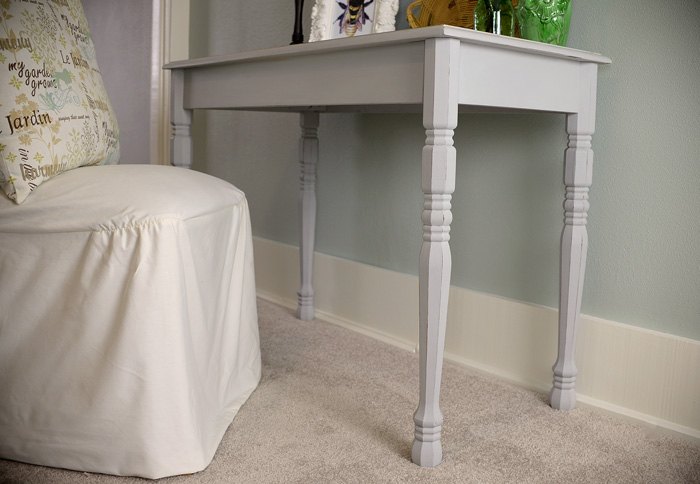
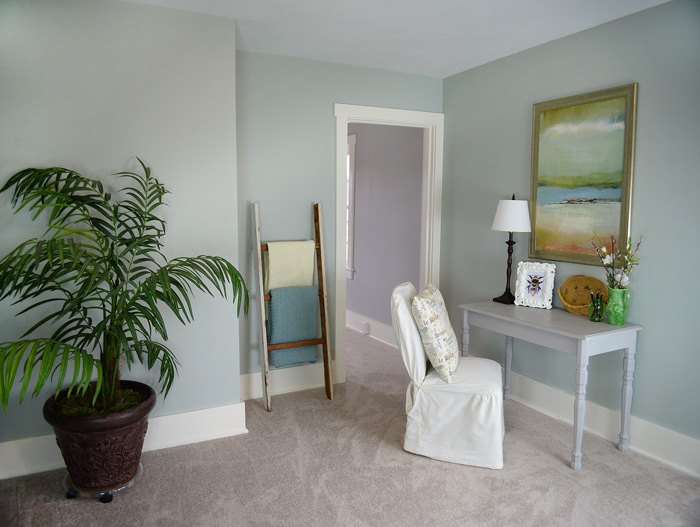
I am so pleased with how this desk - and the room - has come along. As far as the rest of the decor in the space, I stole from my house and the basement to complete the look. No money spent there.
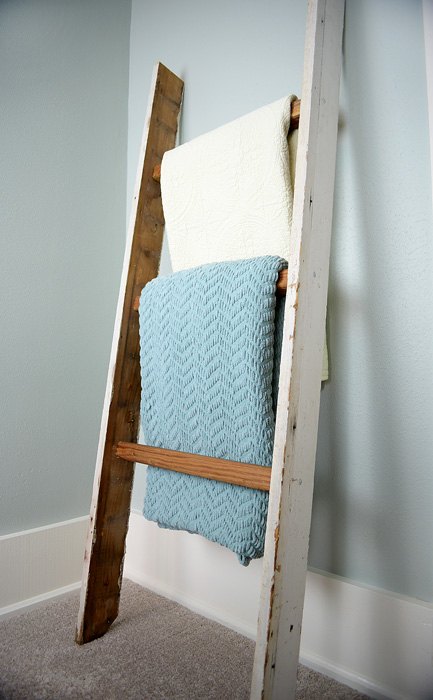
I also used leftover door casing from the front door we replaced and some leftover spindles from the front porch build to build a fun ladder for storing blankets.

Want more details about this and other DIY projects? Check out my blog post!


Frequently asked questions
Have a question about this project?