


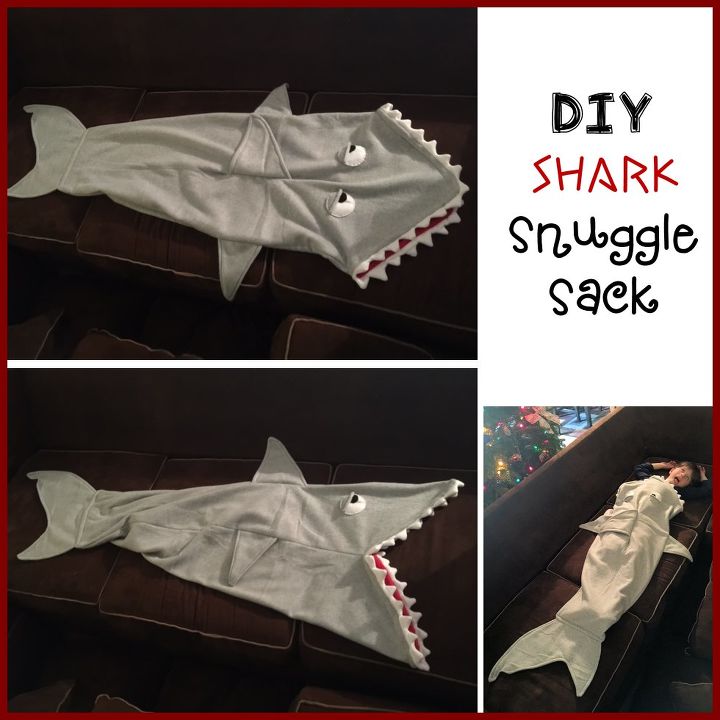
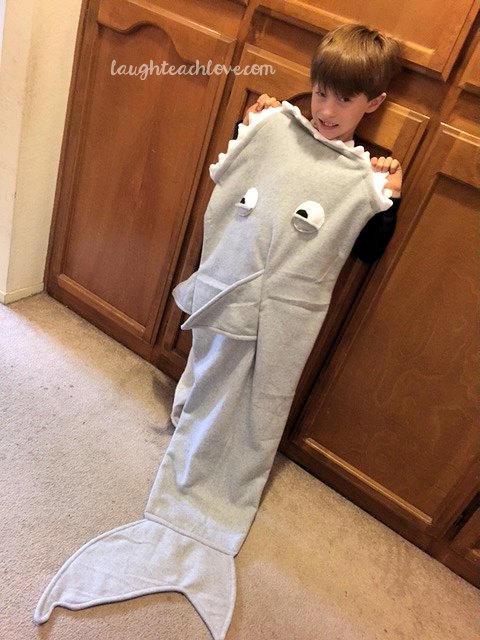
How to Make A Shark Snuggle Sack
3 Hours
Medium
My son has been asking me to make him a shark snuggle sack...so I got crafty and created my own pattern. You can too!
What you need:
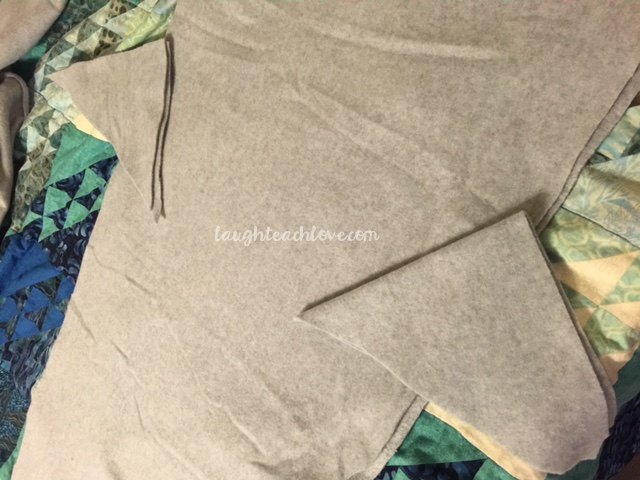
My first cut was forming the head of the shark. I found the center of the fleece and used a Sharpie to mark it (just a little dot). Then I marked where I wanted the mouth to end.
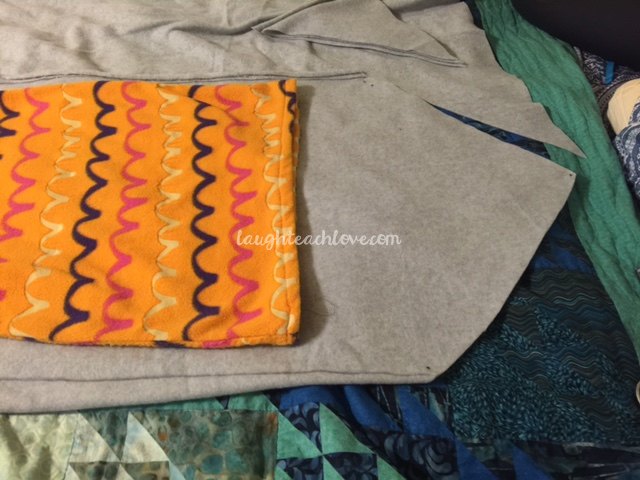
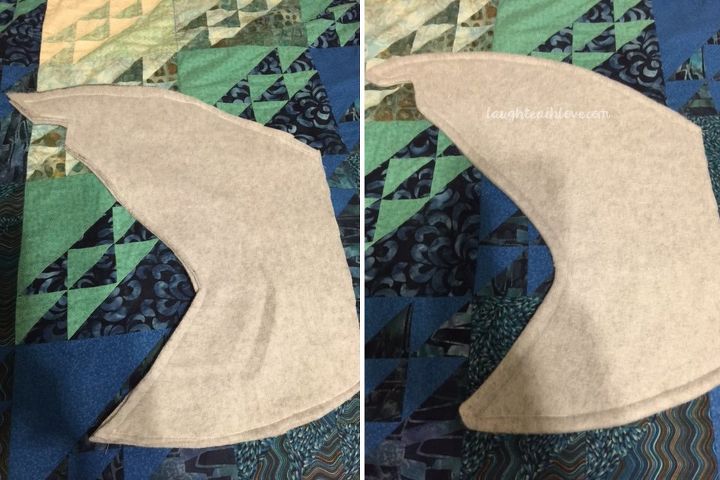
I continued to cut out the body (be sure to cut two pieces…that is why I folded the material).
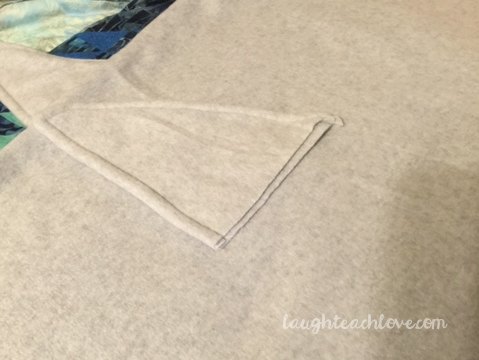
I used the scraps from cutting the body to make two triangle side fins. Stitch the pieces right-side together, then flip and give it a top stitch.
Optional: You will want to make a dorsal fin that is slightly larger than the side fins. To attach, you will want to find the center of the body and fold the body over the dorsal fin. Stitch in a curved shape to attach the fin with as little puckering of the material as possible. This was by far the most challenging part of the entire project for me (because I actually added it after I sewed the two body pieces together).
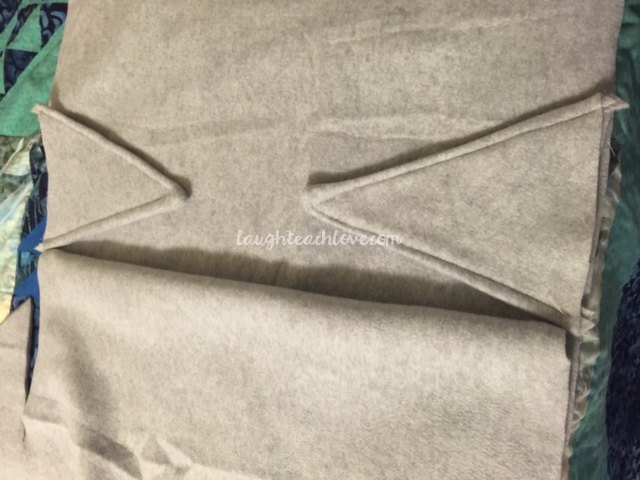
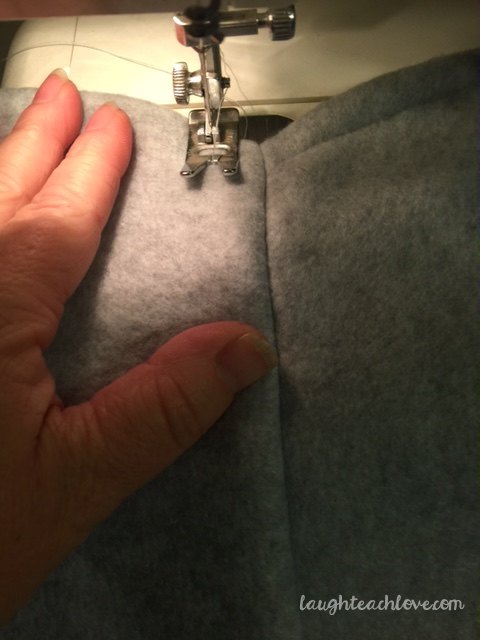
Now onto the body. Pin the right sides of the body together. You will want to place the two side fins facing inside (see photo below) and sew the length on each side.
To attached the tail to the body you need to keep the body inside-out. Fold the tail so you can tuck it into the body (remember, your tail is right-side out).
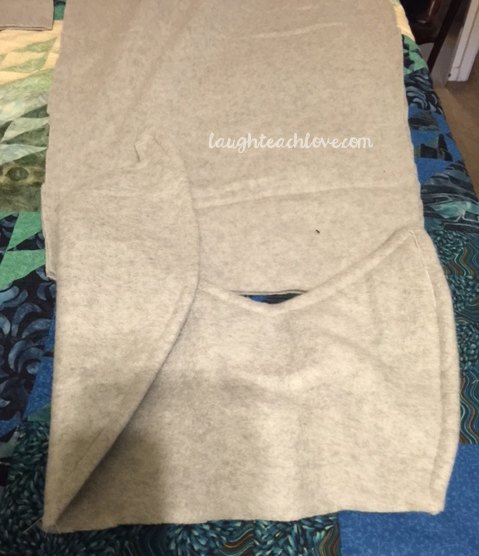
Stitch the tail and the body together, then flip the body right-side-out and put a top stitch on the body.
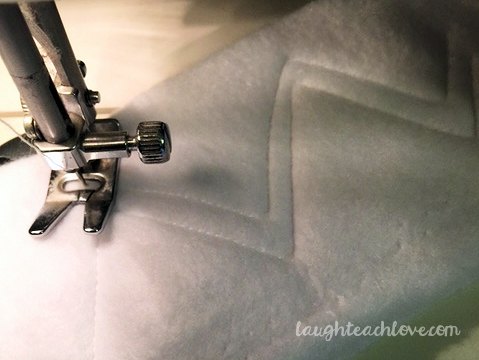
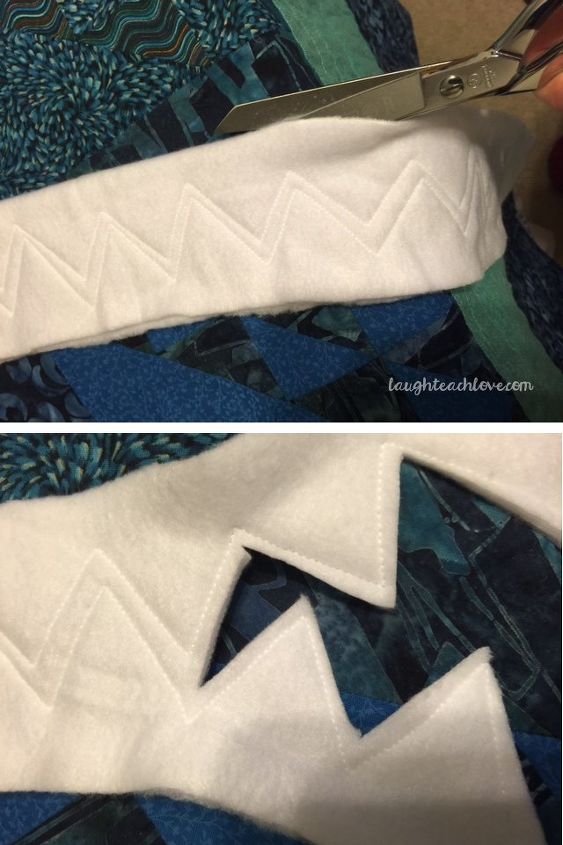
The body and tail is finished…now you have to add the teeth!!!! I took a long strip of white fleece (approximately 4 inches wide by 56 inches long) and folded it in half. I pinned it every 2 fingers, then stitched it in a zig-zag twice with a small gap in between.
Once stitched, I cut the folded edge and carefully cut the two sets of teeth apart. Then I went over the stitching again to ensure that the teeth wouldn’t pull apart.
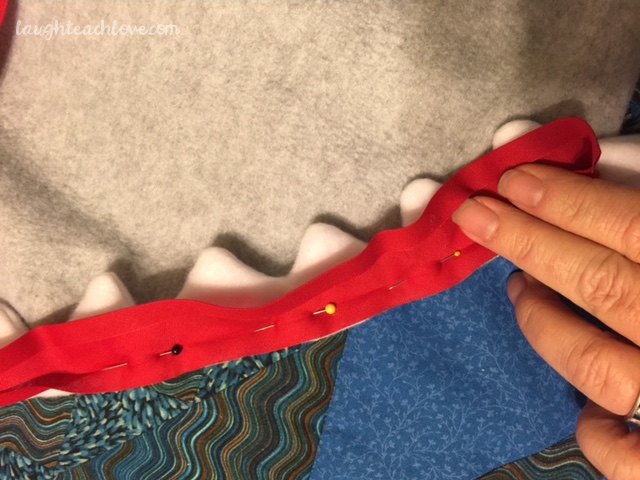
Now flip the fabric right-side-out. I used the bias tape to attach the teeth to the body. You will want to start near a seam. Fold the bias tape at the end, then open the bottom of the bias tap. You will pin along the edge. Continue all the way around the entire mouth. When you come back to where you started you will overlap the bias tape. Stitch on the “line” made by the fold in the bias tape.
More details are on my blog...

Want more details about this and other DIY projects? Check out my blog post!
Comments
Join the conversation
2 of 33 comments
-
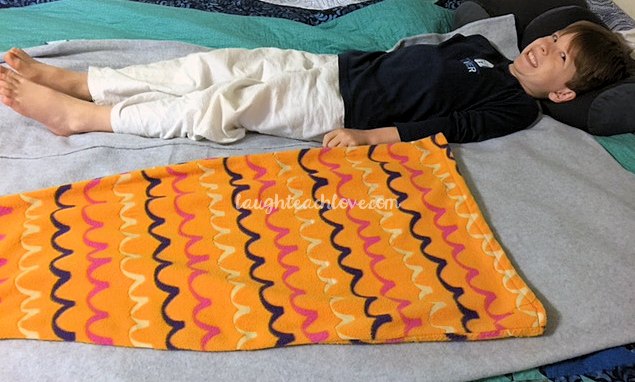
The picture of your little boy (laying down for pattern) put a huge smile on my face! LOVE the shark.
-
So special for someone so special! Comfy too.


Frequently asked questions
Have a question about this project?
Love your Shark blanket. Thank you for sharing it. I wondered how you did the eyes--it isn't mentioned in the directions. Also, is your blog still available? Your post says that there is more details on your blog but I couldn't access it. Looking forward to hearing from you.