


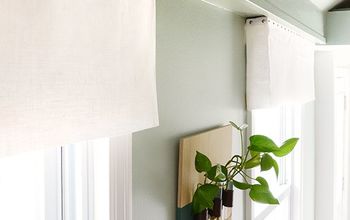
DIY Wood Window Valances
After a recent renovation of our home office space we were stuck for window treatments. Not wanting to block precious light in our antique home and desiring to put some texture and warmth into the room had us thinking outside the box at bit. We purchased the knotty-est pine we could find at the store and brought it home. Based on the width of our windows my husband cut the wood and built 6 of these:
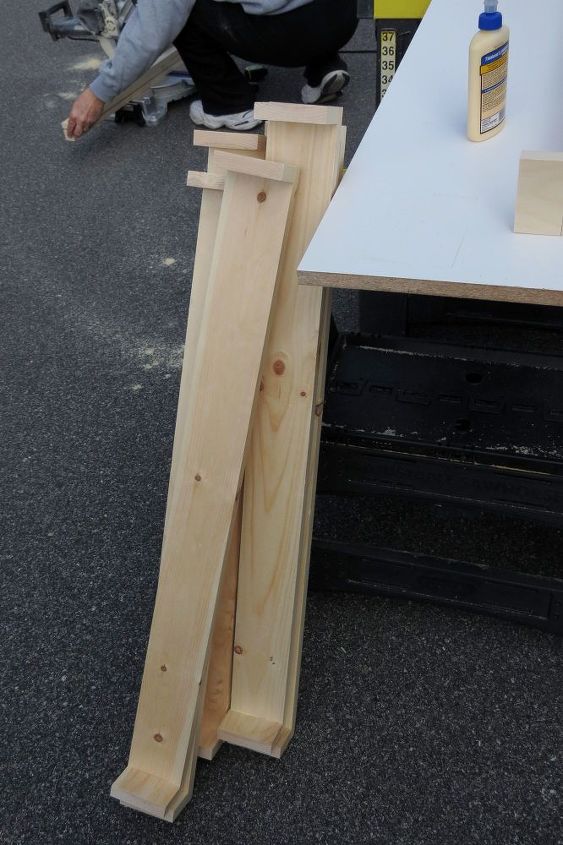
On three of them he added a back. This left us with three like the picture above and three like the picture below.
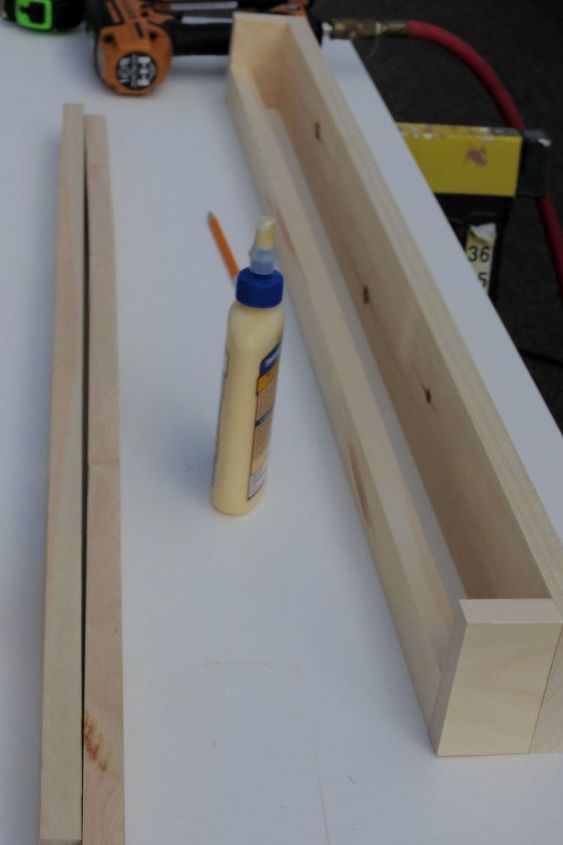
We used that back rail to secure the pieces to the wall.
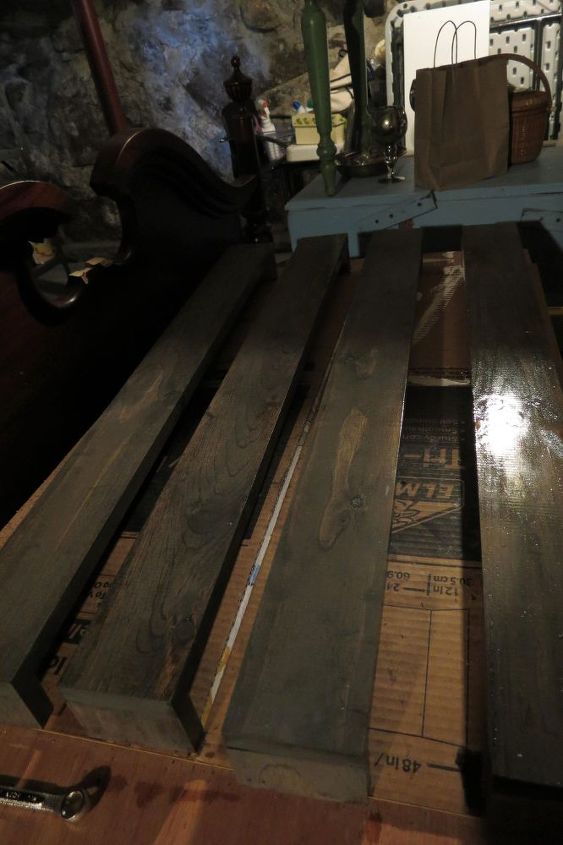
The pieces were taken to the basement to receive two coats of stain and a coat of polyurethane. After drying the pieces were assembled. Each window will have two tiers of boards.
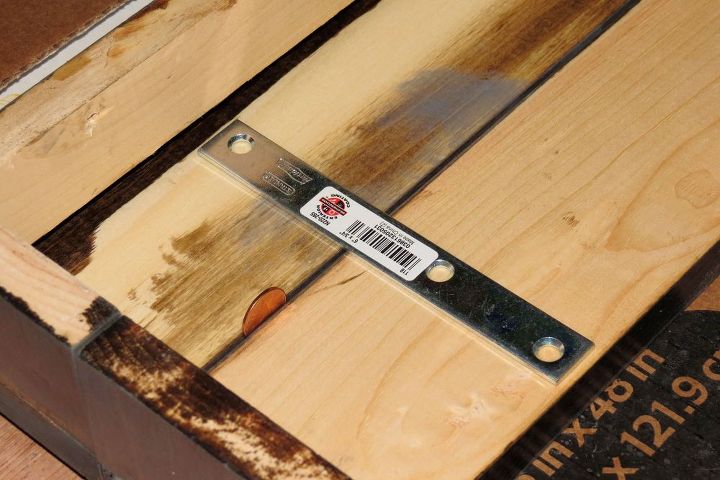
Using a penny for a spacer I connected one of each version above with mending brackets on each end. The penny gives a little space but not really enough to see the hardware.
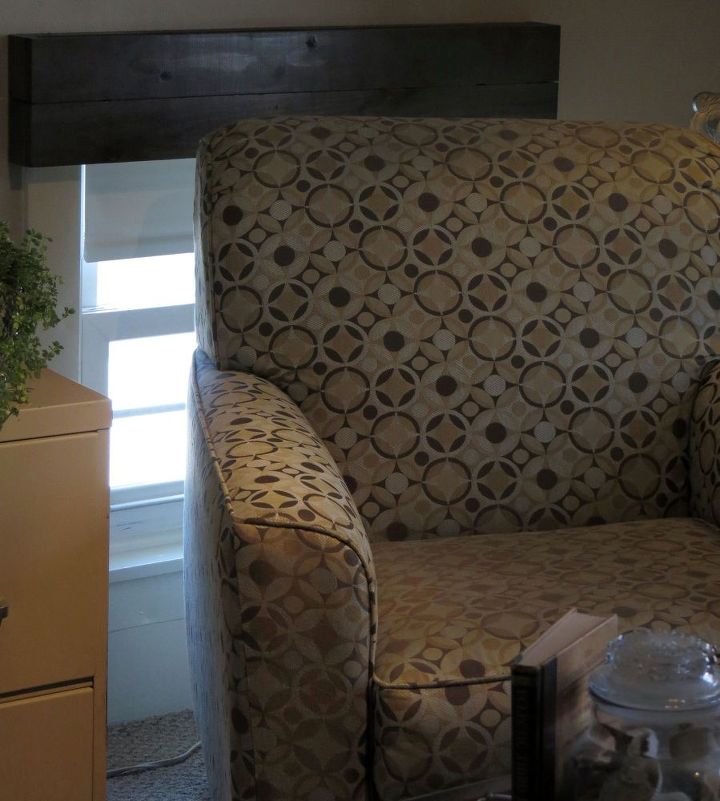
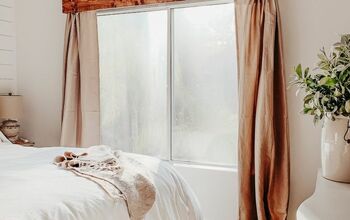
One valance in place. This home is an antique colonial cape. The windows on the front of the house are only inches off the floor and reach less than 3 1/2 feet up from the floor-so you see my desire to not want to cover any of that light (not to mention that the chairs sit in front of the windows).
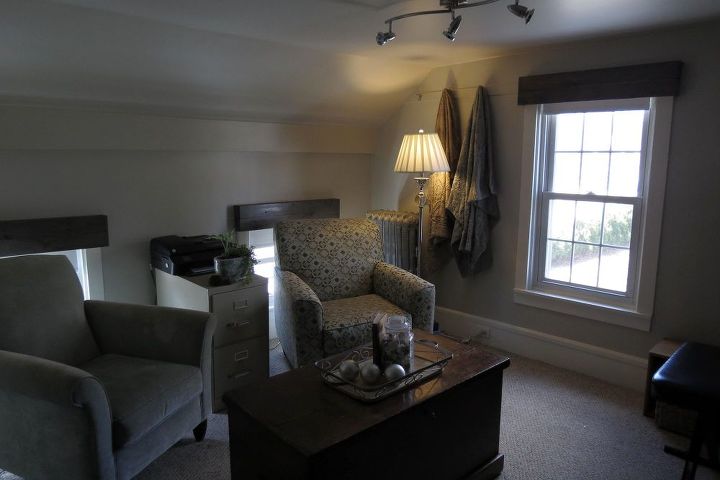
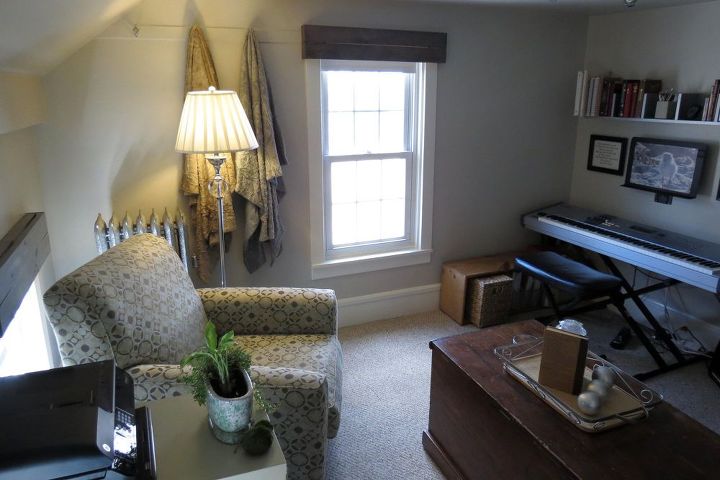
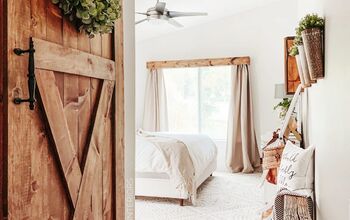
This is the view from the door. All-in-all the window valances were less than $30! I had stain and poly. The brackets were a couple dollars for all six.
More detailed directions for measurements, staining and hanging can be found on my blog- While I Linger. Thanks for taking a look!

Want more details about this and other DIY projects? Check out my blog post!
Comments
Join the conversation
2 of 29 comments
-
Yes, I will definitely make the valances.......


Frequently asked questions
Have a question about this project?