


Silverware Box Update
Easy
If you follow us on our Facebook page, you probably know Greg's Wednesday posts: "Did you know?" Every Wednesday, he picks a subject and posts an interesting fact about it on our Facebook page. They are pretty entertaining I have to say, and since we don't post on Facebook every day, it is a great way to keep in touch with our readers. *Affiliate links used in this post*
Last week after publishing his latest "Did you know?" he attempted to tidy the overflow of my knick-knacks in our basement while I was at work. This coincided with me e-mailing him the listing of the weekend tag sales that I wanted to go to. Reading my e-mail and seeing no point in tidying anything, he sent me this response: "Did you know? If you picked one thing each day from our basement for your projects, in 2 years you'd still have another year's worth of projects." Hahaha... I love him so much, because at any given time, he can make me burst into laughter! As he had a point, I decided to lessen my hoard and picked this silverware box from our basement as my next project. I bought it 2 years ago at a tag sale for a couple of dollars. It had some scratches here and there, and the lining was peeling off.
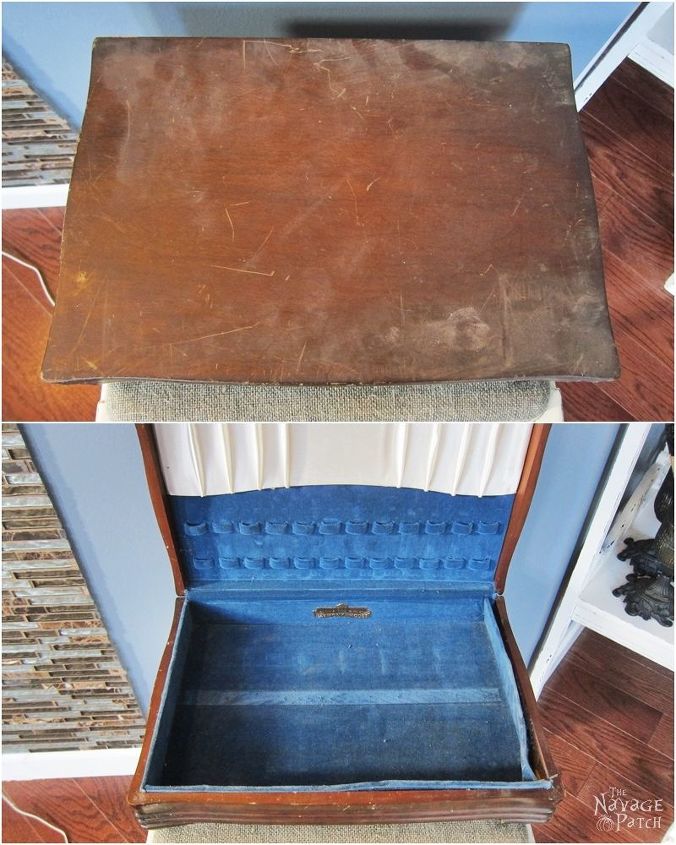
The plan was to turn it into a simple box that I can use as a storage for mail or other knick-knacks, so first I took off the lining.
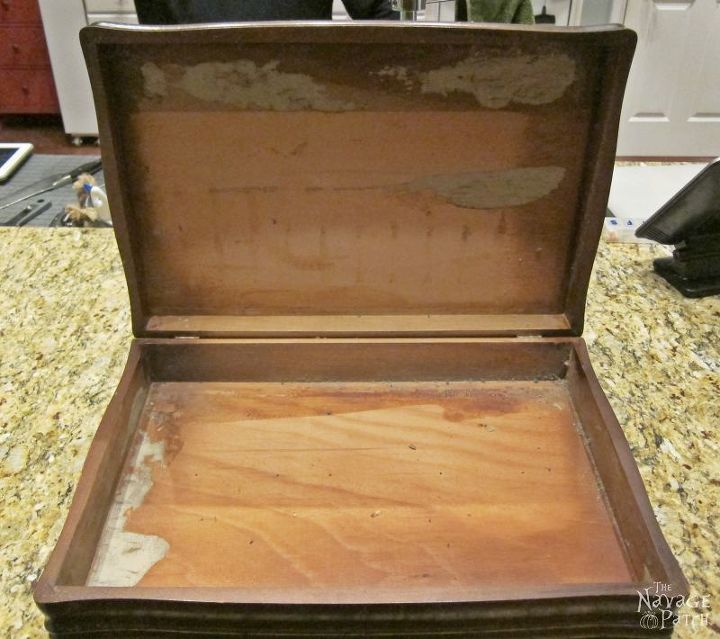
This was the most tedious part of this project since the lining was holding strong at certain places, so I enlisted the help of my paint scraper and little razor.
Once the liner was entirely off, I sanded inside with my sander to flatten the raised areas caused by old glue.
Then I cleaned the box to ready it for paint. I have a little secret weapon for pre-paint cleaning. Especially for boxes or drawers it eases my job with getting rid of the dust in the corners, besides it takes me no time to be finished with pre-paint cleaning.

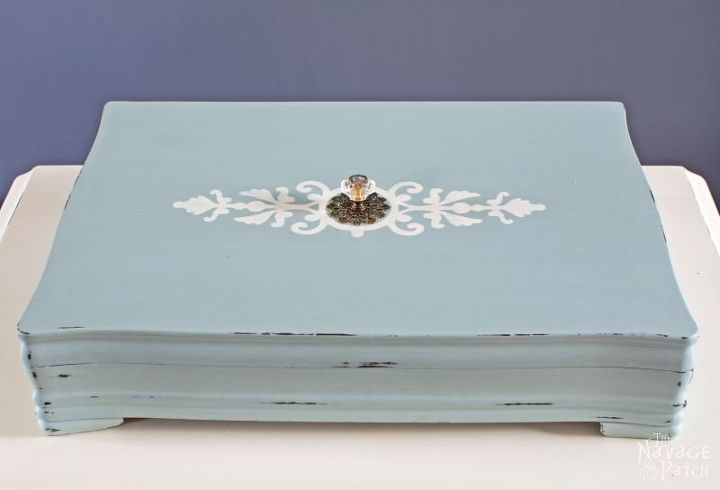
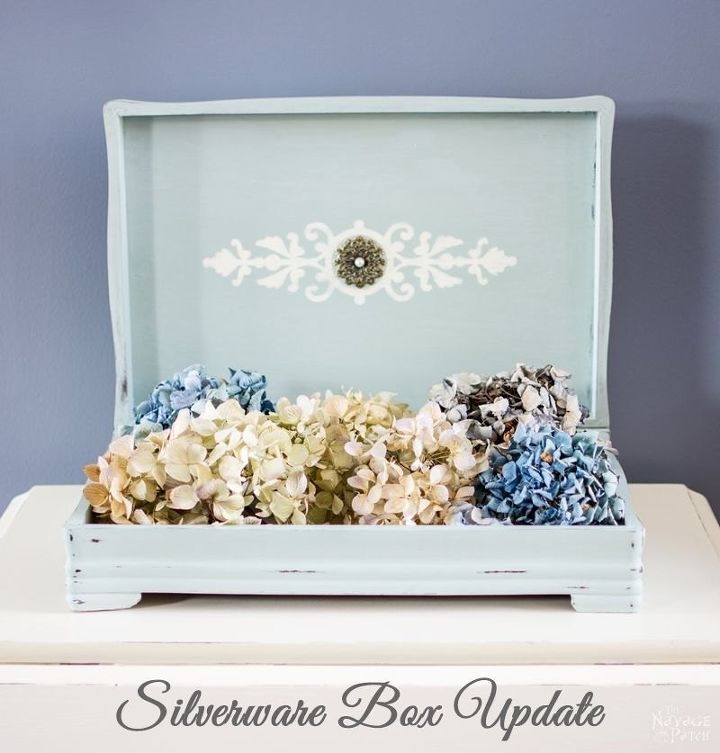
Now it was ready for painting. I decided to go with a color different than white this time, so I mixed up some blues I had on hand and some white, and came up with my own color: I named it "Aegean Sea." As I couldn't remember the proportions to make this color once again, I got it color matched at Home Depot.
If you would like to use the same color you can find the color code in my blog post.
I prepared my homemade chalk paint in Aegean Sea color and started painting. I gave 2 coats of paint to the box, in and out, giving enough time for the paint to dry between the coats.
I make my homemade chalk paint with real chalk and talc, because talc not only enhances bonding but also gives that nice velvety feel to the paint. If you would like to get the recipe of my homemade chalk paint you can find it on our blog.
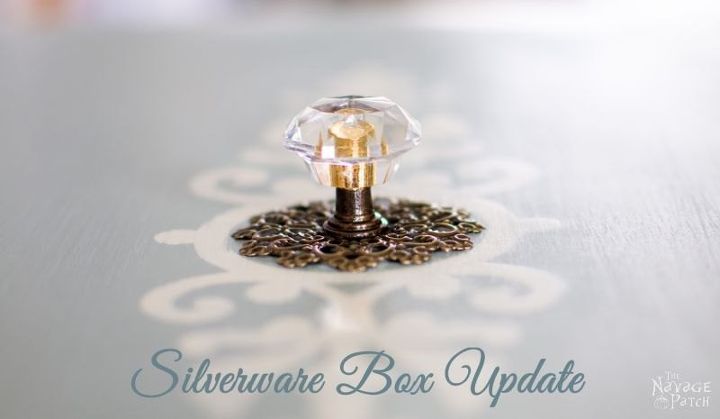
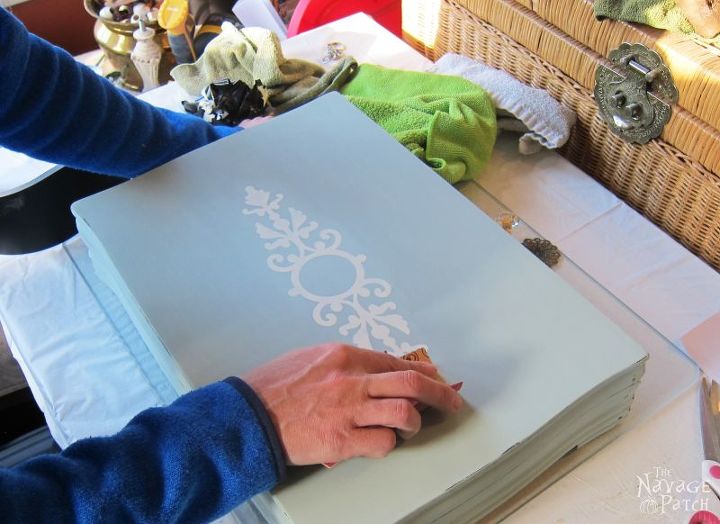
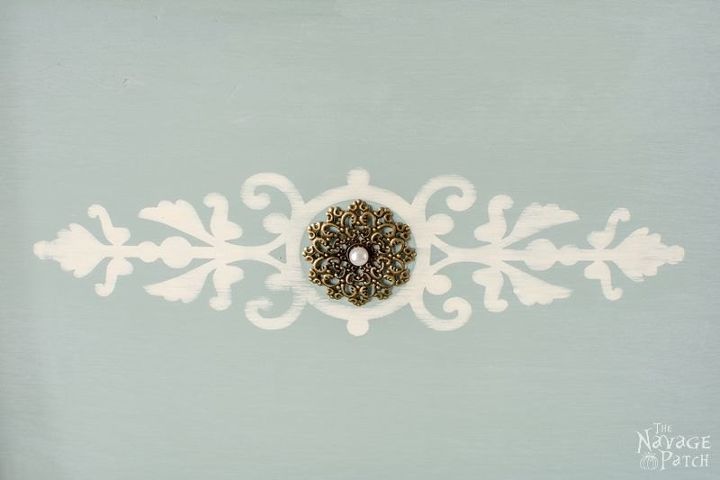
After painting the box, to give its plain looks a little excitement, I decided to stencil it and put a knob on the top. The small glass knob I found in my stash was the perfect size for the job, but it didn't have a base, so I decided to use a metal embellishment as the base. These metal embellishments come in a pack of 30 , so it is a good deal for the price. I picked a bunch and sprayed them with clear protective coat.
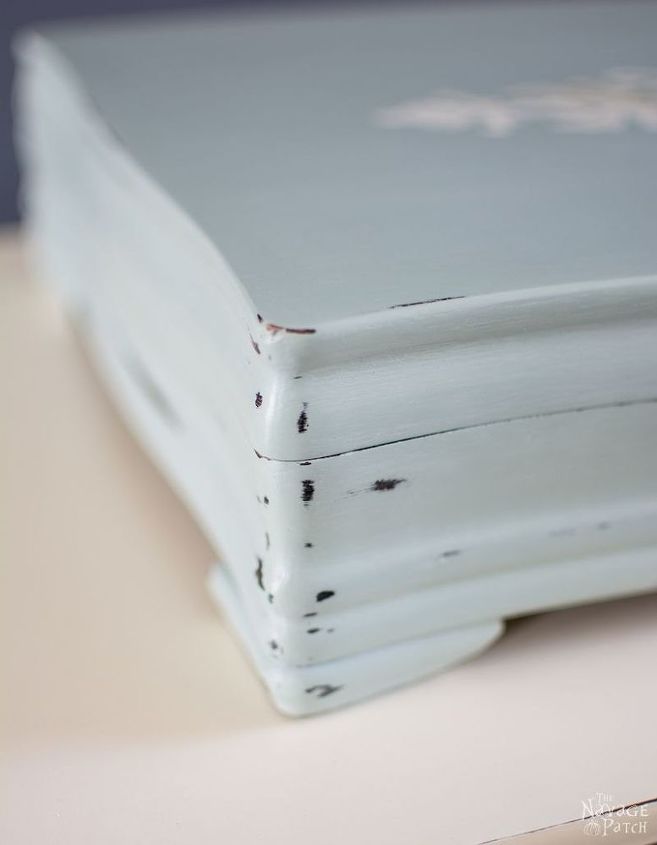
While waiting for the clear coat to dry, I worked on the stencil, then sanded the box to smooth all the surfaces. I slightly distressed it to highlight the beautiful curves of the box.
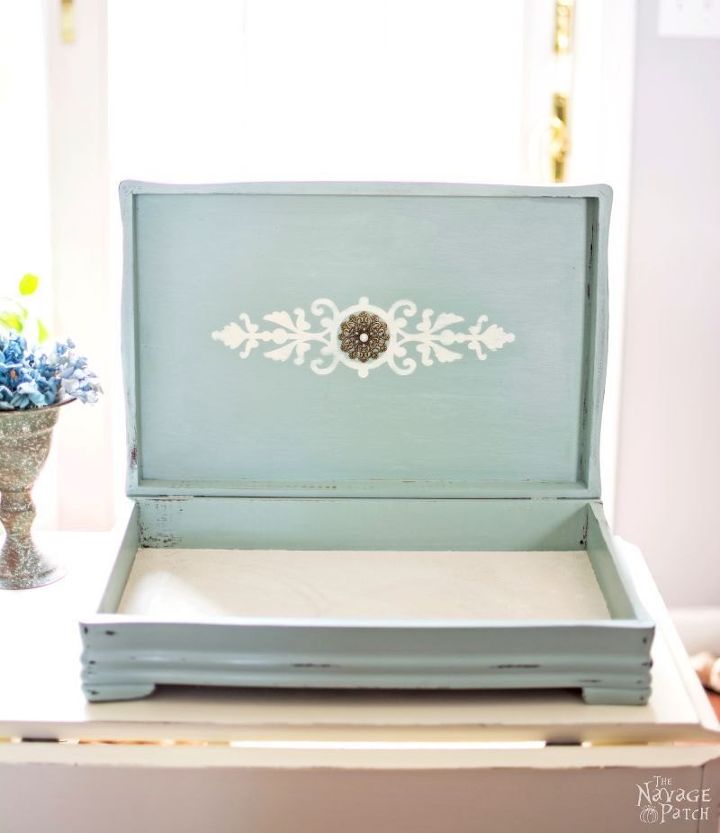
Once the ugly screw head was hidden, I finalized the project by lining the bottom with a velvety fabric I had on hand.
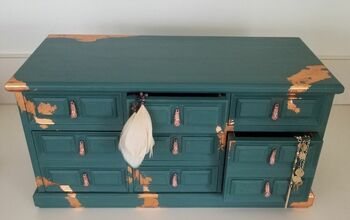
Here is my updated box.
Some close-up pictures for you.
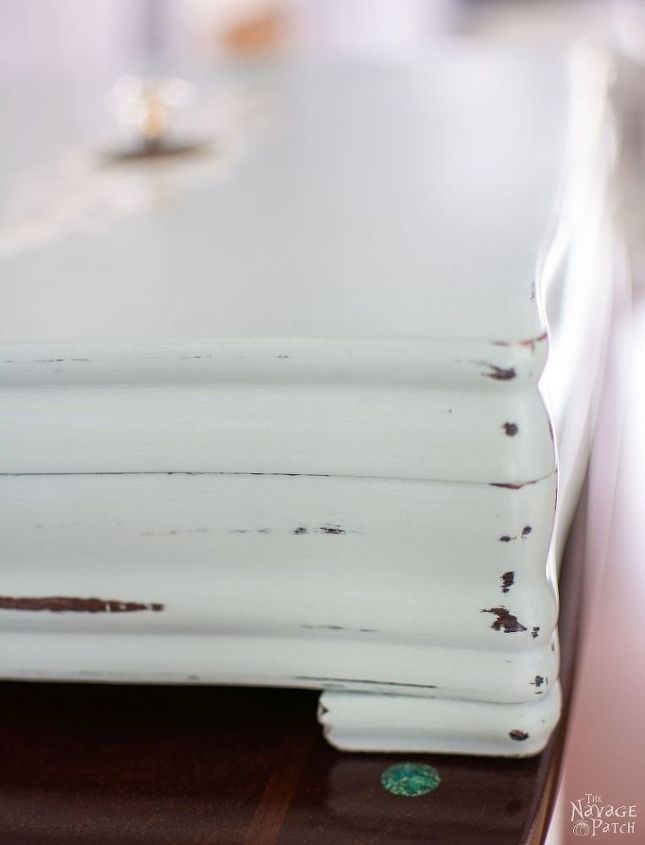
I love how these embellishments brought a touch of elegance to an otherwise a plain box.
I am still not sure how I will be using this box, but with the soft lining, I know it can make a great home for jewelry.
For all details on this project please visit our blog post.
Handan, xo

Want more details about this and other DIY projects? Check out my blog post!
Comments
Join the conversation
2 of 101 comments
-
I love updating boxes, ANY kind, hat boxes, cigar boxes. etc. I love this!
-
Great job.


Frequently asked questions
Have a question about this project?