


My Cat Tent From A to Z
6 Materials
After looking at the price of a cat tent (tunnel) for $16.00, I decided it was time to make it myself. With of course help from the hubby too.
I bought four wire hangers and an extra large shirt (below) at the thrift store. My husband clipped off the ends and bent them around a paint can to make the arches.
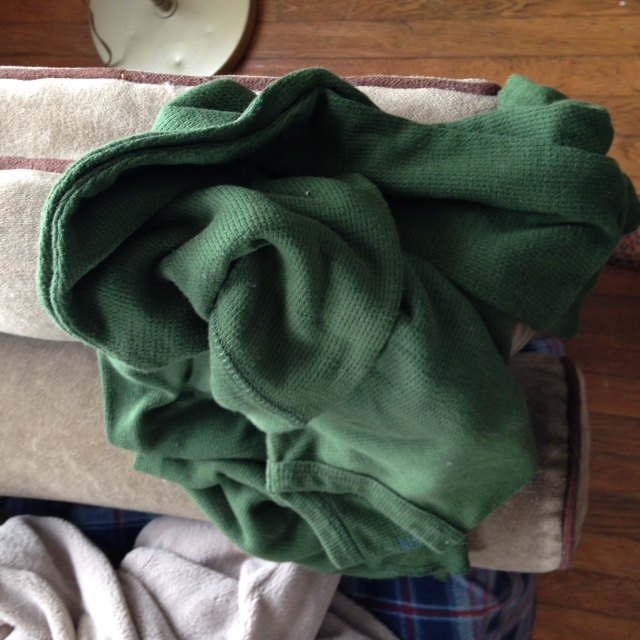
Washed the shirt,
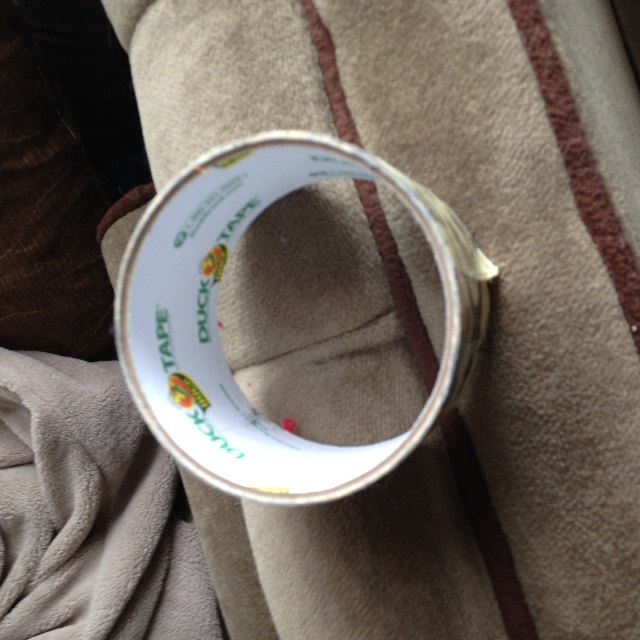
Found my duct tape, from a previous project,
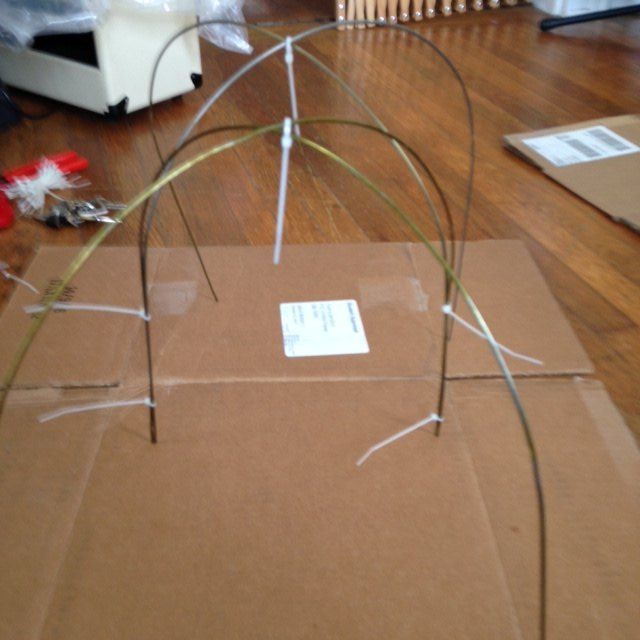
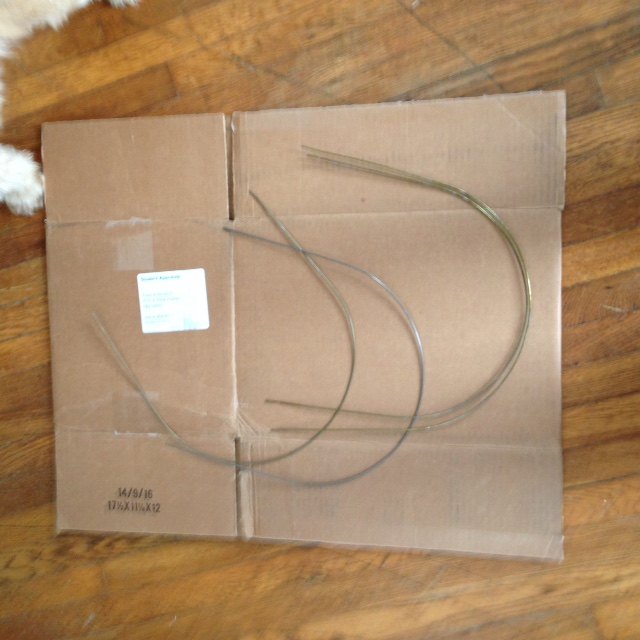
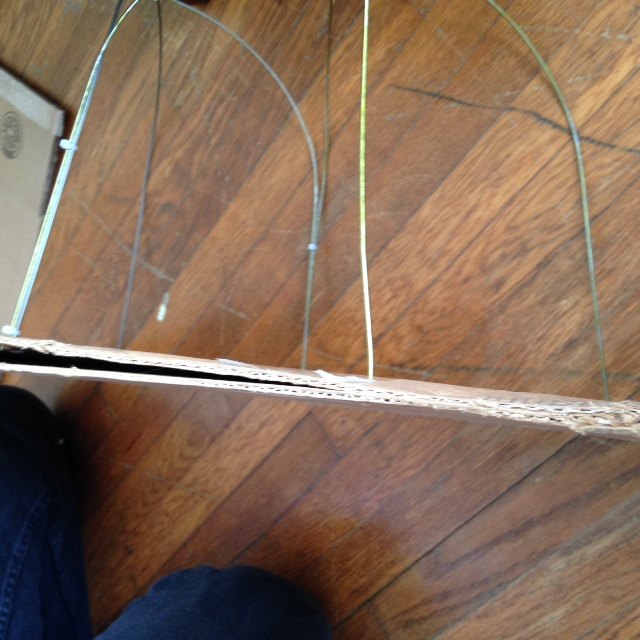
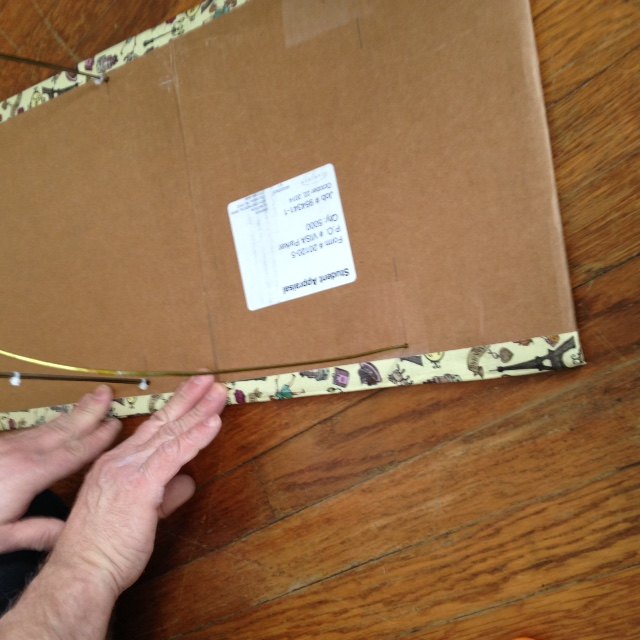
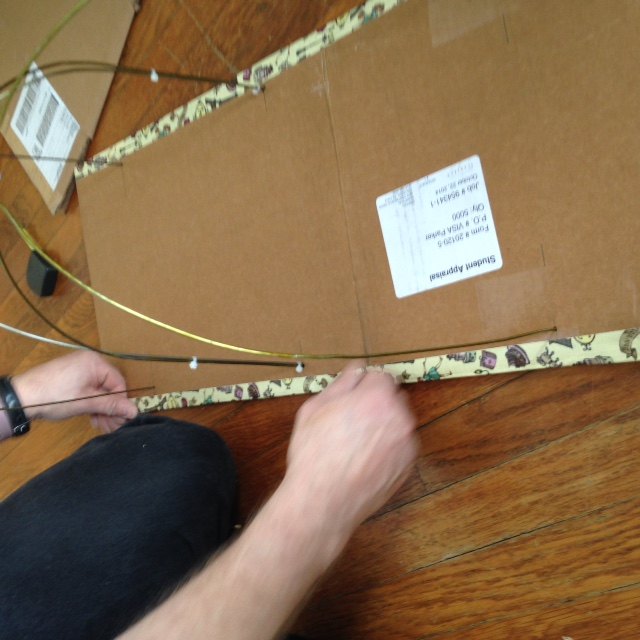
Saved a box from a shipping package. With ties, made 2 arcs and played with the location of them.
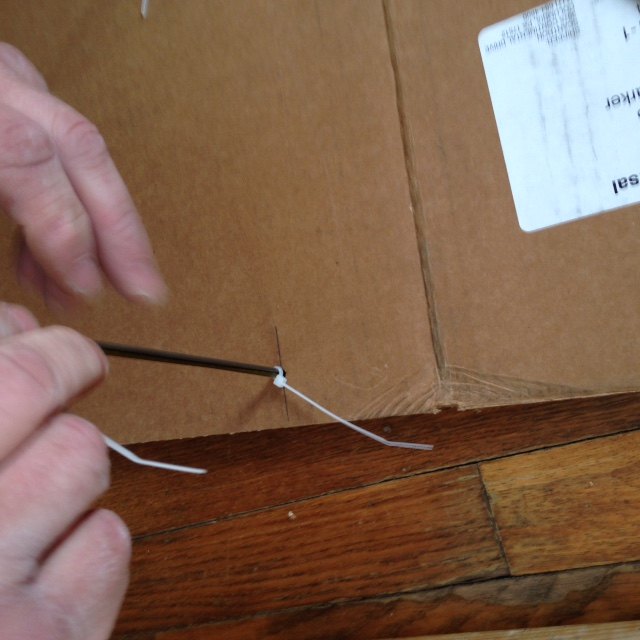
We cut the box edges with a box cutter. Measured the box and calculated the midway points.
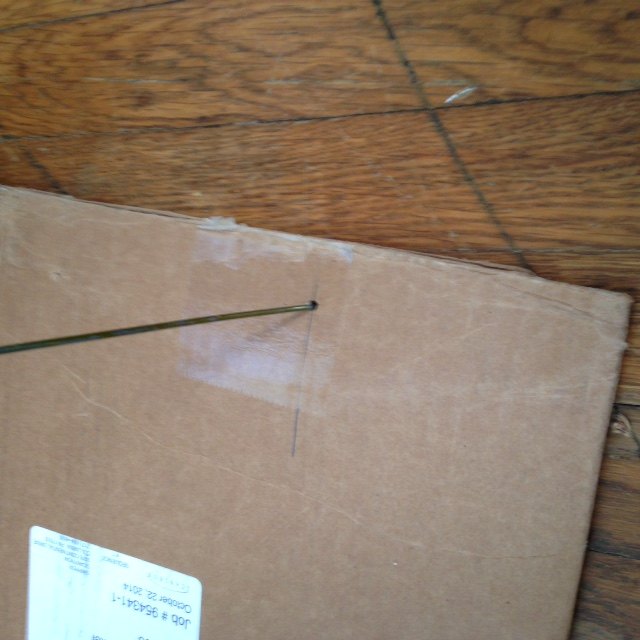
Poked a hole in the top layer of the box and bent the wire underneath the first layer to secure in place.
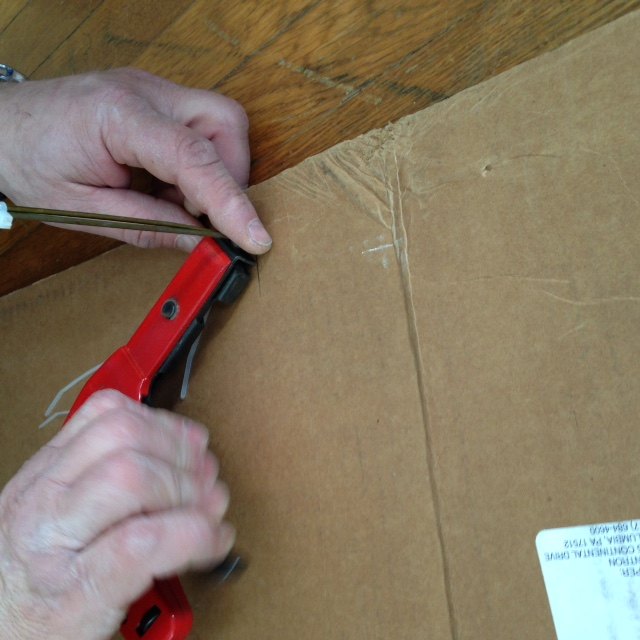
Clipped the ties to make clean and neat.
We wanted the box base to be secure and used duct tape for this part.
Pressed duct tape.
Both sides
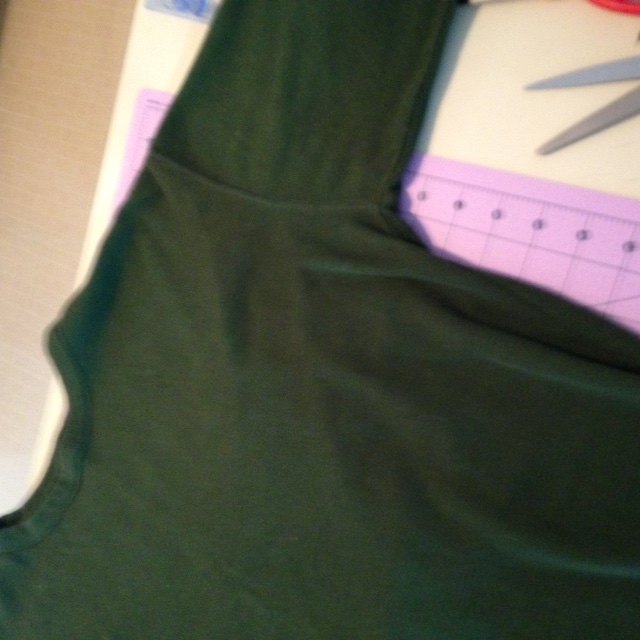
With my extra large shirt, I cut off the sleeves
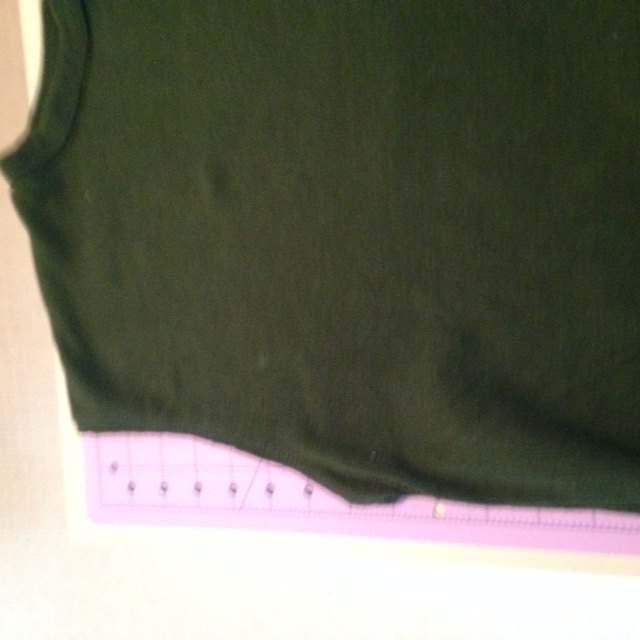
and the neck opening. I needed an extra 6 inches on both ends to cover the openings slightly. I used the sleeves (sewed together and cut the size of the bottom base) for the bottom of the tent.
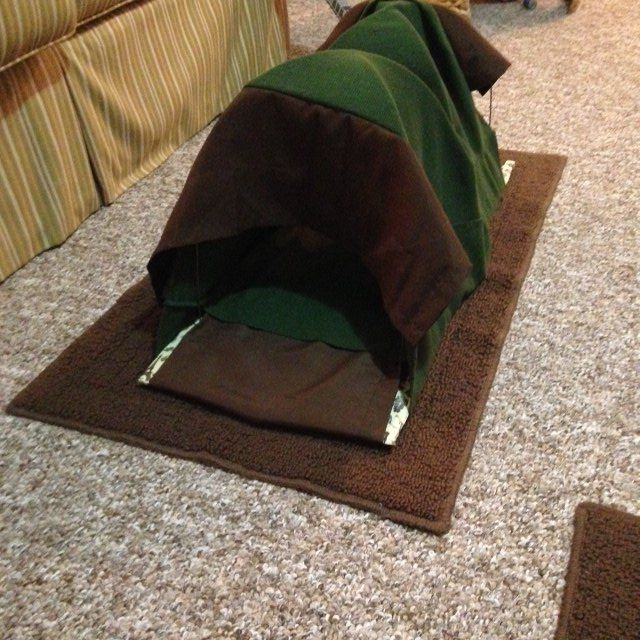
Here is my cat tent/tunnel. I am able to remove the material.
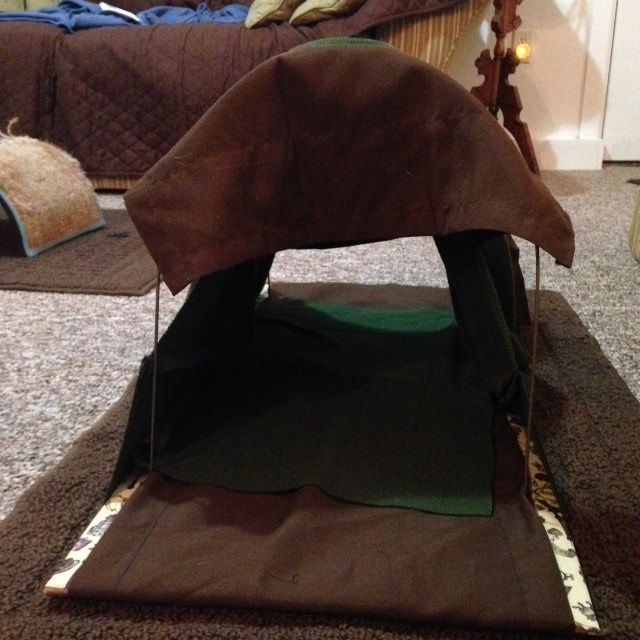
Both top and bottom for washing.
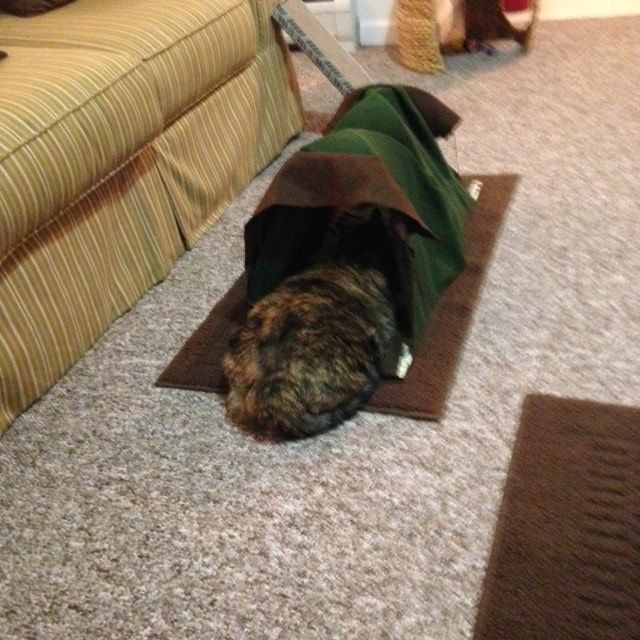
Here is Willow starting to check it out. She does not like enclosed spaces and needs to be sure she can see her surroundings. As of this morning, she has gone through her tunnel twice. :)

Want more details about this and other DIY projects? Check out my blog post!
Comments
Join the conversation
2 comments
-
Aw such a sweet idea! My kitties would love this.
-
Thank you. :)


Frequently asked questions
Have a question about this project?